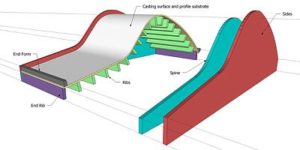

Part two of a two-part series on glass-fiber reinforced concrete.
In a previous article, we covered how to put together three kinds of mixes of glass-fiber reinforced concrete. This time, we’re going to show you how to apply the GFRC after you’ve prepared it.
GFRC part one, in the previous issue, offered a lot of mix design recipes and lists. This lesson can be told mainly with pictures. Step-by-step instructions can be found in the captions of each photo.
If you want the whole story, information from last issue’s Technique section is available online at Concretedecor.net. A back issue of the magazine can be obtained by contacting Concrete Decor.
Step 1: Begin by applying any required mold-release to your mold.
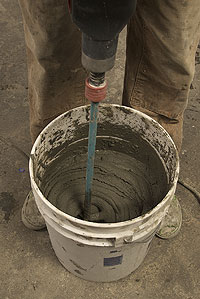 Step 2: Mix your face coat.
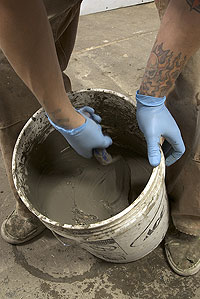 Step 3: Check the consistency. It should be similar to a milkshake.
 Step 4:
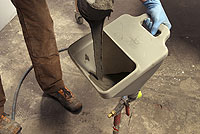
 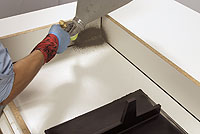 Load the hopper with 2 to 3 quarts of the face-coat mix. Turn on the air and do a test spray on a piece of scrap. Set the air flow so the spray is just above “spattering.”
 Step 5 – above right and below: Spray. Begin by spraying into the corner of what will be the front edge of your piece. Your spraying technique will be the primary factor in the quality of the finish. When spraying GFRC, you always want to spray into a corner and work your way back, spraying into the face coat you’ve already sprayed. By doing this, you compact the face coat and force out any air bubbles. This is the secret to a superior finish for GFRC.
 Step 6:
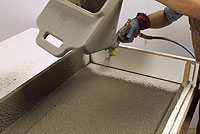
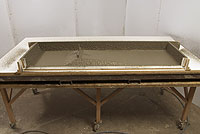 Work in small areas, always being mindful to work your way back, spraying into the face coat you have already sprayed.
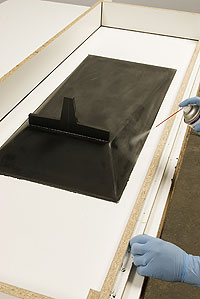
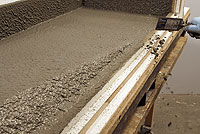
The mold, completely sprayed with the face-coat mix.
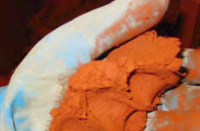
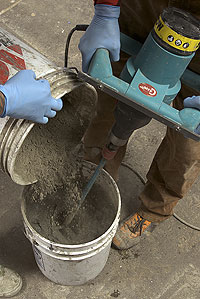
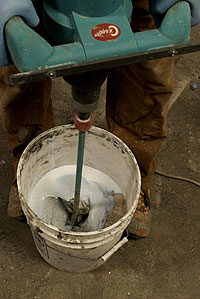 Step 7: Mix your vertical back coat. See the June/July issue of Concrete Decor for more details.
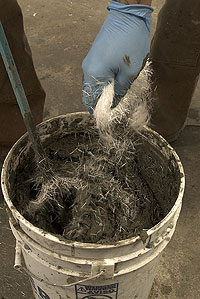 Add fibers slowly while maintaining a slow mixer speed.
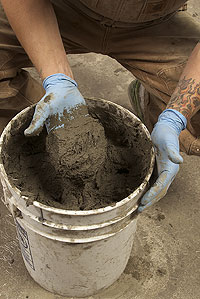 Check the consistency. It should be similar to thick cookie dough.
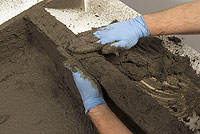
 Step 8: Wait for the face coat to become stiff, but not dry, and then apply a thin application of the vertical back coat, an application also known as a scratch coat. Add a small amount of water, if needed, to thin the consistency of the back coat and make it more workable. Applying this thin scratch coat helps to prevent any air pockets from forming between the face coat and the back coat.
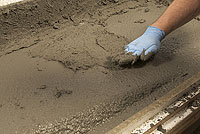
 Step 9: Once the scratch coat has been applied, begin the application of the vertical back coat. Starting from the bottom, build the concrete up the vertical wall, holding the wall with one hand and using the other hand to smooth the top. You want to pull the mix over the top of the wall. This helps to keep the vertical back coat from pulling away or slumping.
If the vertical back coat does initially slump a bit, do not despair. Simply continue working your way around the mold. After a few minutes the section that was slumping should be firm enough for you to apply a second coat.
 Step 10: Mix your self-consolidating back coat. Again, see the June/July issue of Concrete Decor for more information.
 Step 11: Scrape the excess face coat off any walls where the self-consolidating back coat will be poured up to them. This will ensure consistent, accurate thickness in your piece.
 Step 12: Slowly pour the self-consolidating back coat into your mold. Work the concrete around the edges and corners to release any air pockets.
 Step 13: Once the back coat has firmed up, you can smooth it to give it a more polished look. Simply mist or sprinkle the surface with water and smooth it with your hands.
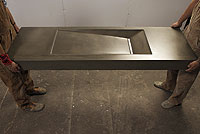 Step 14: Allow the concrete to cure for 24 hours, then proceed with mold removal and finishing the concrete.