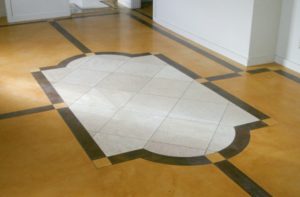

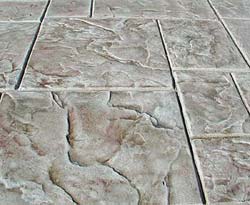
 The Renew-Crete® Stamp Overlay Mix was designed exclusively for decorative concrete restoration and is the product of years of research and development.
The ready-to-use “concentrated” mix has most of the sand removed. Since overlay mixes are usually about 70 percent sand, you’ll realize quite a substantial savings in weight and volume and may save up to 65 percent in freight costs, the company says. “Our customers really appreciate having to ship only 2,500 pounds instead of 7,500 pounds to cover the same area, and saving the freight cost on the 5,000 pound difference really helps the bottom line.”
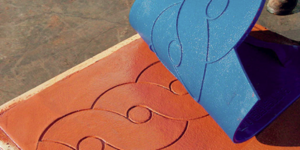
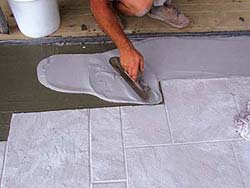
Add to this the fact that the modifier and color are already in the bag, and you have just simplified your mixing and increased speed and efficiency on the job. You’ll also eliminate errors often associated with mixing. The stamp mix can be mixed in anything from a five-gallon pail to a mixer.
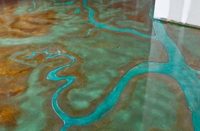
 Available in 30 pre-mixed colors, it’s simple to use, requiring only the addition of sand and water. “Our customers’ biggest request was to make the process ‘idiot proof,’ so we developed a simplified process using the highest quality ingredients available. Renew-Crete Concentrated Stamp Mix helps gives the contractor peace of mind in knowing that he is putting down consistent, quality product every time.”
The cost per square foot for the stamp mix is one of the lowest in the industry, the company says, at just 71 cents per square foot at 1/4", 90 cents per square foot at 5/16" and $1.11 per square foot at 1/8".
A complete line of Renew-Crete® products can be seen on the Renew-Crete Web site , or call (888) 287-8962 for a free catalog.