Chris McMahon’s high-quality work and bold marketing plan help him stand out from the pack.

The world's foremost resource on decorative concrete
Chris McMahon’s high-quality work and bold marketing plan help him stand out from the pack.
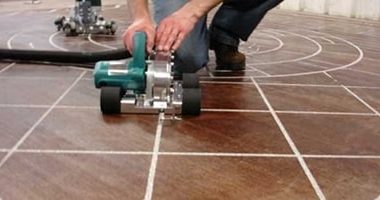
The Mongoose 411, from Engrave-a-Crete, is a compact engraving saw with a powerful, high-rpm motor. Designed specifically for decorative concrete, it will enable you to easily cut beautiful patterns and designs with great accuracy, whether you’re making straight lines or circles.
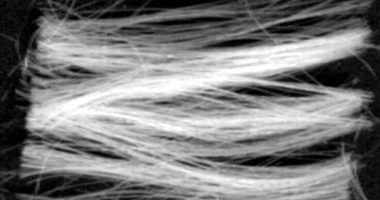
Builders have been using fibers to reinforce clay, plaster, mortar, and concrete since ancient times. According to the fifth chapter of Exodus, Pharaoh knew the value of fiber reinforcement when he commanded the Jews to find their own straw for making bricks.

The Hippo Mixer’s easy tilt feature allows contractors to mix, transport and pour materials with unparalleled ease. With a mixing capacity of roughly 18 gallons (or 240 lbs), its high torque, 16-amp, two-speed motor makes it a natural for mixing self-leveling materials more productively while reducing operator fatigue.
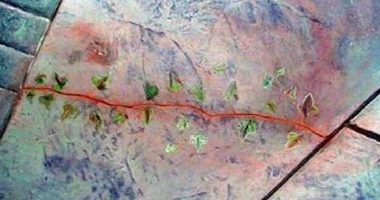
I was playing around with some ways to fix cracks in my stamped sidewalk at home. Any kind of patch repair will stick out like a red flag on the textured concrete. I liked the idea of using the crack so it would fit into the look of my sidewalk […]
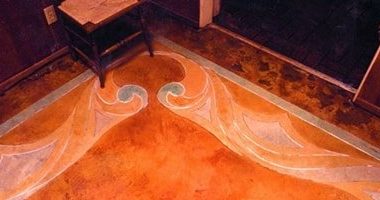
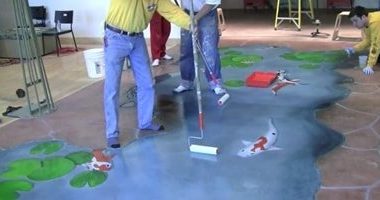
In this living room the concrete was cleared of tack strips and glue and then thoroughly cleaned.The lines and flowing curves were drawn freehand using green chalk.
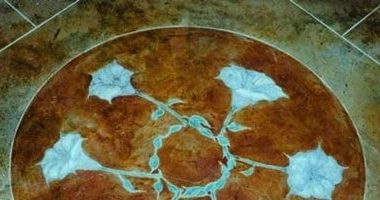
Architectural micro-toppings are as versatile as they are beautiful.
Defined by their thickness — or lack of it — they are generally between 1/32-inch and 1/8-inch thick. They are typically applied with a trowel or squeegee but can also be broom finished.
Generally, epoxy-aggregate systems fall into two broad categories: porous and nonporous — also called “open” and “closed” systems. The porous systems use epoxy-pebble mortar. The nonporous systems include terrazzo systems, troweled epoxy mortars and broadcast epoxy systems.
The Miracote story began in the 1930s, when Jack Crossfield developed a way to create coatings that combine natural latex with hydrating cement. Charles Watt and Howard Patch acquired the rights to Crossfield’s patent and, in 1938, established Crossfield Products Corp.
Straight lines were created using a worm drive saw; arches were done with a saw mounted on a compass-like device.


