Borders can be used in many ways, not just to frame a room and make our engraving easier than cutting all the way to a wall. Usually 6-10 inches wide around the edge of a space, they can also be used as their own design element.
One of the styles I like to use I call a ribbon border. These borders don’t touch walls and are skinnier than typical edge borders. You can use them to create basic shapes and make it appear as if there’s a rug in the middle of a room. Whereas 6- to 10-inch borders tend to make hallways appear smaller, ribbon borders work great through hallways. They don’t cause a walkway to shrink visually.
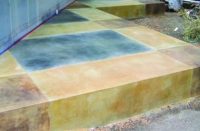
I’ve done plenty of these floating ribbon borders in my projects over the last 10 years. Some became complicated designs but were still part of the borders. One became a beautiful floating ribbon around a small condo. They can be simple, delicate and easy — or complicated and intense (a route I often choose).
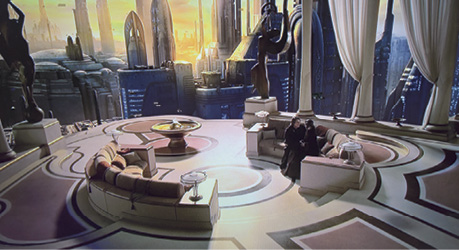
In “Star Wars: Episode III – Revenge of the Sith,” the hallways and large rooms have great simple versions of ribbon borders where they are used to outline spaces. Look at this screenshot where Anakin and Padma are having an important discussion and notice how the borders accent each area and make the room look huge. They don’t make the space busy. Instead the borders look clean, sophisticated and modern.
Simple yet effective
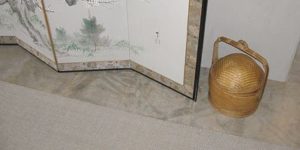
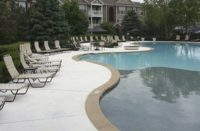
Let’s look at a couple of projects where I used ribbon borders to my advantage. One of my clients in Nashville had just purchased a condo and he wanted more than just a recoat on the floors. It wouldn’t have been cost effective to remove the coating and start over so I came up with an idea that simply involved a traveling ribbon border.
I started with a sketch to visualize how a border could meander through the small condo space because I didn’t want it to take over the room or make it feel smaller. The cool thing about this idea was that I could remove the sealer from just the ribbon, change the color only on the border, and recoat the entire space. While sketching, I came up with a clever twist, no pun intended, to the design.
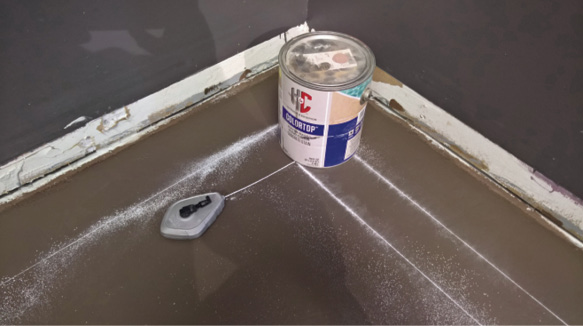
As always, I used a square, tape measure and straight edge to lay out the border. With these basic tools, I could make the border travel to create a subtle weave of squares. This brought a little flare to the design without adding too much to the space. It was quick and easy, and I have a very happy client still to this day.
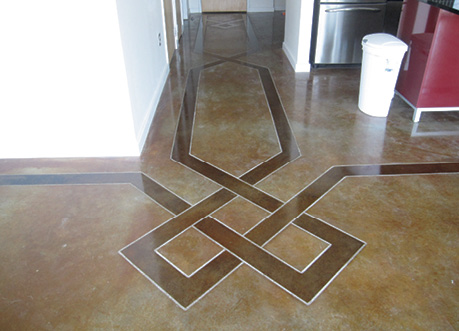
First, I cut my design so I knew where to strip and I made the border wide enough to simplify scraping. Then I carefully scraped. Since the floor was incredibly smooth, I easily scraped the sealer off the surface. After the sealer was removed, I applied a walnut color acid stain by hand with a brush.
The next day, I cleaned the border thoroughly and neutralized it. I waited a couple of days for the water to evaporate and then I sealed the entire floor with a sealer similar to the solvent-based one originally used. It took four days to accomplish this task over a six-day period because of dry times.
This is a good example of a subtle way to use ribbon borders to help spice up a small condo.
A bit more complicated
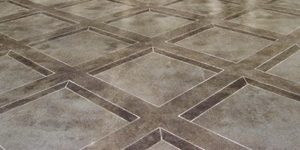
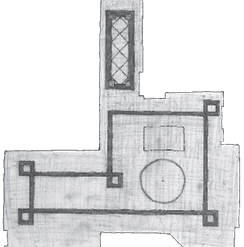
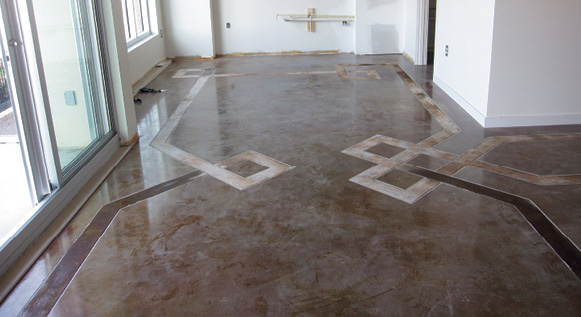
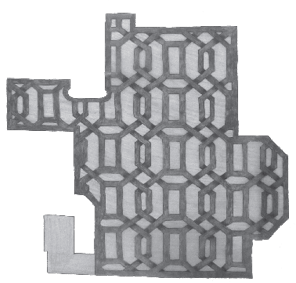
Now let’s look at a more complicated design that you may think is more geometric. But looks are deceiving. I drew the design for the Mialo residence in much the same manner as I did for the small condo.
I began with a normal 12-inch border around the outside edge. In hindsight, I wish I would have created a ribbon around the room. Instead, I made a series of ribbons that traveled through the room in a pattern. As the ribbons cross paths through the space, they twist and turn as in the condo but exponentially more often. This design is much easier to produce than it looks. It took longer for me conceive the idea and draw it on paper than it did to lay out.
In this issue’s GoPro video, I create a small replica of Mialo’s floor to show you how easy this can be. As usual, first I create the outside border. This time, however, I measure 6 inches and 10 inches simultaneously and then chalk both lines around the room.
I then find the center between the inside of the borders. Next I measure out where I think I want the lines to start. Be sure to measure the exact same distances on all four sides.
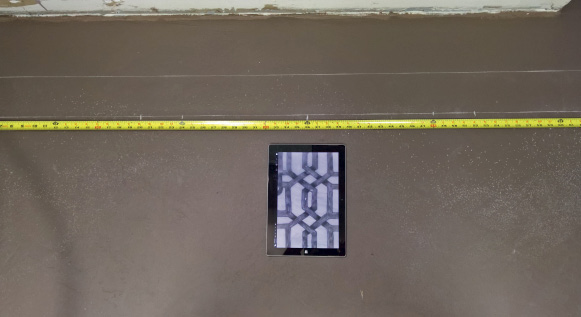
As there is no set rule for the exact scale on this design, you must visualize what you expect to see. Because my drawing room is square, it appears to be easy to lay out this design. I know I move very fast in the video, since it is time lapse, but watch how much my head turns back and forth so I can make sure I get all my measurements right. This design was a lot harder in my little drawing room than it was on 1,200 square feet. It also almost took me as long to draw.
Once I lay out the outside measurements, I chalk the lines connecting them all. It will look like a bizarre tile pattern with borders around the tiles. I end up erasing a lot of those lines.
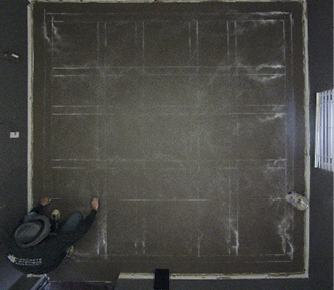
Next, I start in the center, trying to connect the ribbons in a mathematical way. This is confusing for the first area but once you get the layout right the rest goes very fast. After I connect all the different directions with the ribbons, I wipe away the extra lines I don’t need. I use white or a very light-colored chalk because it wipes off easily, unlike blue chalk.
Post script
As a side note: While I was drawing the design for this article and filming, I realized I was off on my measurements, which rarely happens anymore. It just goes to show that you must step back and look at your design — no matter how simple or complicated it is — to see if something is off.
Luckily, it only took a couple of minutes to fix my mistakes. The center of my design was off by almost 3 inches. Plus, after I fixed that and thought I was done, I realized I had erased the wrong ribbon in one place. I can’t emphasize enough how important it is to step back throughout the process and look for mistakes. They will happen. No one is perfect … not even me
Video Tutorial