
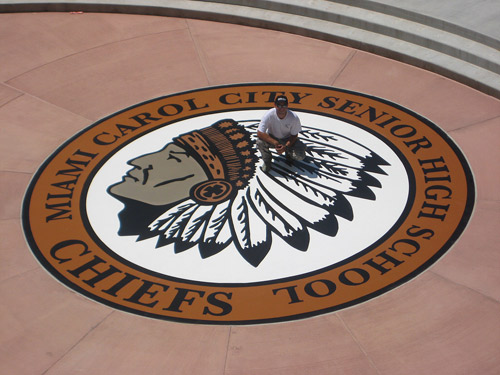
The remodel of Miami Carol City High School in Florida a couple of years ago included the installation of an outside amphitheater, topped with a stencil design of the team’s logo, a giant “Chiefs” head.
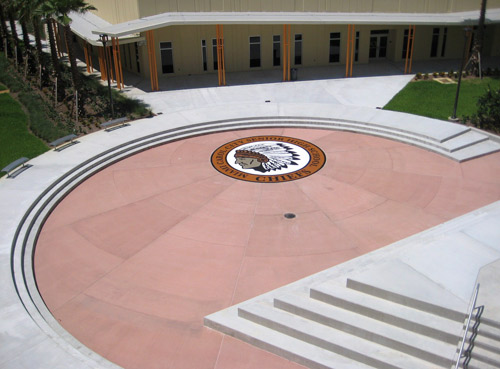
Once Miami-based GC Coastal Construction Group had poured and placed the concrete, they enlisted the aid of Custom Concrete Designs of Florida for the placement of the stencil design that would become the 26-foot logo.
“The customer was very concerned about detail,” says Custom owner Carlos Andres Perez. “They wanted it to be as perfect a match as possible to the ones they had on their posters and T-shirts.”
Having several years of experience working on concrete stencil designs, Perez was up to the task. He enlisted the aid of Rachel Bruce at FLOORmap Stencil Designs in customizing decorative vinyl stencils. Together they created a 3-foot by 3-foot replica of the team logo, which was applied onto a concrete panel. “I presented this to show how close the stencil matched the original,” Perez says.

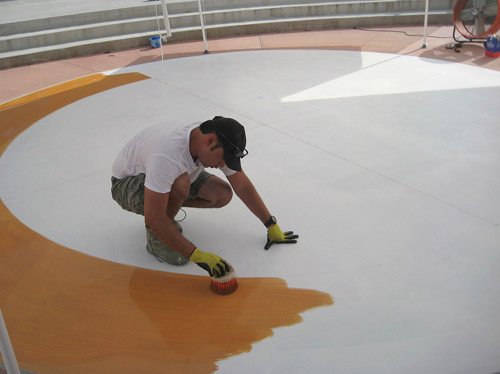
With the panel approved, he began work on the concrete in the amphitheater. The first order of business was to prepare the concrete surface to accept the stencil design. For safety purposes, the finished surface of the concrete in the amphitheater had been lightly broomed to provide a safe antislip grip. A flat profile was needed for the stencil adhesive to properly bond with the surface, so Perez had to grind down the concrete.
He used an Expander 750 floor machine from Klindex to prepare the surface. Starting with a 120 metal grit, he worked the surface down to a 50 resin, a 100 resin and then a 200 resin until the surface of the concrete was smooth enough to accept the stencil. The finished surface was then thoroughly cleaned and allowed to completely dry.
Having worked with FLOORmap on several previous projects, Perez was familiar with Bruce’s ability to translate designs. In particular, he likes the quality of her stencil’s adhesive, which he says does not leave a residue and is not so aggressive that it pulls up the previously applied colors from the concrete. Some adhesives on stencils are so strong they can actually pull out stain previously applied during the layering process, Perez explains.
Once the surface was prepared, the first coat of color was applied. Perez used NewLook Solid Color Stains, a brand of water-based decorative stain.
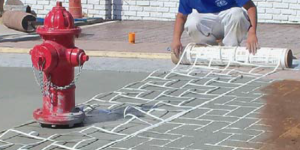
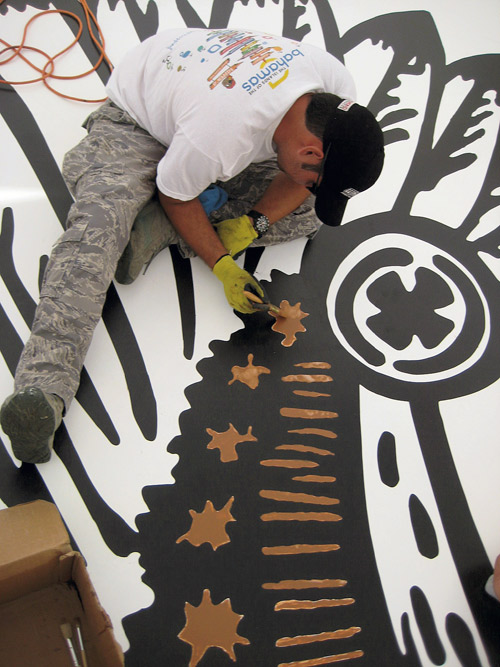
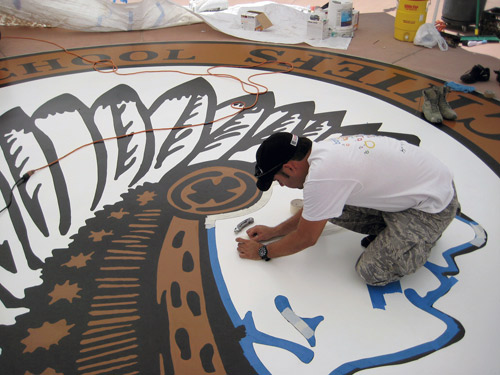
After several coats of white were applied, the surface was allowed to completely dry. A tent was installed over the application area to prevent the surface from becoming too hot to apply the stain, and the custom stencil panels were carefully put in place.
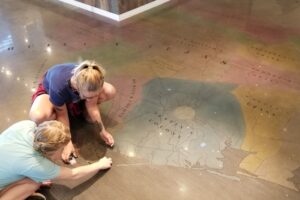
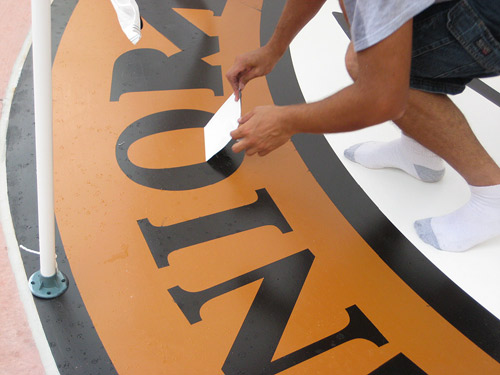
“Who you choose to do your stencil is very important,” Perez says. “It has to have the proper proportion and it has to align perfectly or else you will see transition lines.”
To combat this, each FLOORmap panel was marked with a special registration mark that helped the applicator properly position each panel. A set of application instructions was included with the design, resulting in a kind of assembly-by-number job that the manufacturer says is foolproof if properly followed.
“Every single job is different and requires custom instructions,” says FLOORMap’s Rachel Bruce. “But the beauty of the stencil is that it takes the artwork out of the project. Stencils allow anyone to become an artist.”
Since the NewLook Solid Color Stain is essentially a polymer-modified product, it can be considered a four-part system. While there is the standard Part A and Part B, Perez says that you also have to add water and pigment.
Regardless of the amount of stain you are mixing up based on square footage, it is critical that the percentage of color added to each batch remains the same. “It’s very important that you measure your color in exact proportions,” Perez says.
These percentages are set in a color match provided by the company that is based on colors selected by the customer. Color is then added by weight so that no mistakes are made.
Even though a sealer is not required with NewLook Solid Color, the customer wanted one and one was applied. Perez notes that without the sealer, any injuries the surface may incur can be quickly fixed for a perfect color match that is seamless and completely invisible.
The recent makeover is one of a flurry of positive changes for Miami Carol City High. Rapper Flo Rida (who graduated from Carol City as Tramar Dillard in 1998) donated a special-edition uniform to commemorate the school’s 50th anniversary. The team will be wearing that uniform in the 2013 season.
Project at a Glance
Client: Miami Carol City High School, Miami Gardens, Fla.
Decorative concrete contractor: Custom Concrete Designs of Florida, West Palm Beach, Fla.
www.cretepolishing.com
General contractor: Coastal Construction Group, Miami, Fla.
www.coastalconstruction.com
Materials supplier: Eco Simplista, Oakland Park, Fla.
www.ecosimplista.com
Scope of project: Surface preparation and application of a custom 26-foot stencil of the high school’s “Chiefs” logo. Colors matched and applied. Surface sealed.
Duration of project: The project was completed in August of 2010 and took one week.
Materials used: Custom stencil work from FLOORmap Stencil Designs, NewLook Solid Color Stains in Black, White, Pumpkin and Taupe, NewLook SmartSeal AU acrylic urethane sealer in a satin finish.