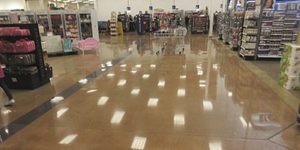

Polished concrete as a finish is reliant on the concrete substrate to be in good shape to provide the end user with a beautiful and durable finish. Owners don’t like blemishes and amazingly the worst issues seem to happen in the main entrance ways. Here, I’ll address the most common issues that arise when you aim to protect concrete during construction. They are in order of their likelihood of happening on your projects.
Oil and hydraulic leaks
When you listen to commercials on TV for oil or fuel companies you often hear the word “viscosity” to explain how good oil-based products are. A definition of viscosity is “a measure of the resistance of a fluid to deform” but I describe it as the ability of a liquid to change shape.
Oil, if you view it microscopically, starts as a round shape (think baseball). Because oil-based products are viscous, the round ball can quickly change shape into a long cylinder (think hot dog) which allows it to quickly penetrate the concrete. Some types of oil, like hydraulic fluid, change shape quicker than others.
This high viscosity is great for lubricating small complex parts but problems arise when oil encounters porous concrete. Within minutes, it seeps into the pores, and it happens faster if the concrete has had some degree of grinding which opens up the pores more. There are two main culprits for introducing oil-based products onto a construction site.
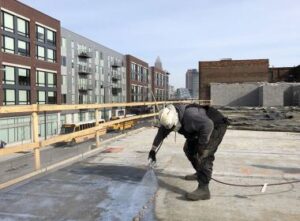
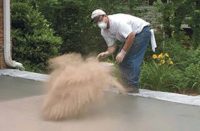
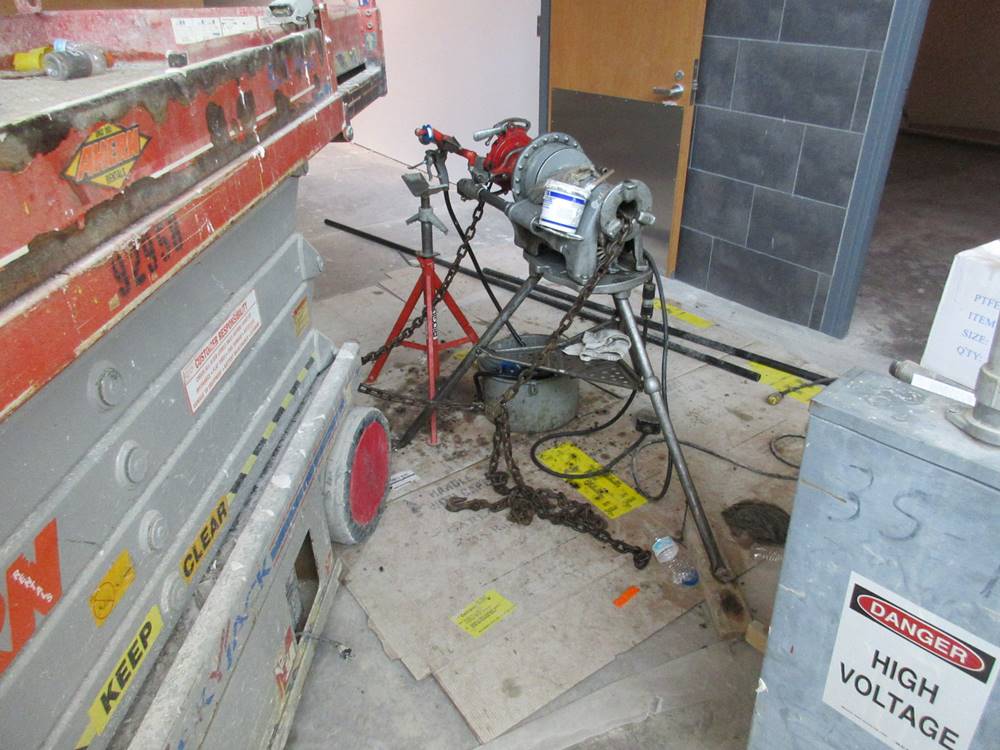
The least common of these is pipe threading. You need to thread sprinkler pipes, as well as other types of common pipe, after they are custom cut to fit the project. Contractors prefer to thread the pipe close to where it needs to be placed so they don’t have to carry the heavy pipe very far.
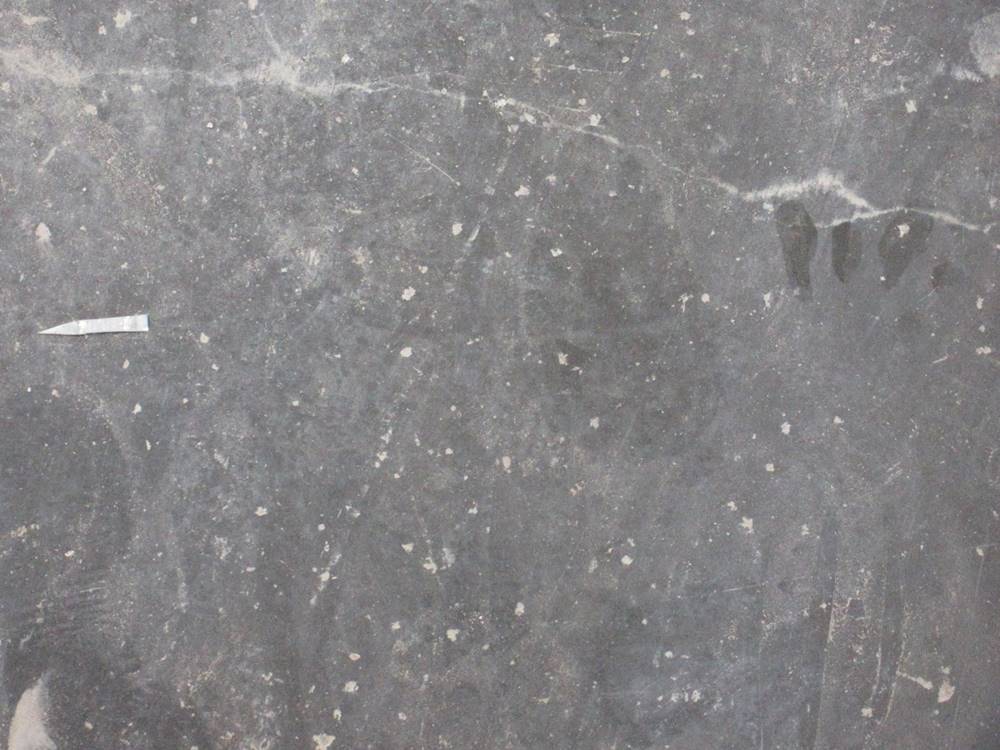
The threading machines use oil to lubricate the cutting tools. This typically flings droplets of oil all around. (See photo at top.) Additionally, oil leaks from the pipes as they are first moved. The easy remedy for this is to get the GC on board to say, “No pipe threading anywhere on the concrete slab.”
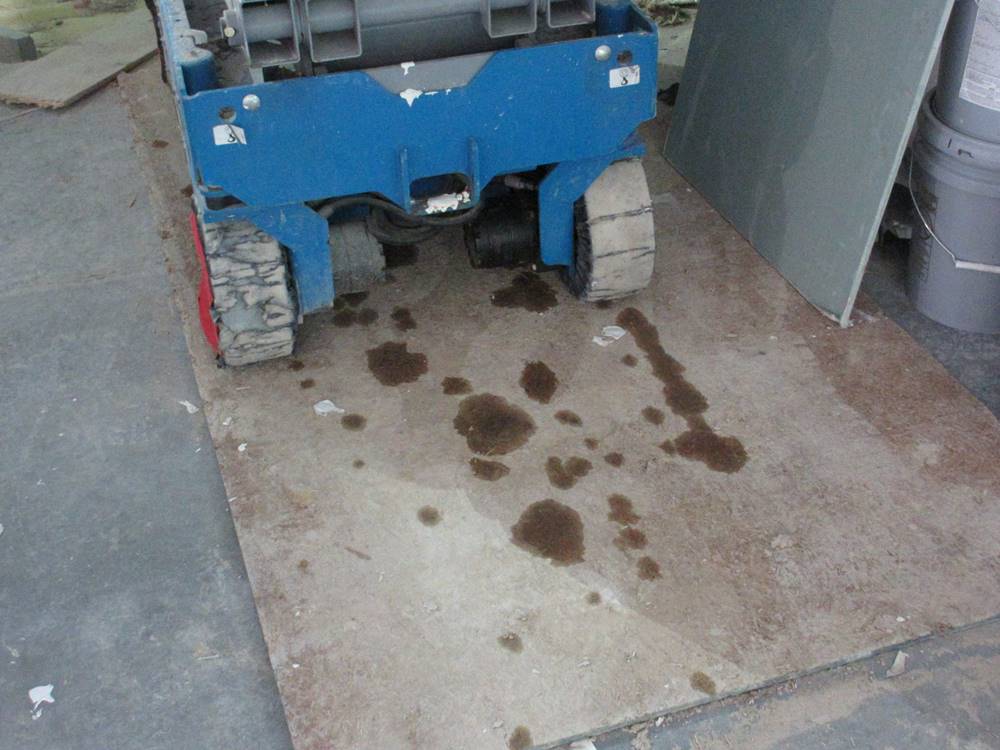
The much more common culprit is hydraulic or scissor lifts, which seem to spring leaks every week. The typical leak from a lift is very frustrating because it isn’t isolated to one spot like the threading machines. Instead, lifts will leave trails all over the floor as the operator unknowingly drives along while his machine is leaking. (See photo above.) To prevent this, require lifts to be diapered when they are on a slab.
I also ask my GCs to specify one area where lifts must be parked to charge each night. They can cover this area and then check all the lifts each morning before work starts. I’ve seen diapers get so full of oil that they fail and dump puddles of hydraulic oil onto the floor. Inevitably you’ll have oil spots on the floor, especially if you have a larger project with a long duration.
Oil Ingestor from Ameripolish is a product that I ask general contractors to purchase. This product is an enzyme that eats the oil over a few weeks’ time. I’ve tried many versions of poultices and they work if you get on the oil right away, but most of the time no one sees the issue until the floor is almost complete. Spray Oil Ingestor is onto the spot and then leave it alone. After a week or two, the spot amazingly isn’t noticeable any more.
Chips from screws in lift tires
No. 2 on my list of common issues, and what has been driving me crazy on this recent job, is chips from screws in lift tires. The invention of hydraulic lifts has single handedly sped up the construction process more than any other item that I see, but to decorative concrete contractors, they can be the most frustrating tool used on a project.
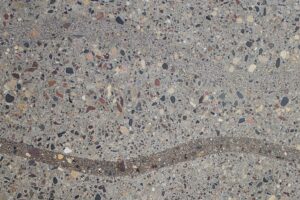
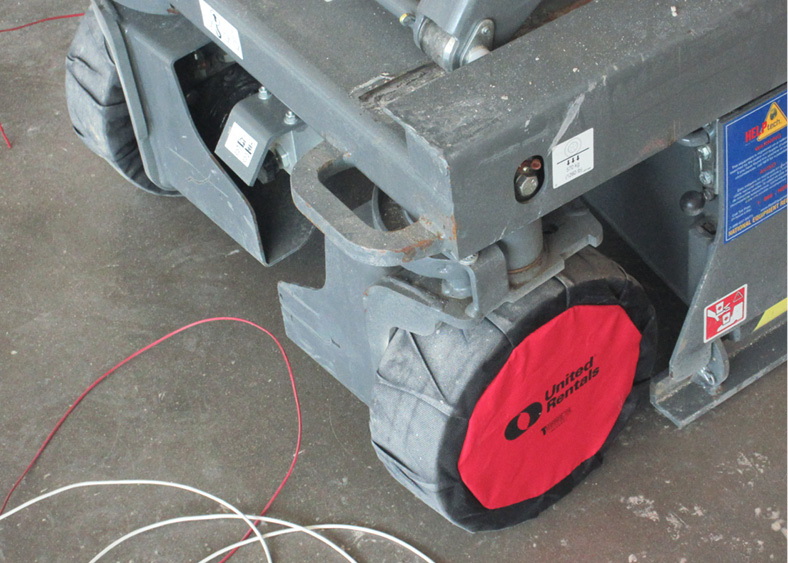
Whether the lift has black or white tires, they are soft rubber. When they roll over a screw or a nail, the soft rubber picks up the harder metal object. As the very heavy lift rolls along, the screws leave chip tracks in the concrete. (See photo below.) If the screw is on the bottom when the wheels are turning the damage is even worse.
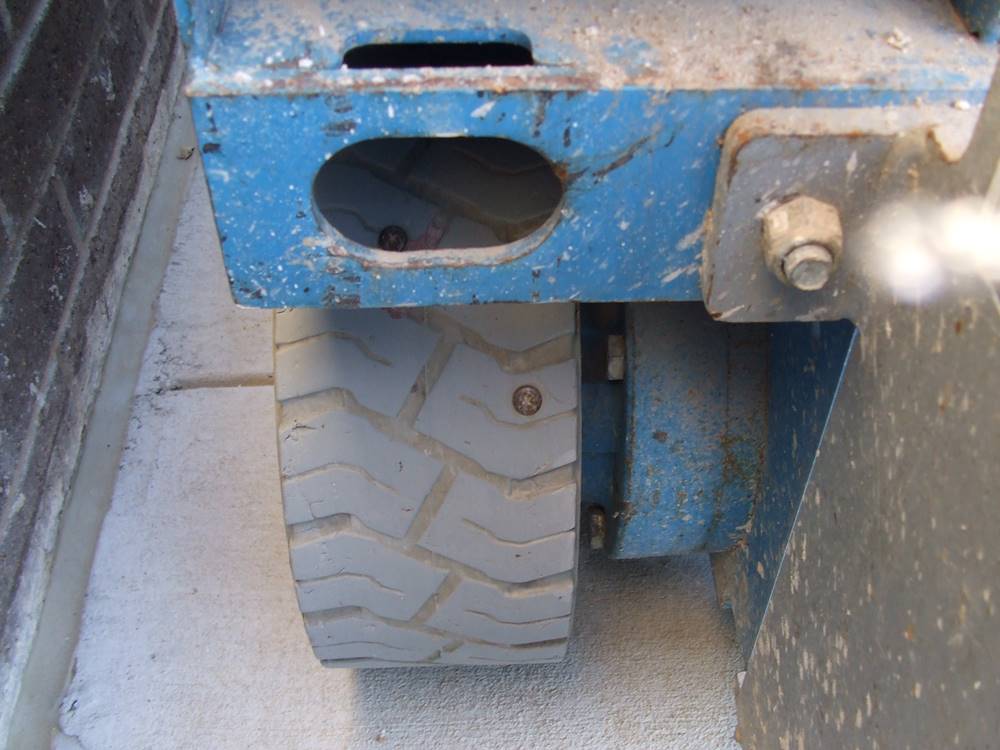
Recently, I’ve begun requesting tire bags on all the lifts. This stops about 80 percent of the screws from getting picked up because the canvas isn’t soft like the rubber. If the screw is pointing directly up, it’ll go through the canvas so tires still need to be inspected. However, bags will significantly decrease the damage caused by screws. (See photo below.)
On this recent job, we discussed tire bags and constant monitoring in the specifications as well as during pre-bid and pre-construction meetings. I discussed it at every site visit for the last eight months, all for naught. The floors were very dirty until they were being polished, so the damage went unnoticed. Without exaggerating there are several hundred thousand screw chips in this high-end floor. All the white dots in this photo are chips in the concrete surface. (See photo below.)
The bulk of this damage happened during and right after the installation of the drywall. I don’t know what it is but drywall installers seem to drop one screw for every two they get in the wall. It would have helped if the GC had someone sweeping the floor during the install.
Broken control joint edges
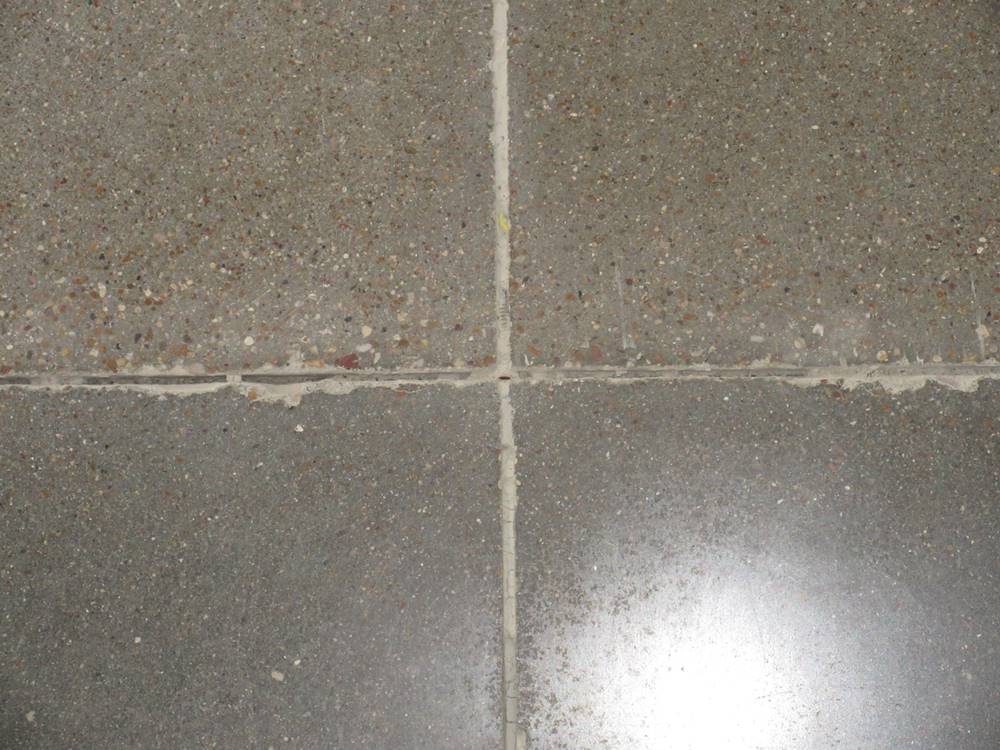
On every project, there are halls and choke points where traffic only moves in two directions like vehicle traffic on a road. When you bring building materials and equipment in and out, heavy loads on small tires cross control joints, the edges or shoulders of the joints can break. This causes spalling as the concrete breaks down which causes more breakage to occur. (See photo below.)
It is not easy to repair this type of damage. Typically, the remedy involves installing a cementitious overlay along the joint to rebuild the shoulders and then recutting in the joint. This is costly and doesn’t always match the standard concrete appearance. There are two easy options to correct this issue.
The easiest is to fill the joint with sand. The sand, it’s well packed, will stop the heavy loads from resting on just the tip of the joint. Distributing the load significantly decreases the damage.
The better option is to fill the joint with a good joint fill. However, you can run into issues when filling the joints early because of moisture as the concrete cures. VersaFlex offers its standard polyurea joint fill, SL/60 and SL/85, that sets up even in high moisture environments. Hi-Tech Systems has also recently introduced high-moisture materials, PE 65 and PE 85 M.I.
Not very expensive, joint filler comprises about 10 percent of the cost of rebuilding the joints. Installing the joint fill early will probably result in separation as the concrete shrinks, but the material will stay in place and hold the load from the traffic keeping the joints intact. It’s easy to cut out joint fill only in these joints that cross high-traffic areas and refill them late in the project.
Entrance damages
Damage and staining at entrances happen on every project — and the bigger the project, the bigger the issue. When workmen and equipment enter the building from outside, they bring in debris which abrades the concrete at the entrances. Sometimes mud gets ground into the concrete and stains it. In the North, salt from roads or sidewalks is the culprit.
I’ve tried a lot of options here including cardboard and felt-backed heavy-mil plastics. They are OK, but they move around and some don’t work well with moisture. Reality is that contractors don’t have time to constantly police their floor protection.
The product I use for the first 50 feet or so inside all my projects’ entrances that holds up the best and handles the most damage is a glue-down protection from Skudo. The company has a few versions, but I prefer its Tack-Mat HT. It sticks to the concrete, doesn’t leave a residue when removed and holds up to everything short of a tracked Bobcat. In the end, there’s no visible deterioration at the buildings’ entrances.
Chips or holes caused by drops
In a perfect world, every project would have an ample budget so Skudo Tack-Mat could cover every square foot of concrete to be polished. Unfortunately, that’s not usually the case. Inevitably, you will drop tools or materials and, in turn, create holes. There is no real way of protecting the entire slab.
When the damage is in a critical or highly visible area, I recommend a repair product called Match Patch Pro. This is a repair system that’s really made to dial in the patch so it’s very hard to find. (See photos below.)
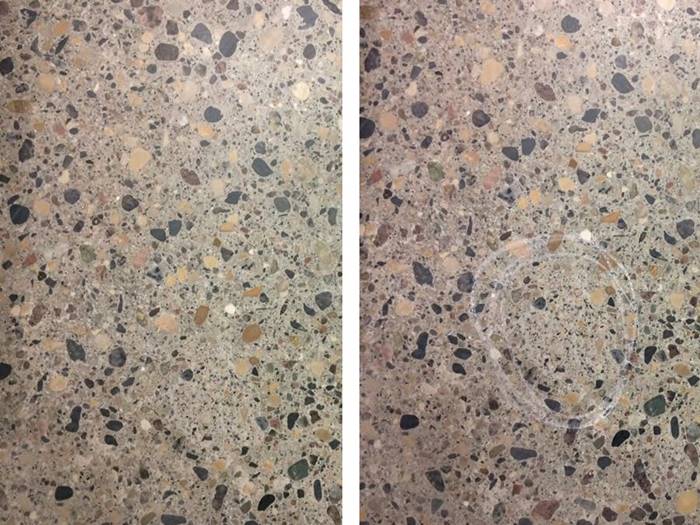
It has different colors of cement material and different aggregates to closely match the slab’s color and texture after polishing. It takes color and holds a polish very well.
Protection is becoming paramount
Although protecting a slab isn’t hard, the idea of protecting a foundation slab is new to most GCs. As polished concrete continues to grow in market share, these issues are becoming bigger and bigger problems for the industry.
With these simple tips, I hope you can work with the contractors on the job so that the resulting slab allows the true value of polished concrete to come through. The products I’ve mentioned here are not the only options, they are just the best that I currently know of. As the value of protection becomes more recognized, new products are already in the works to help the projects of the future.
www.ameripolish.com
www.hitechpolyurea.com
www.matchpatchpro.com
www.skudousa.com
www.versaflex.com
Protect Your Concrete During Construction
Offered by Concrete Decor Store Trimaco Floor Shell - Floor Protection
by Trimaco Trimaco Floor Shell Seam Tape (12-pack)
by Trimaco