This article on the best GFRC mix designs is part one of a two-part series on glass-fiber reinforced concrete. Read part two of a series on GFRC
Let’s start at the beginning: What is GFRC, what are its benefits and what are its downsides?
GFRC stands for glass-fiber reinforced concrete. The GFRC I use is a composite of portland cement, silica sand, Forton VF-774 (an acrylic admixture), Liquefaction Compound (a dry plasticizer specifically formulated by my team for use in GFRC), Vitro Minerals VCAS-micronHS (a pozzolan that adds strength and helps to decrease porosity), water, and alkali-resistant chopped glass-fiber strands. Combine these ingredients and you have an extremely strong, ductile, easily formable material that excels in architectural precast applications.
GFRC pieces differs from traditional precast pieces in both application techniques and reinforcement. Other than these two fundamental differences, the material reacts the same to acid staining, sealing and so on.
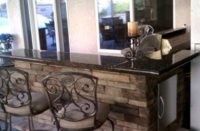
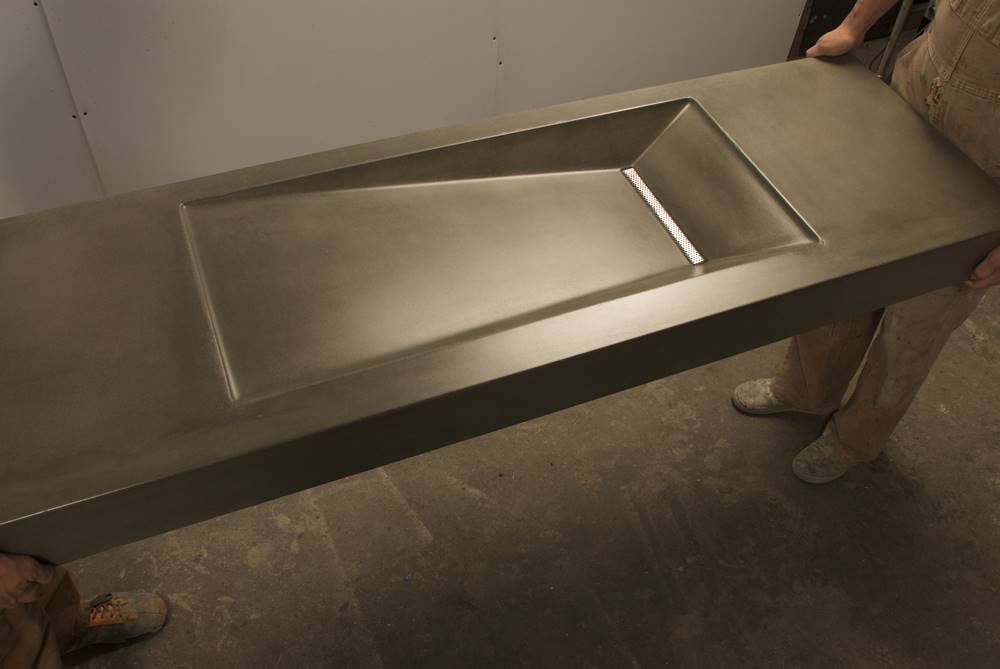
At the same time, the benefits of GFRC are tremendous, making it one of the hottest methods used in the creation of cutting-edge concrete pieces. GFRC weighs on average 30 percent to 75 percent less than comparable wet-cast. This weight savings benefits you by reducing risk of injury or damage, as well as making transportation and placement of the piece much easier.
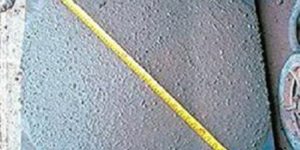
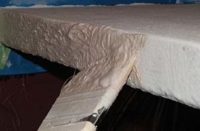
GFRC can be cast as thin as 1 inch, opening up a world of possibilities for products and applications.
 As GFRC pieces are typically cast hollow, there is no need to reinforce the mold. Mold construction time is cut in half, increasing both productivity and profitability.
And there is no more need for rebar because GFRC pieces are their own reinforcement. There is no guessing on how to reinforce a complex shape. No more fussing with bending, rebending, cutting and tying either rebar and wire mesh.
Since GFRC is sprayed, there is no need to vibrate the pieces, and the finish is completely smooth and bughole-free 99 percent of the time, eliminating tedious and time-consuming slurry coating and polishing.
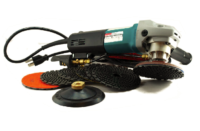
The GFRC methods we outline here do not require expensive equipment. Most concrete artisans already own the required tools, but if not, they can be purchased from any home improvement store for a relatively low cost.
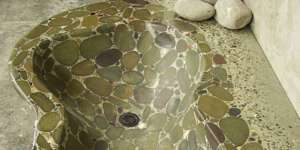
The downsides of GFRC are few, but they should be considered when bidding projects. The primary downside is exposed aggregate. GFRC is sprayed, which does not lend itself to the use of decorative aggregate. Adhering the pieces into the mold first, then spraying over the pieces, can allow for installation of limited amounts of exposed aggregate, but this can be a time-intensive process.
The ABCs of GFRC mix design
Now that we have covered the basics, let’s get to it! First, you will need to secure the following ingredients. If you need help obtaining any of these products, you can also visit my supplier website, ConcreteApothecary.com.
- Type I/II white or gray portland cement
- No. 30 silica sand
- Forton VF-774 acrylic admixture
- Liquefaction Compound
- Vitro Minerals VCAS-micronHS
- OCV Reinforcements Anti-Crak HP 12 mm AR glass fiber
Next, you will need to gather the necessary tools.
You will need:
- An air compressor rated at 15 cubic feet per minute or more. Used air compressors can also be found online.
- A drywall hopper. Be sure to secure the plastic hopper bin backwards, as we typically spray down into a mold and we do not want the concrete to spill out. Also, use the largest-diameter tip provided with the hopper.
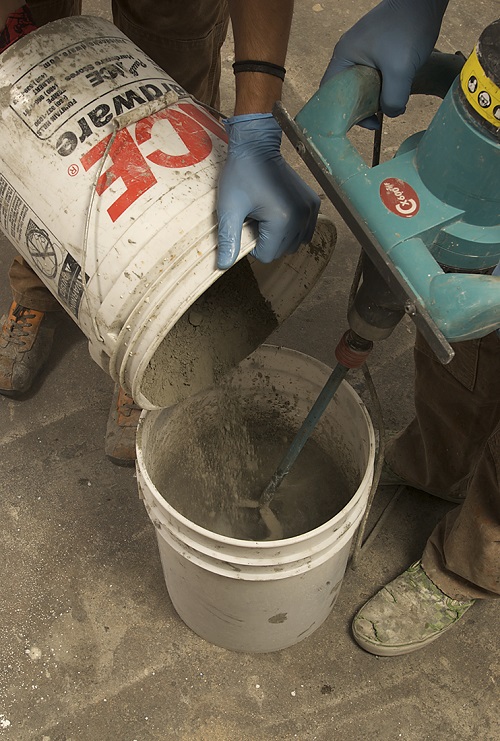
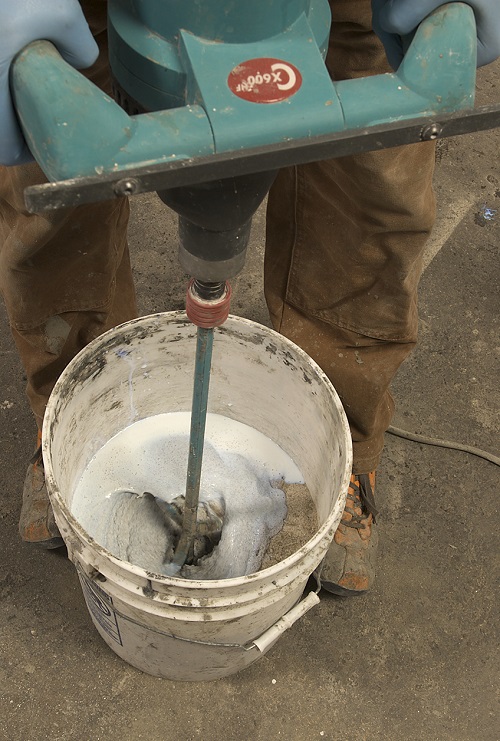
- A handheld mixer. We use Collomix mixers, but a high-powered drill with a paddle will work fine in the beginning.
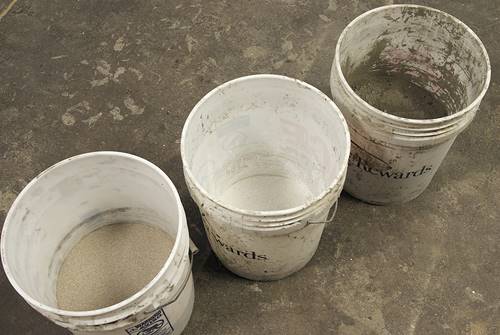
- Plenty of 5-gallon buckets, as well as a few 20-gallon or 25-gallon plastic buckets if you can find them.
When we discuss GFRC mix designs, we talk in quarter batches. This is because we typically divide a 94-pound bag of portland cement into four equal parts. A “full batch” would be four quarter-bag batches.
The only time we ever recommend mixing a “full batch” is in the use of a self-consolidating back-coat.
Once your mold is constructed, calculate your material requirements using the following formulas.
Square footage: Length (inches) x Width (inches) = Total square inches / 144 = Total square feet.
For 3/4-inch thick GFRC products
Number of square feet x 0.1875 = Number of 1/4-bag batches
For 1-inch thick GFRC products
Number of square feet x 0.28125 = Number of 1/4-bag batches
For 1.5-inch thick GFRC products
Number of square feet x 0.375 = Number of 1/4-bag batches
Now we will provide an overview of the three different mix designs and also their respective uses.
GFRC Sprayable face coat
The sprayable face coat will form the surface of your piece, and as such, does not contain any glass fibers. You will always mix this coat first, and always in no more than a quarter batch at a time. It is also very important to spray a fresh mix to achieve the highest quality-finish.
Ingredients for face coat
- 20.5 pounds portland cement
- 3 pounds Vitro Minerals VCAS-micronHS
- 1 quart acrylic emulsion
- 2 ounces Liquefaction Compound
- 17 to 18 pounds No. 30 silica sand
Order of mixing
- Silica sand
- 2 quarts chilled water (plus an extra 1/2 quart ready for use as needed)
- 1 quart acrylic emulsion
- 2 ounces Liquefaction Compound
- 3 pounds Vitro Minerals VCAS-micronHS
Mix. If using pigment, add it at this point and mix again. - Add cement SLOWLY while mixing.
- Scrape sides of bucket with a trowel.
Mix for 45 to 60 seconds then allow concrete to rest for two to three minutes.
If needed, add a small amount of water and then mix again.
|
|
|
|


Vertical back coat for GFRC
The second mix design is for the vertical back coat, which is used to form drop-down edges, sinks, and so on. This mix does not contain Liquefaction Compound. However, it does contain glass fibers. It is a fairly stiff mix that lends itself to not slumping. We mix this only in quarter batches to maintain a good working consistency.
Ingredients for vertical back coat
- 23.5 pounds portland cement
- 1 quart acrylic emulsion
- 19 to 20 pounds No. 30 silica sand
- 1 pound AR glass fiber
Order of mixing
- Silica sand
- 2 quarts chilled water (plus an extra 1/2 quart ready for use as needed)
- 1 quart acrylic emulsion
Mix. If using pigment add at this point and mix again. - Add cement SLOWLY while mixing.
- Scrape sides of bucket with trowel.
- Mix for 45 to 60 seconds then allow concrete to rest for two to three minutes.
- If needed, add a small amount of water and then mix again.
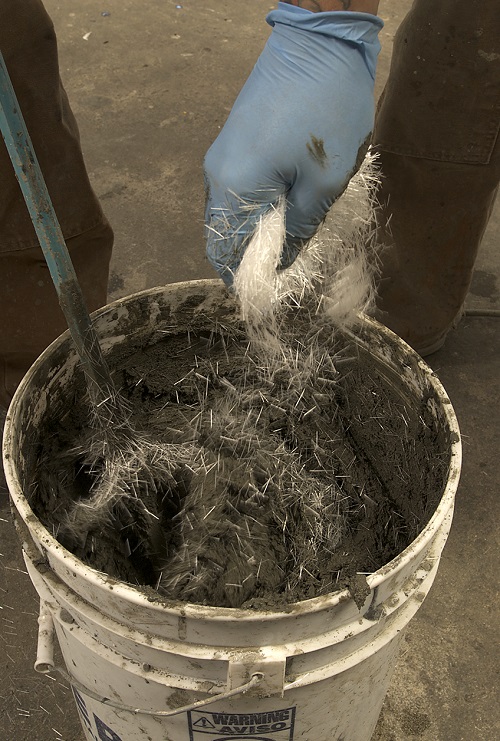
- Slowly add glass fiber while mixing SLOWLY. It is important to keep the mixer speed slow to prevent damaging the glass fibers also.
|
|
|
|

Self-consolidating back coat for GFRC
The last mix design is for the self-consolidating back-coat. This is often the last mix you will apply. The mix design generates a very wet mix that both self-levels and does not require vibration.
Depending on the quantity needed, the coat can be mixed in either single quarter batches or full-bag mixes.
Ingredients for self-consolidating back-coat
- 23.5 pounds portland cement
- 1 quart acrylic emulsion
- 12 ounces Liquefaction Compound
- 19 to 20 pounds No. 30 silica sand
- 1 pound AR glass fiber
Order of mixing
- Silica sand
- 2 quarts chilled water (plus an extra 1/2 quart ready for use as needed also)
- 1 quart acrylic emulsion
- 12 ounces liquefaction compound
Mix. If using pigment add at this point and mix again. - Add cement SLOWLY while mixing.
- Scrape sides of bucket with trowel.
- If needed, add a small amount of water and then mix again
- Slowly add glass fiber and then mix slow. It is important to keep the mixer speed slow also to prevent damaging the glass fibers.
We’ve covered the benefits of GFRC, the ingredients and also the equipment needed. Additionally, we discussed the mix designs. In the second part of the article, we’ll tackle the most important piece of the puzzle — technique.