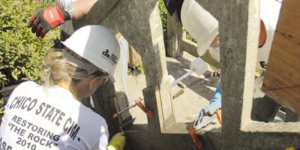


While a declining economy is closing the door on a lot of new construction, it’s opening a window for renovation. Refurbishing and reusing are attractive options for homeowners and enterprises that might have built from scratch in more extravagant times.
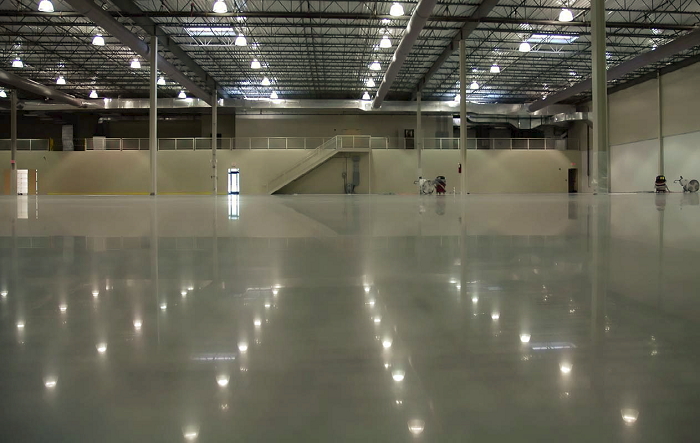
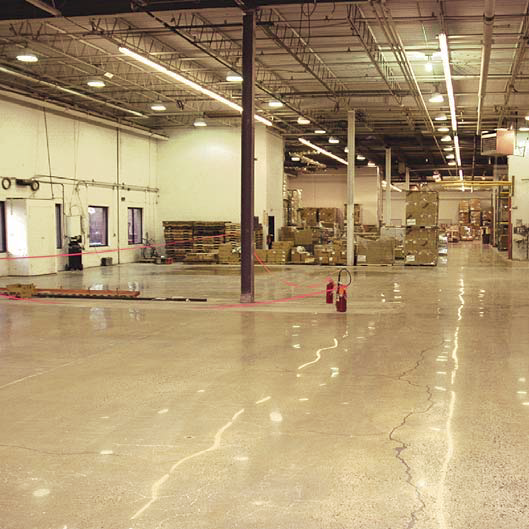
This is an opportunity for decorative concrete contractors who can help customers make an old floor look new again. From a home to a warehouse, most buildings have a concrete floor somewhere, so the potential market is sizeable.
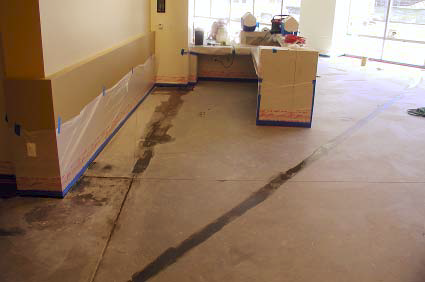
The first step in making old concrete floors look new is getting rid of everything that makes them look old. In this case, past is prologue. The original floor covering or finish doesn’t only determine what’s required to strip and prep the floor. It may also impact the look of the finished project.
Materials that may need to be removed or repaired run the gamut. They include grout, sealers, polymeric coatings, and adhesives and mastics for carpet or tile. There are two general methods for stripping concrete floors: mechanical and chemical. The choice between the two depends on several factors. These include what material must be removed, job-site limitations, and what equipment and expertise are available.
Mechanical Concrete Stripping
Tom Sylcox, production manager for Floorgen in Newburgh, N.Y., says shot-blasting is typically used to remove acrylic coatings. “The challenge is making sure not to go too deep,” he says. “Removing ‘craters’ is not an enjoyable process. It takes time and increases the cost to the customer.”
“The uneven surface left by shot-blasting can cause other problems as well,” says Jim Cuviello, owner of Cuviello Concrete in Stevensville, Md. He’s also the director of the Concrete Processing and Polishing Technical Institute.
Shot-blasting can indeed be used to prep concrete. However, he cautions, it’s best used by an experienced operator and under certain circumstances. “In most cases, an inexperienced operator will leave deep cornrows that are problematic if the floor is going to be polished. This is not the best way to prep a floor for polishing. Cornrows can even telegraph through a thin overlay.”
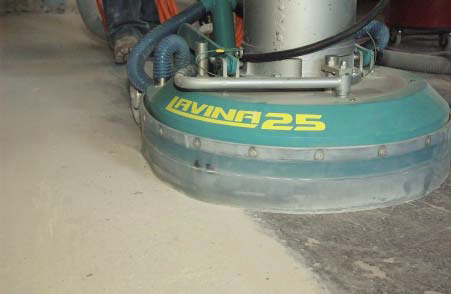
Grinding is No. 1
Another aggressive mechanical stripping technique is scarifying. This is a compromise between blasting and grinding. A scarifying machine looks like a grinder. However, its “star cutters” operate in three dimensions, breaking up the surface below. This makes scarifying well suited for removing tough materials such as mastics, epoxies and nonskid coatings. It also profiles the concrete for better adhesion of overlays or for thick coatings.
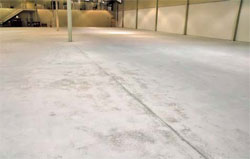
The most widely used mechanical technique for stripping is grinding. As grinding is also the first step for a polished concrete floor, it often serves a dual purpose. “We strip mechanically whenever we want to profile the concrete surface for an overlay, epoxy or polished concrete project,” says Thomas A. Jagger, owner and president of Jagger Scored/Stained Concrete Inc. in Texas.
Shawn Halverson of Surfacing Solutions Inc. in Temecula, Calif., adds: “For an overlay, grinding or scarifying is great. It cleans the sealer off and profiles the floor in the same step.”
Grind to Get That Look
“We go through eight levels of grit to grind and polish a floor,” says Cuviello. “The one we start with depends on the condition of the floor. Removing coatings or glues requires lower (coarser) grit. The lowest available is 6, but we usually start at 30 to prep. The coarser the grit used to prep the floor, the longer it takes for the next grit to refine it. And overall the longer the process takes. The higher the starting grit, the less work it is for the contractor.”
Sylcox recommends grinding to give old concrete a fresh, clean look. “The cream layer takes so much abuse,” he says. “Start with a 30 grit to take the cream off. Get to the nice exposed aggregate that you can now polish or seal.”
Halverson agrees. “If you’re going to stain, grinding can add to the look,” he says. “For example, you may need to grind to get carpet glue off. But then do a nice clean grind to expose a little aggregate and you get a beautiful effect.”
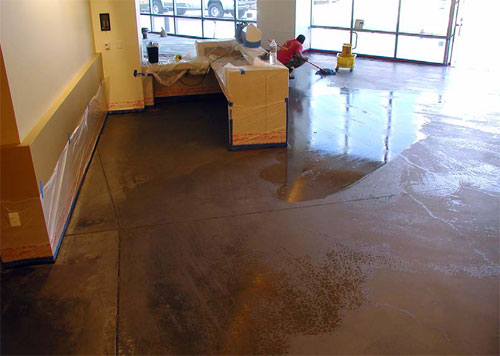
Chemical Concrete Stripping
Despite its rather fierce-sounding name, chemical stripping can be safe for the environment. On finished concrete, it leaves less of a mark than mechanical means. “We strip chemically whenever we don’t want to change the concrete surface, say for an acid-stain project,” Jagger says.
Chemical stripping is by far the most common method of removing a sealer to prepare concrete for resealing or refinishing. This is according to Chris Sullivan, national sales manager for QC Construction Products. He explains that there are three families of chemical strippers: solvent-based, caustic and biochemical.
Solvents are Common
Solvent-based chemical strippers are the most common and they typically contain methylene chloride. These are also the most aggressive.
“This is a very reactive, flammable, strong oxidizer. It needs to be treated with respect,” Sullivan says. “Contractors must wear rubber gloves, long sleeves and respirators, as this will burn skin and lungs.”
While such an aggressive stripper isn’t required for every case, methylene chloride has its uses. “If you’ve got four layers of 20-year-old epoxy and you can handle the fumes and removal, this is your choice for stripping with just one application,” Sullivan says. These solvent strippers work from underneath a coating by breaking down the bond between the coating and the substrate.
Caustic are Reactive
Caustic chemical strippers are water-based alkaline materials that are very reactive. The alkaline active ingredients react with esters and oils in certain sealers. This breaks down the materials and turns them into soap, a chemical reaction known as saponification.
“While caustic strippers are readily available, we don’t see them much in decorative concrete. This is because we don’t see many oil-based sealers these days,” Sullivan says.
Biochemical Strippers Friendlier to Environment
Biochemical strippers, the newest chemical strippers, are growing in popularity. They’re based on oils or esters derived from natural raw materials such as soybeans, pine sap and citrus trees.
Biochemical strippers effectively take off most coatings, Sullivan says. However, they might take longer or require multiple applications to work on high-performance coatings. These include thick epoxies and polyurethanes.
These strippers clean up with water and often have a citrus smell. Although not hazardous, they contain chemicals as active ingredients. Therefore, Sullivan recommends wearing gloves when handling these reactive strippers.
Overall, though, they are more environmentally friendly than solvent-based and caustic strippers, he notes.
Typically made from renewable resources, biochemical strippers don’t produce hazardous byproducts. They are similar to caustic strippers in working time and application.
Strip to Succeed
Aside from protective clothing as recommended on the product label, chemical stripping doesn’t require special equipment. “The process of applying the stripper is simple,” Halverson says. “Just pour it out, squeegee or broom it evenly and wait. The harder the surface is you’re trying to remove, the longer it will take to break down.”
He recommends removing the stripper after an hour. Then he recommends applying a fresh batch if there are multiple layers of coating on the floor.
Most chemical strippers are in the form of gels. Gels stay in place and dry out more slowly then liquids, keeping the reaction working longer.
“Gel is also easier to clean up,” Sullivan says. “If it’s a smooth surface, just scrape it off with a large blade scraper. On a textured surface, use a brush. Citrus- and soy-based gels can go directly into the regular dry waste. You should allow methylene chloride stripper waste to dry to a solid state before disposal. Never put any chemical stripper down the drain.”
The choice between mechanical and chemical stripping depends on several factors. However, a floor must be thoroughly stripped and cleaned of contaminants such as adhesives and old sealers for a concrete renovation project to succeed.
Questions from Readers
Question
After chemical stripping with a caustic stripper, which adhesives will work to reattach flooring to the concrete without the embedded stripper in the concrete’s pores compromising the adhesive?
Answer from Concrete Decor
We recommend using a floor scrubber or a stiff broom to scrub the floor with a cleaner degreaser. Use a wet/dry vacuum to extract the wet residue. Then do another scrubbing application with clean water to remove remaining detergent and stripper from the concrete surface. If you still have adhesive residue on the concrete surface, use your floor scrubber to sand the floor as well. Your local rental yard will have this type of equipment.
If, afterward, you still have concerns about the adhesion of a new flooring adhesive then send us a few additional pictures of the floor. If needed, we can discuss it further.
Question
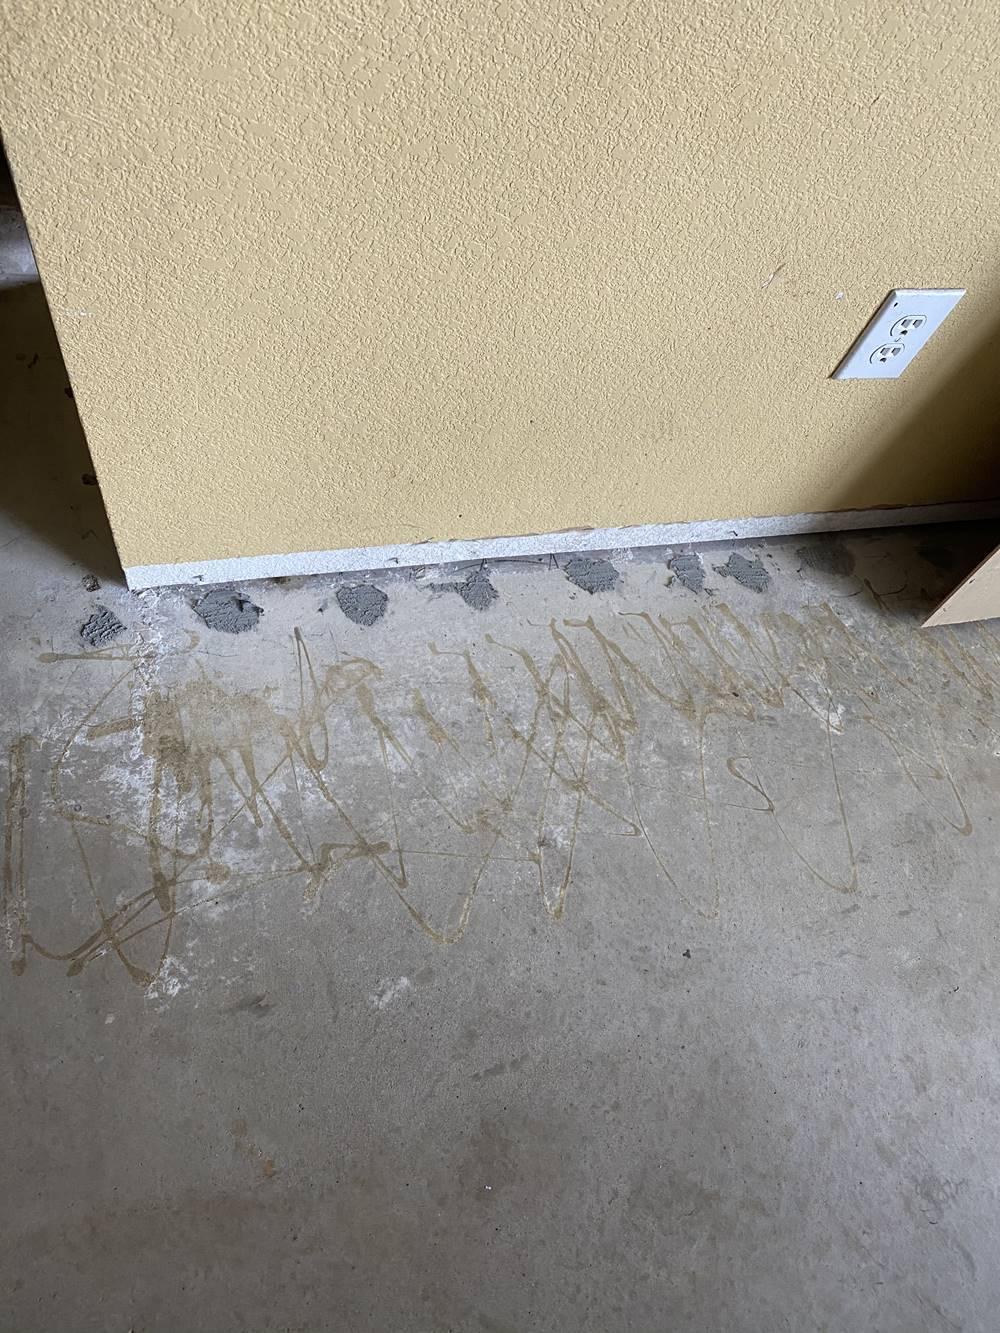
We plan on staining our concrete floor but holes remain along the walls from the former carpet’s tack strip. I filled a few of them with a concrete patch mix but it doesn’t match the concrete on the rest of the floor. What do you recommend to patch the holes with before we stain?
Answer from Concrete Decor
We recommend you clean the entire floor of glue and paint before patching holes or cracks.
Once you patch those holes you need to sand the patches or ground them smooth to match the existing concrete surface. You may wish to consider a dark border color along the wall so those patches aren’t noticeable. You may also wish to consider a microtopping trowel-applied to the floor. That type of product will ensure that your staining application is more uniform.