
All concrete cracks, but still it’s the most used paving material in the world. Why does it crack? And what steps can you take when preparing for concrete cracks? For those of us in the industry, we know why but explaining that to an owner who just paid a bunch of money for a decorative concrete installation that has developed a crack is often a tough sell.
When you think about it, how does concrete continue to be so widely used knowing it will crack? The answer is simple: Joints. The National Ready-Mix Concrete Association says it best: “Joints are simply preplanned cracks.”
Every joint has its place
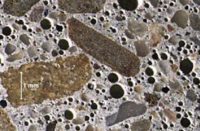
Proper jointing is fundamental and critical in all concrete placements. Concrete expands and shrinks as it cures when there are changes in moisture and temperature. It can also be exposed to external forces. As we all know, concrete isn’t flexible, so once a force exceeds the concrete’s strength it cracks. This process holds true for any concrete, including decorative finishes.
Just because color is added, or the surface is stamped, doesn’t make concrete immune to cracking. In fact, I find that proper joint placement in a decorative installment can be more challenging compared to a plain gray slab.
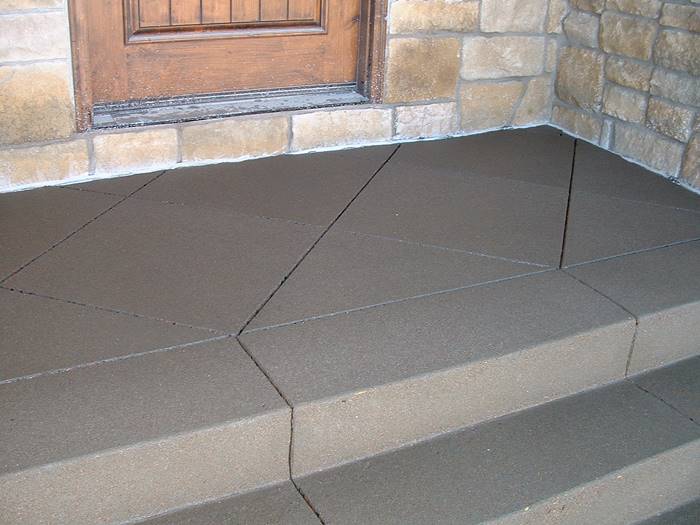
Patterns, colors and texture need to be considered when it comes to decorative applications. Many times running a joint right through the middle of a decorative slab negatively impacts the appearance. So, a quick review of joints isn’t a bad idea, specifically when dealing with decorative applications.
First, and most important, all concrete flatwork needs proper joints. Skipping them or trying to bend the rules almost always ends up with a random crack, which is what we’re trying to avoid.
The good news is there are some clear and concise guidelines and volumes written about best practices. Both the American Concrete Institute (www.concrete.org) and National Ready-Mix Concrete Association (www.nrmca.org) have written guidelines.
Here are the basics from the NRMCA CIP 6 – Joints in Concrete Slabs on Grade:
- The maximum joint spacing should be 24 to 36 times the thickness of the slab. For example, in a 4-inch-thick (100 mm) slab, the joint spacing should be about 10 feet (3 meters).
- It’s recommended that joint spacing should be limited to a maximum of 15 feet (4.5 meters).
- All panels should be square or rectangular. The length should not exceed 1.5 times the width. Avoid L-shaped panels.
- For contraction (control) joints, the joint depth should be one-quarter the thickness of the slab.
- After finishing, joints should be placed as soon as possible.
Types of cracks
Now that we understand how joints are placed, let’s look at the types.
Contraction joints – These used to be called control joints because they’re used to control random cracking. They should be placed roughly 10 feet apart and at a depth that’s one-quarter the thickness of the slab.
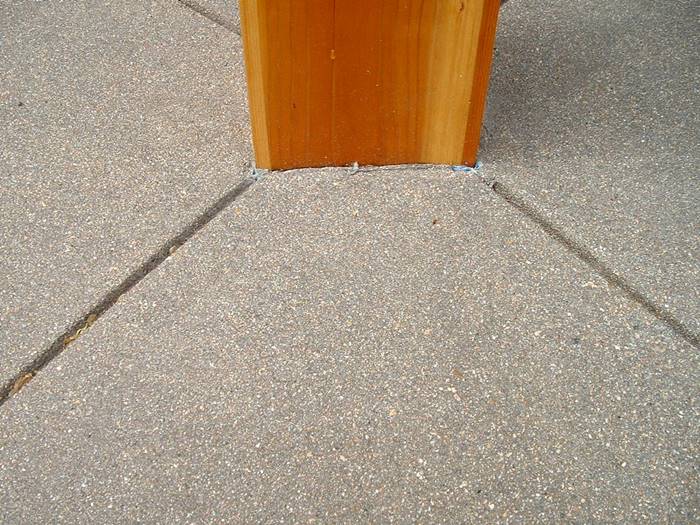
Isolation joints – These joints are used to “isolate” the slab from other structures such as walls, stairs and columns.
Construction joints – These are used where two concrete surfaces meet. They are usually doweled to permit load transfer.

Jointing methods
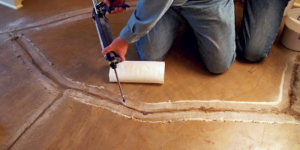
In the decorative world, we most often see contraction and isolation joints. The type of finish often determines the method for incorporating contraction joints. In most cases, if you achieve the proper depth, either saw cut or tooled joints are acceptable. Saw cuts, however, are far more popular.
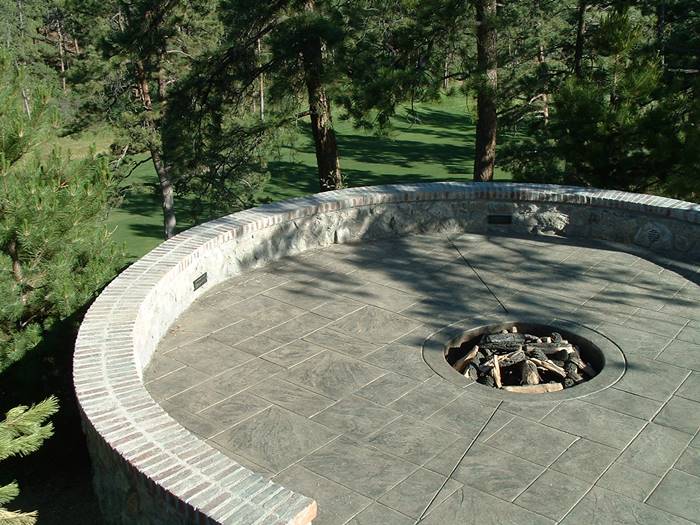
In most cases, the method of jointing is based on the installer’s preference or project plans. Things get interesting when saw cuts impact the project’s aesthetics. The most common example of this is when contraction joints are placed in stamped concrete. The joint must be there, so the installer is faced with the dilemma of how to incorporate it without impacting the appearance.
A common method is to run the joint 10-foot on center as per ACI specification without much consideration of what it does to the pattern. Some installers incorporate the contraction joints into a band that runs through the body of work breaking up the pattern into sections. Of course, this adds time and complexity, which adds to the overall cost.
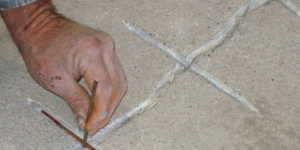
One thing I see from time to time that should be avoided is having a contraction joint follow the pattern of the grout lines of stones. Cracks aren’t smart enough to follow an irregular joint, and this is a guaranteed way to get random cracking. Also, even though decorative saw cuts often look like joints, they provide little structural relief. In most cases, decorative saw cuts are 1/8- to 1/4-inch deep and are for aesthetic purposes only.
No matter what type of concrete work you install, design or dream up, joints are critical. While it may not look like much, that thin cut in the concrete is providing stress relief for the slab on your terms. Without it, the concrete gets to decide and that’s never a good thing.