Let me start by being blunt. Almost anyone can squeegee down a couple of coats of topping. But overlays and microtoppings are handcrafted, not generic flooring you buy on a roll. How do you go from doing what anyone can do to creating your own distinctive look and giving customers exceptional projects?
My advice for moving from good to great resurfacing boils down to two things. First, get the basics right. Maybe anyone can do it, but bad fundamentals will quickly convert into bad results, and that brings down the reputation of the whole industry. Second, become an artist. Use your creativity and all the color technologies and finishing techniques available today to really make your work stand out.
Here are a few specific tips for taking resurfacing projects beyond good to great. I’ve divided them into “basics” and “extras.”
First, the basics
Customer expectations: Sample, sample, sample! Be sure your customers know what a topping can and can’t do. Educate them on different options. Once, one of my customers was sure he wanted an acid-stained floor, but when he saw what else he could have, he chose an integral color instead.
If you show a customer a manufacturer’s sample, be sure you understand exactly what materials and techniques were involved, and be sure you can duplicate it.
Also, don’t let customers dictate conditions that are not compatible with your materials and practices. It’s not unusual, for example, for a general contractor to try to compress time frames or value-engineer materials. Stand up for what you need to install a quality job.
Materials selection: In order to educate customers about their choices, you need to be a materials expert yourself. Make sure you understand the benefits and limitations of any material you plan to install. Get familiar with suppliers’ literature, attend trainings, and above all, practice on samples, your own driveway, your friend’s patio. Make sure you have some experience at the scale you’ll be working at — a 2-by-2 sample is different from a 30,000-square-foot plaza.
Understand the parameters of your project. Is it outdoors in a place subject to freeze-thaw and thermal expansion and contraction? Is it a commercial renovation that has to get back into service quickly? Is it adjacent to other tenants who will be impacted by odors if you use a solvent-based color or sealer material?
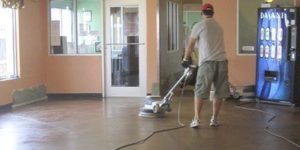
Surface preparation: Some contractors never progress beyond believing that “if it’s clean, it will stick.” Then when an overlay delaminates or aggregates pop out they don’t know what went wrong. A simple acid etch is a common prep technique, but will that really give the performance you need? It may be all right for a thin build, but I believe the investment in a walk-behind grinder and vacuum system or a shotblaster that achieve a better profile and keep the concrete dry will pay off for most contractors.
Sealing: Sealers or topcoats almost always get the least attention of any factor that goes into a project, but they can mean the difference between an outstanding installation and a premature failure. This coat comes between the traffic and the actual overlay, so you have to understand what materials are available, how they will perform and, above all, what kind of abuse they will be expected to take.
Cost and durability are the two features most obvious to customers. It’s up to you to dig deeper. What type of wear will it be exposed to? Constant foot traffic? Tables and chairs? Trucks or forklifts? Does it need to be repairable or can it be resealed periodically? How will it be maintained? Does it need premium scratch or stain resistance? Does it need to be slip-resistant? Make sure the customer knows what is needed, why it costs what it does and what the value will be.
One note: Don’t add metallics or sparkling additives to the sealer — they’ll get walked off. Add them to the stain or to a clear base that you then seal over.
Now, the extras that make it great
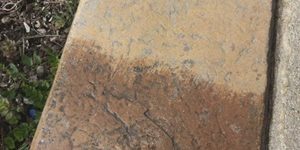
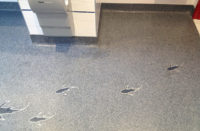
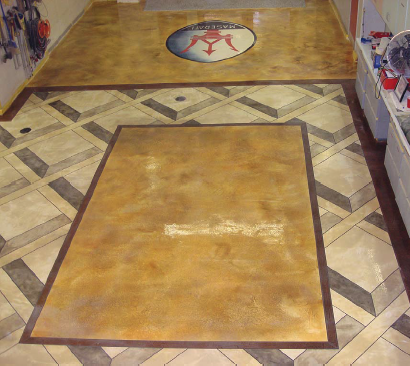
Texture: One of my tips for successful coloring is adding texture to the floor. The word “texture” makes people cringe sometimes because they think it means the floor will feel rough and collect dirt. However, I’m talking about a very subtle texture, one you almost can’t feel. You can add visual texture even to a thin microtopping by using good trowel technique or lightly sanding. A microtopping lightly sanded with a piece of sandpaper takes a stain in a completely different way because it is more porous.
Barely exposing cement, aggregates and calcium hydroxide also changes the look of the color. Texturing the surface this way gives the color more depth and dimension.
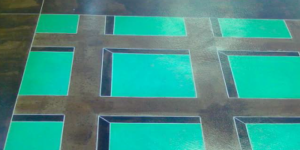
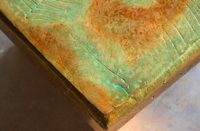
Integral color: Integral color looks different in an overlay than it does in a poured-in-place slab. Integrally colored microtoppings look softer and more variegated because of different rates of hydration from the substrate below. (Note: a self-leveling overlay will come out looking more uniform like a new concrete slab.) I like to skip-trowel the first layer of an integrally colored microtopping, then dilute the color for the next layer and pull it tight, skimming off the high points so the lighter color only stays in the low voids. This gives a deep, rich look.
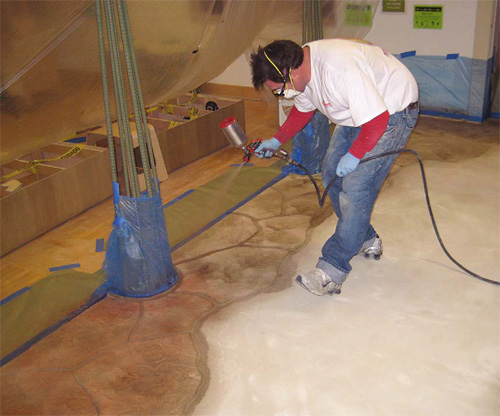
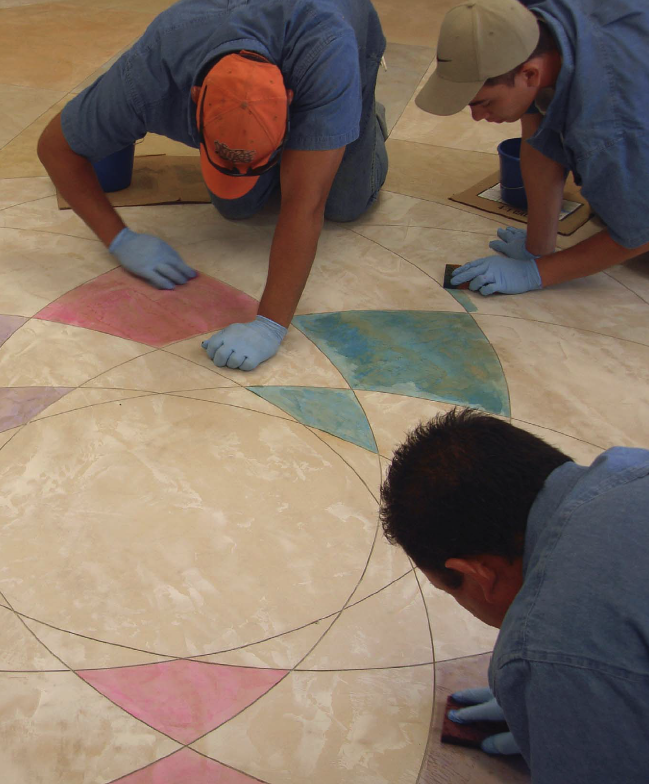
Water-based stains: Acid stains are most commonly applied with a pump sprayer, but a high-volume, low-pressure gun (HVLP) can be used with water-based stains. This means you can aim the color with pinpoint accuracy, fogging it for a large area and then getting low and close to add a shadow or blend light and dark. These stains lend themselves to mixing techniques, so mix it up — try misting and blending with an HVLP gun, spraying with a pump sprayer, sponging with sea sponges or rolling with a textured roller. Just practice, practice, practice in your own studio before experimenting on a customer.
These are just a few ideas for making an overlay look great. There are many more options for artisans willing to get creative and try new things. In the end, it is the combination of good basic practices and bold finish techniques that move resurfacing jobs from functional to fabulous.