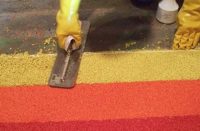
Concrete placement is never easy, with many variables such as wind, sun, ambient temperature and humidity to consider as they all affect each pour. The mix design and consideration of the actual makeup of the concrete and possible additives are just as important. In today’s world, ready-mix suppliers tweak the mix designs in thousands of small ways with additives to assist the placement and offset some of these considerations. Sometimes these modifications have unintended consequences.
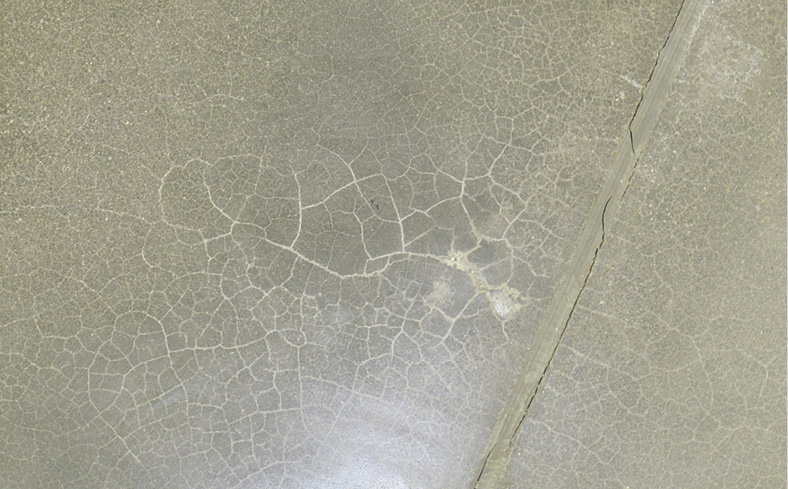
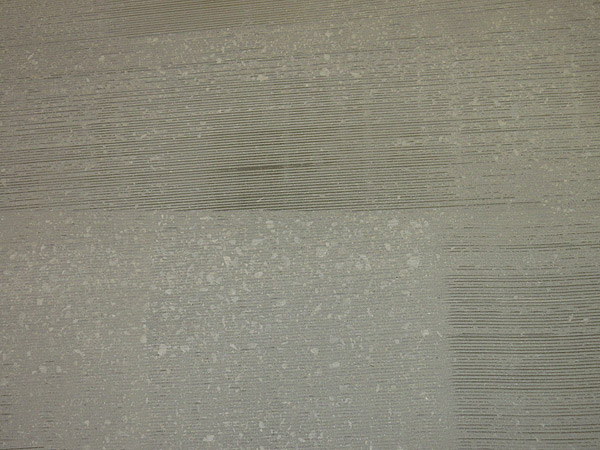
Over the last couple of years, I’ve noticed a disturbing trend of delamination (a separation of the layers) occurring on slab placements. When discussing concrete, this usually occurs when the paste layer at the surface separates, causing a thin layer of concrete that’s not bonded to the body of the slab.
Two main culprits
As you can imagine this separation can cause a lot of problems. Before we discuss preparation and repair, it’s important you understand the two main causes for delamination.
Delamination in concrete is often caused by a high air content that becomes trapped by a tight power-troweled finish on the surface. The tight finish allows small air bubbles to get trapped. When they become trapped, they combine to make larger bubbles.
These bubbles push the closed surface up as air tries to escape the top of the concrete slab. Later, these raised blisters harden and then break with traffic. This type of delamination is usually seen in nickel- or quarter-size areas but they can be larger. The largest area of wholesale delamination caused by air that I’ve seen is about two-feet square.
The second main cause for delamination is trapped bleed water. As concrete sets, it forces water out of the mix. When a vapor barrier is placed under a slab, the water escapes out of the top.
Sometimes, especially in cool temperatures or when the slab is under roof with walls in place, the concrete set takes an extended amount of time. I’ve seen instances where the concrete placement subcontractors sit around for hours waiting on the bleed water release to complete so they can trowel the concrete. When the subs are tired of waiting, they occasionally start the troweling process without allowing the bleed water to fully come out of the slab.
When this happens, similar to the air issue, the bleed water becomes trapped under the tight troweled surface paste. Small pockets of water join to make larger areas where the water pushes against the surface paste and creates blisters. Over time, the water evaporates or relocates in the slab structure leaving empty blisters. These blisters eventually break from traffic or maintenance and a delamination becomes evident.
All flooring types affected
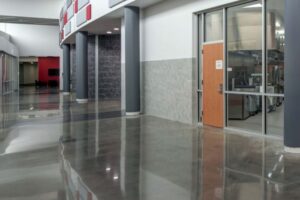
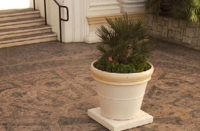
Delaminations cause issues with any flooring option. Although the problem is quickest to be noticed on polished and decorative concrete flooring, delaminations also cause separation of the manufactured material from the slab body with tile, VCT or VLT.
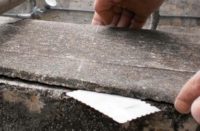
I was on a project the other week where as we were walking across the store, the architect’s toe caught a tile and it went skittering across the floor. When we picked it up, the tile was bonded well to the concrete, but the concrete paste layer came off and was stuck to the tile itself.
Under carpet, the concrete breaks up and causes lumps that wear faster in isolated spots. Delamination is a major issue under resinous coatings as the delaminations split the topcoat and open pathways for moisture intrusion that cause rapid separation of sections much larger than the original delamination. It is extremely important to remove delaminations prior to the installation of any finished flooring.
Several ways to go
So the question is: “How do we remove delaminations?” The first thing you need to do is determine the depth of the delamination. Issues caused by a high air content are generally very shallow with an average depth of 1/16 to 1/4 inch. Issues caused by bleed water entrapment can be deeper, with delaminations occurring up to 1/2 inch deep.
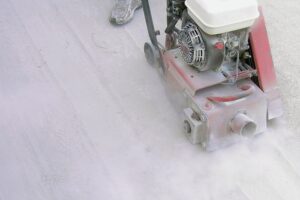
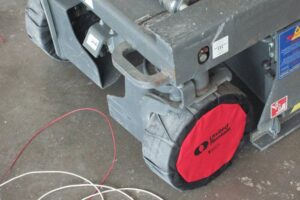
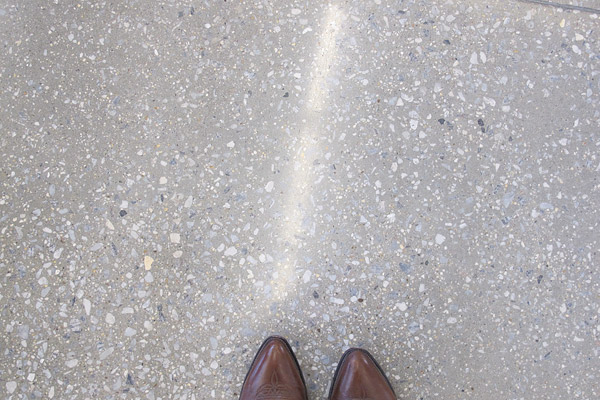
The concrete prep can be done using one of several potential methods. If the delaminations are shallow enough, a deep grind (using low-grit diamond grinding tooling on a large concrete grinder) will remove the delamination and bring the floor to a solid substrate. This is by far the easiest and most cost-effective option. Grinding through the delaminations will generally expose large aggregate which can provide a beautiful finish in itself.
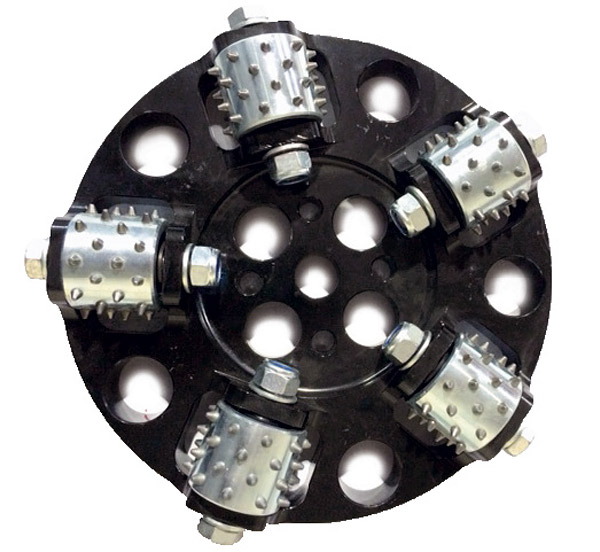
The next step in progressive floor prep would be to use bush-hammer tooling on the large concrete grinders. All the major machinery manufacturers offer a version of bush-hammer tooling. This tooling was originally designed to remove coatings or overlays but it also works extremely well as a floor prep tool. This process generally costs more than standard grinding because additional grinding steps must be completed to remove the rough surface profile.
Shot blasting is an option but the user should be aware of the slow processing time and extremely aggressive profile that will remain. This fix is limited by the size of the shot portal on the machinery. A 6- to 10-inch-wide profile is standard so with thin passes it can take quite a while to prepare a large area.
The most aggressive option for prep would be a scarifier or shaver. These tools can be set to remove extremely large amounts of concrete. However, they leave an aggressive grooved profile in the concrete that will usually need to be ground down to provide a smoother surface profile.
No matter which option you choose for removal, it’s important to remember that without the proper floor preparation and removal, delaminations will cause ongoing issues for the life of the building. All or most of the delamination areas must be remediated to provide a sound substrate. The time necessary and the disposal involved with removing large amounts of concrete with a remediation process are important considerations.
Repairs are manageable
With a good plan, repairs of this type are manageable and can provide good results. While no one ever wants to have a situation arise where repairs of this type are necessary, understanding the problem as well as the potential repair options allows for a much better resolution to issues of delamination.