
Many of us are tackling more intricate designs, such as 3-D tile patterns with multiple borders. With patterns like that, there’s no concrete (pardon the pun) stopping point for hand brushing borders on concrete. Expansion joints help create stopping points but outside of that how can we brush large designs without the glaring brush marks?
If you watch my time-lapse videos on YouTube, you’ll see me hand brushing everything. You’ll also hear me repeating how you need to learn to use a brush and save a ton of time on job sites. It has taken me years to figure out how to hide the brush marks on detailed designs. You can do this, too, but it’s not as easy as brushing a basic border around a room. But you can get there with patience, practice and a good technique.
|
|
|
Start with the basics
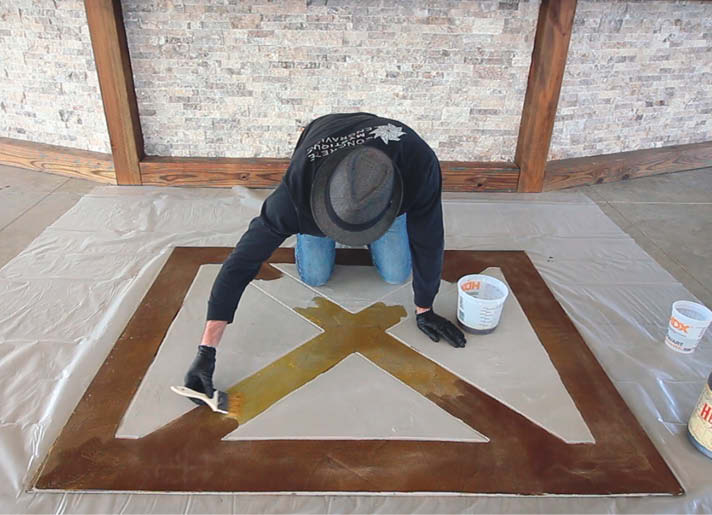
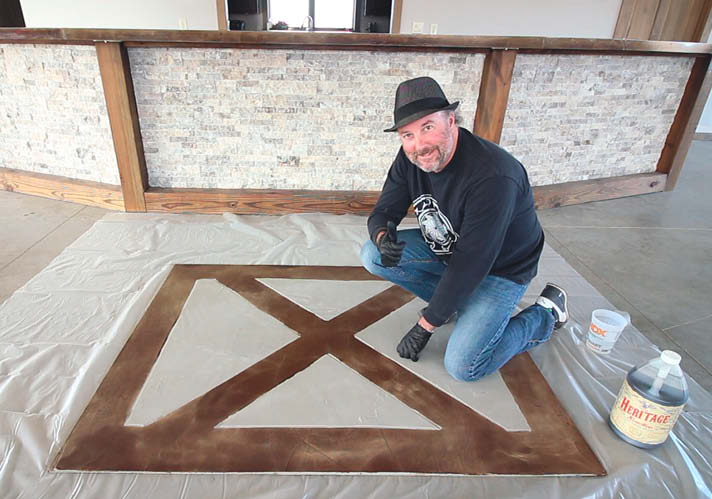
Let’s break down my technique. I’m using acid stain in this demonstration, but you can apply the same technique when using any type of stain.
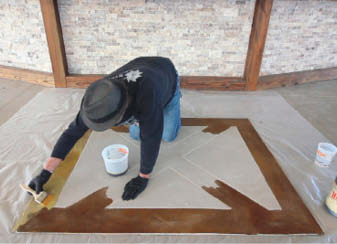
First, decide where to start. Pick a corner of the room or patio. If there is an expansion joint, start there instead of the corner. Also, if there’s an expansion joint, brush that entire area before you move onto the next expansion joint.
With multisectional borders, I prefer to stain the outside border first and work my way into the design. As I’m staining the outside border, I brush a little stain into each section of border that branches off. It’s up to you as to how far you brush down the border before returning to brushing the outside edge. Don’t leave a straight brush line where the interior and outer border intersect. That straight line will never go away and the point to all of this is to never leave a straight line.
Before you start brushing let’s review how to use a brush. First hold the brush like a pencil or a pen. Second, stop the dip before you reach the metal part of the brush. Third, aggressively drop the brush twice to stop the drips. Fourth, when brushing use your entire arm to move the stain around as you go. Just using your wrist will cause the stain to flick all over the place.
|
|
|
Mottled edges are a must
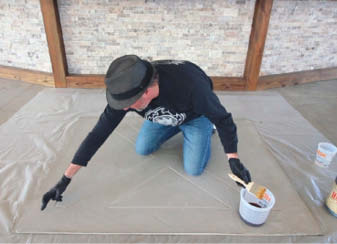
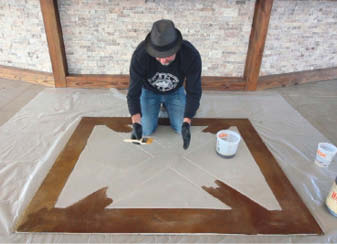
As you brush into the interior borders, create a stopping point by leaving an edge that looks like the mottling of the stain. No straight lines; just a meandering edge. This will help you match the brush strokes when you return to complete staining that area. Since there’s no real stopping point, stay focused on the outside border. Repeat this process with each interior border that intersects the outside one until the outside is completely colored.
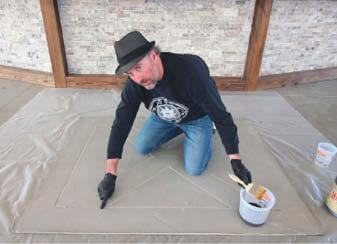
Once you finish brushing the outside border, begin to work your way inward and apply the same technique. Instead of stopping at the intersections, go past each one by a few inches and create that meandering mottling look.
|
|
|
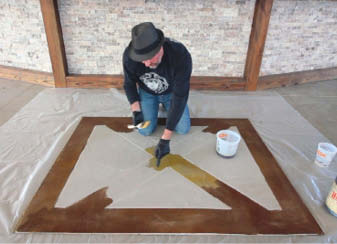
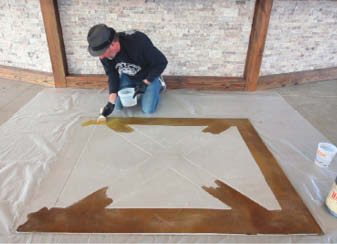
Now you can finish all the leftover sections of the border. Lightly go over each start and stop point with a few brush strokes. This helps the stain blend into itself a little better. After everything dries and finishes reacting, you may still see a couple transition points you made. After neutralizing and sealing the border, the transition points usually don’t distract from the overall design.