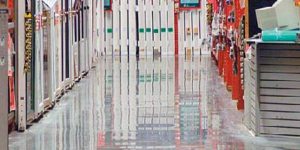


When producing a coarse aggregate floor directly for an owner or client, most people commonly assume that all you must do is work harder and grind deeper during the first grinding steps.
Always begin by doing the Mohs hardness test. The result helps you determine the correct bond to start with before the grinding begins.
After completing cross-hatching with that specific metal-bond diamond grit, clean the floor. Next, evaluate what percentage of the total square footage of the floor has exposed aggregate. This will let you know how much more cream you need to remove so that the finish qualifies as a Class C according to the definition set by the Concrete Polishing Council, a subsidiary of the American Society of Concrete Contractors.
Getting the percentage right
A rule of thumb is that the first metal should expose 60% to 70% of the coarse aggregate. Run another pass if you can’t see 60% or more of the coarse aggregate. Next, grind a diagonal pass starting from the top right corner. Move to the bottom left corner with half passes next to that pass in each direction, until you have ground the entire area again. Once completed, repeat starting in the opposite corner. Make an X if the floor layout allows for that movement.
When the percentage looks close to 80% coarse aggregate and 20% sand or cream, take some measurements to confirm this. By using the chart below, the Class C coarse aggregate result is no longer subjective. Instead, it’s measurable according to an unbiased CPC reference document.
With the surface exposure parameters defined, your crew becomes confident that they have done enough. If they measure at the end of the job, all parties can ultimately agree on the classification of the finish.
| Polished Concrete Aggregate Exposure Chart Replaces CPAA Aggregate Exposure Chart |
||
| Class | Name | Surface Exposure % |
| A | Cement Fines |
85-95% Cement Fines 5-15% Sand Aggregate |
| B | Sand Aggregate |
85-95% Sand Aggregate 5-15% Blend of Cement Fines and Coarse Aggregate |
| C | Coarse Aggregate |
80-90% Coarse Aggregate 10-20% Blend of Cement Fines and Sand Aggregate |
Beware of a hard cap
When satisfied with the aggregate exposure, continue with the next higher grit metal-bond diamond tooling. Sounds simple and predictable, right? Well, maybe or maybe not.
Many times, the cap of the concrete is harder than the rest of the slab due to finishing techniques. So, if you continue with the same bond chosen during the Mohs test, it may no longer be accurate.
Instead, that soft-bonded diamond will wear too quickly and be overly abrasive/aggressive when grinding/scratching. It will remove more between the aggregate than necessary. And because the rocks are harder, they won’t wear as fast.
This results in the cement matrix elevation diminishing quicker than the aggregate … leaving the aggregate “proud” and rising above the matrix.
Here’s the tip
To avoid “proud aggregate” when processing a coarse aggregate floor, do a Mohs hardness test before the first cut. Then do another afterward on both the exposed aggregate itself and the matrix surrounding it. Moving forward, use the bond that corelated with the number that scratched the aggregate.
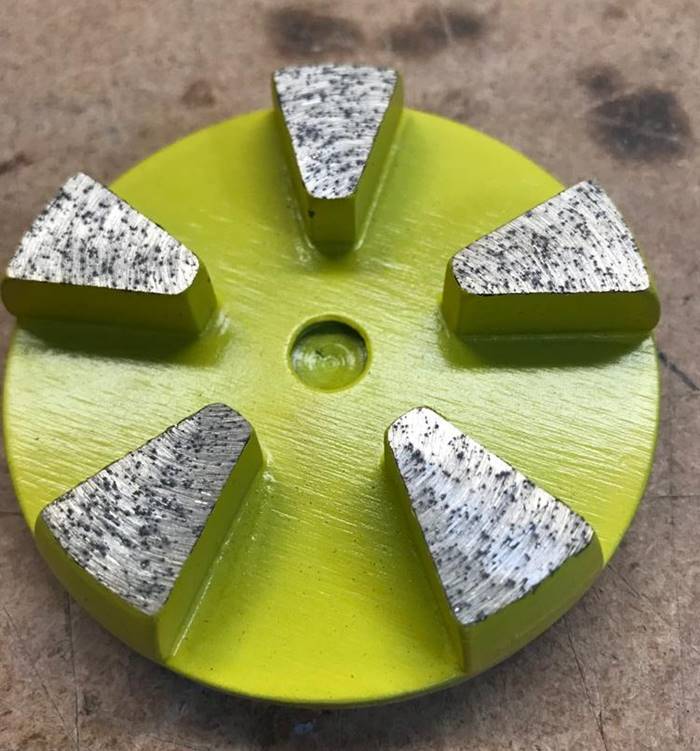
The diamond style is important as well. So, choose tooling with segments that have beveled or round edges. For this step, my favorite diamond style is a five-segment, 3-inch metal puck with beveled edges. The benefits of this metal puck include:
- Allows for more diamonds to scratch the surface, yielding greater production.
- Gentler grinding, creates less fractures and down pressure.
- Plenty of space between segments. This allows for dust and air flow, keeping diamonds cleaner and cooler.