
Photo from Concrete Decor archives
After discovering adhesive, stop for a moment to wisely plan your next steps. Figuring out if the adhesive is hard and not tacky — or somewhat soft and a bit sticky — is crucial! It is imperative to determine this before removing adhesive from concrete.
As soon as you discover the adhesive, pour water into a 1-foot puddle and leave it while removing the rest of the floor covering. Then test the puddled area by scraping it with a metal tool. A razor scraper is ideal. If it comes up, continue with wet removal.
Water can be a great softener/solvent
If the adhesive is soft and fairly thick, you can scrape it off with a ride-on scraping machine. Or you can use a 6-inch razor scraper. Or you can flood the floor with water and then scrub using a stiff bristle brush and a “swing-machine.” Nylo Grit, Strata-Grit or Diamabrush are good bristle-brush choices.
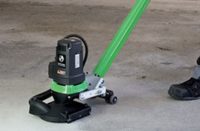
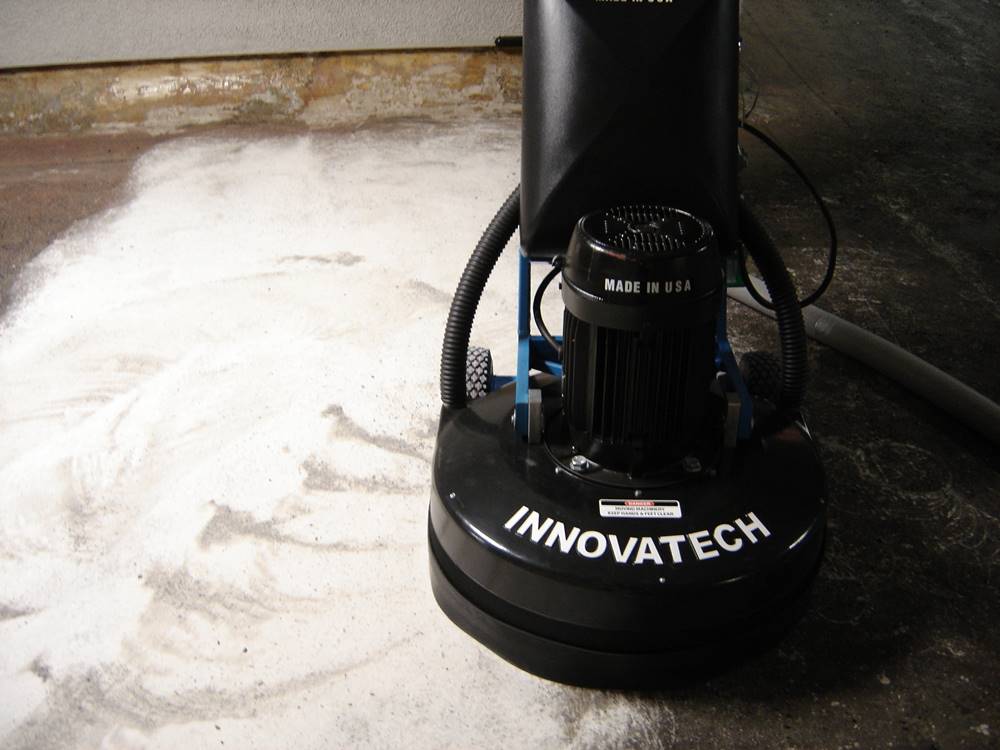
Wet grinding is also an option. I recommend adding soap to the water. This cleans the diamond tooling, allowing it to reveal its cutting surface and continue its removal more efficiently.
Once the adhesive has released, use the auto-scrubber to pick up the gray water. Then dump it into a container where the water can be consolidated and later disposed of according to regulations. Note the sooner it’s dumped out of the scrubber, the easier it’ll be to keep your scrubber clean.
Dry removal can work too … with a bunch of patience
The first pass up and back will be the least effective and the most time-consuming. It also may require the operator to change the direction of the grinder heads. Be sure to only cut 6 to 8 inches at a time. This allows the tooling to clean itself on the previously removed/clean concrete before again loading up with adhesive.
Use tooling designed for this purpose. Ask your supplier for a recommendation. Or, at a minimum, use diamond tooling that has space between its segments. This could be a single, double or even a five-segment puck.
If the glue is unaffected by water and is dry and brittle, try using that 6-inch razor scraper. Or try a ride-on scraping machine, a scrape-away diamond tooling or regular metal diamond tooling. Any of these can be used. However, the latter will take more time to complete the removal.
Here’s the tip
Going east to west, only remove +60% of the adhesive on the first pass. Then crosshatch by going north to south to remove the rest. It’s better to crosshatch than to go ridiculously slow to remove the adhesive all in one pass.
Crosshatching will save time because when the diamonds are coated with adhesive they don’t cut as cleanly. Consequently, they’re less effective. By removing some of the adhesive going east-west and then finishing north-south, the diamonds will produce ground concrete much closer to the goal of maximum refinement.
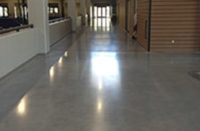
As a result, crosshatching allows the next diamond grit to work more effectively. It also delivers a floor with a greater chance of becoming uniformly polished. Additionally, a highly durable floor will result due to having fewer imperfections at the surface.
Plan your project from the get-go. If you use specialized products, equipment and tooling, adhesive removal will become just another step!


