
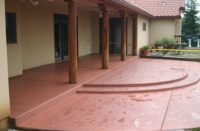
As any decorative concrete artisan knows, staining is one of the most nuanced, finicky and unpredictable techniques in the playbook. Yes, stains offer a fantastic variety of design possibilities. Just consider the difference between an acid-stained floor and a water-based stain job, for example. Equally important is the job of prepping for concrete staining.
Applying any stain requires not only skill but also the ability to understand how to prepare a slab to accept color.
Greg Hyde Hryniewicz, owner of Annapolis, Md.-based Hyde Concrete, says that the key to his company’s success as a staining contractor lies in their extensive preparation process. “Prep is more than half the job,” says Hryniewicz.
Here we are going to share some of Hyde Concrete’s tips and tricks for taking your pre-stain preparations to the next level. Note: These tips can be used to prep for any stain job, reactive or not.
1. Assess the floor
The first step is to do an in-depth analysis of the surface you’re going to be working on. The more information you have going into a job, the better chance you have at avoiding errors and unanticipated challenges later in the job.
The first critical statistic you need to know is how old the slab is. Both older floors and fresh-poured slabs have special considerations when it comes to stains. For example, when concrete gets really old, says Hryniewic, “it has less lime available in the cement for the acid stains to react to.”
It’s also important to know a little bit about the slab’s history —what was the space used for in the past? What sorts of chemicals or substances might it have been exposed to in its past lives?
For new slabs, there’s a different set of concerns. For example, if you’re dealing with an ecoconscious client, they may have opted for a mix that includes recycled fly ash, a decision that also decreases the amount of lime in the surface.
Another aspect of your assessment should be the floor’s finish. A super-tight troweled finish can make it difficult for the stains to penetrate, while a more open finish may absorb your stains too quickly. All of these factors will have an effect on how you mix and apply your stains.
2. Create samples
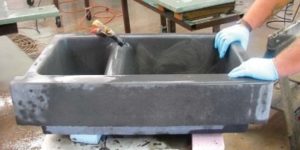
Once you’ve gathered sufficient intel, the next stage of the prep process is doing three to five stain samples. While samples are certainly not a revolutionary idea, doing them well only requires a little extra effort and can really win you points with your clients.
First, it’s absolutely critical that you’re putting down samples on the same surface as the final work. Hyde Concrete often has clients who will suggest doing samples in a separate room or even a separate building from the final floor. “If it’s not the same slab, it runs the risk of being a different color,” says Hryniewicz, so it’s worth it to find an out-of-the-way space on the slab — say, a space in a mechanical room or destined to be under a cabinet — to do your samples.
If you’re working on a surface with a lot of joints or patches, it’s best if you can do your samples in a space that has them too. That way, you can go to your client confident that you know how to get the look he or she wants, even with the floor’s imperfections.
Also, Hryniewicz suggests being mindful of the lighting on your sample site. It’s best if you can find a place with lighting that’s representative of the finished floor, so your samples accurately reflect what the finished product will look like.
Overall, Hryniewicz recommends taking as much care with your samples as you would on the job itself. “How you do your samples is very important because it presents how you are as a company,” he says.
3. Protect the space
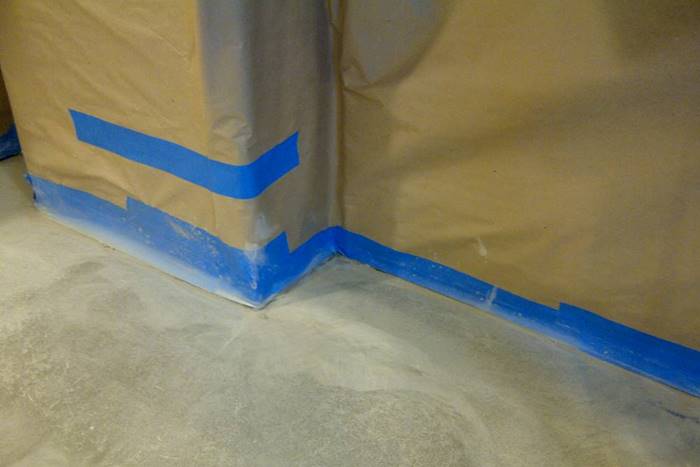
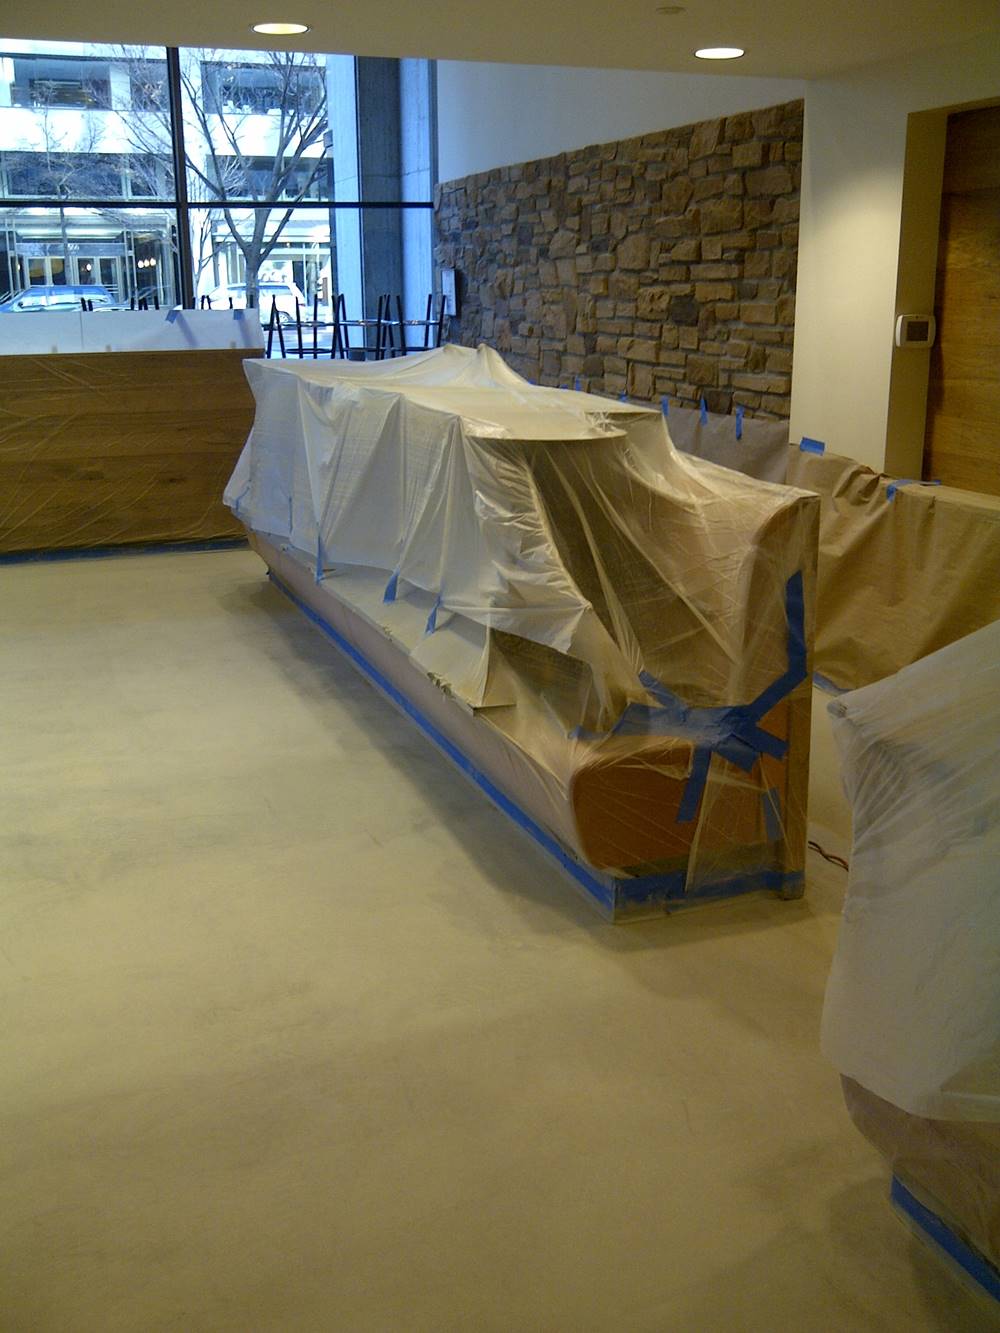
Protecting the parts of the room that are not the floor is probably the easiest step to overlook. But Hyde Concrete takes it just as seriously as the rest. The company buys painter’s tape and masking paper by the case, Hryniewicz says. “I’d rather spend $3 on a roll of paper and $7 on a roll of tape than have my guys have to go back and paint the walls.”
To shield finished walls, Hyde Concrete hangs plastic sheeting first, followed by masking paper. The plastic is more stain-resistant than the paper. However, any oversprayed stain on plastic alone could drip down onto the floor. The paper, on the other hand, will absorb the stain, keeping it from running. For unfinished drywall, they use just a layer of paper. This will still protect the wall from the bulk of the stain.
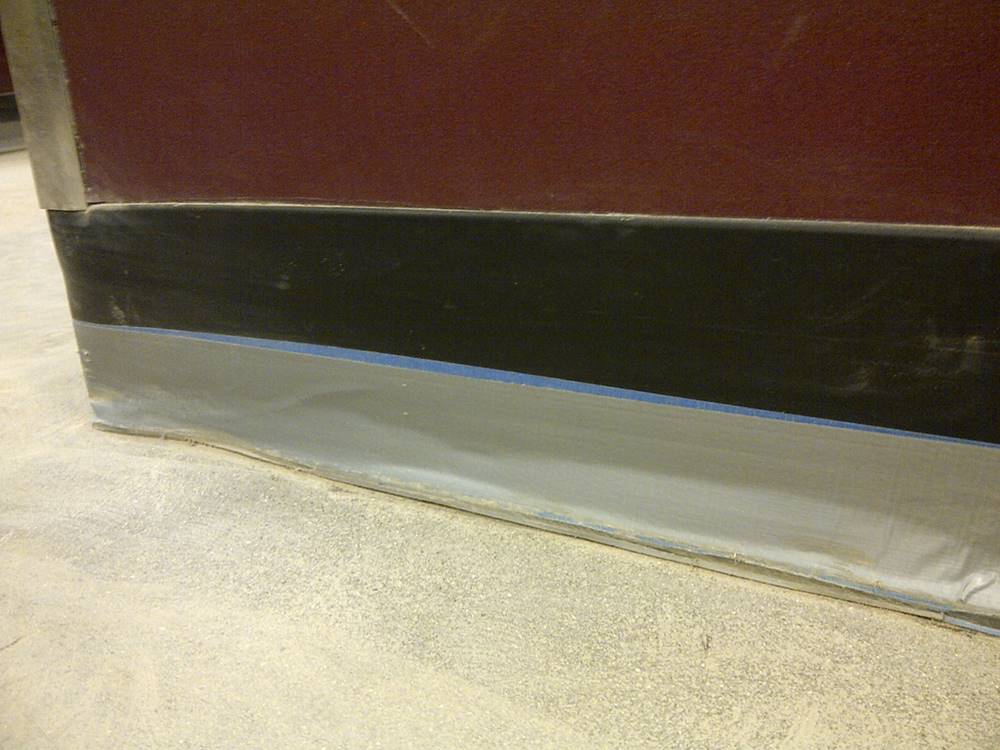
The final consideration when it comes to protection is the baseboard. Hyde Concrete not only covers the baseboards in painter’s tape, but also puts a layer of duct tape over the top to provide additional protection from the grinders used in prep work.
4. Prep the surface
Grinding the surface, while it may not be standard practice for all staining contractors, is a requirement for Hyde Concrete. The crew grinds every slab they stain, even if it’s a new pour. With an HTC 500 floor grinder and a few hand-held angle grinders, Hyde Concrete will open up the floor. They typically open it up to about the 150-grit level.
There are several advantages to this approach, Hryniewicz says. For one thing, it guarantees that you’re putting stains down on a clean floor. The grinding machine will take care of any surface contaminants that could have interfered with the stains. For another, with the combination of the big floor machines and the hand-held grinders, you can ensure that your surface is consistently open wall-to-wall. So many aspects of staining jobs are outside the contractor’s control. However, by mechanically prepping the surface, Hyde Concrete makes sure surface porosity isn’t one of them. “I know that when I go in and I grind that floor, I know that that floor is now open and ready to take stain,” Hryniewicz says.
5. Prep the stains
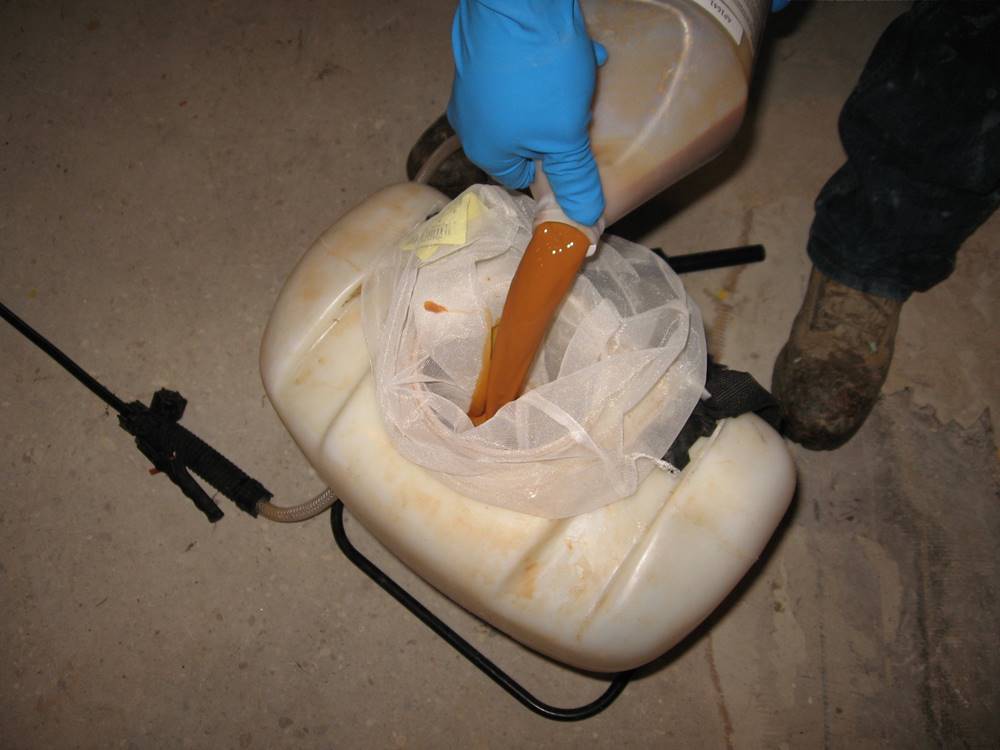
Finally, it’s time to get down to business. Before giving your sprayers so much as a pump, there’s one more step in Hyde Concrete’s prep process. After masking off a space for a mixing station and mixing all of your stains, Hyde Concrete highly recommends straining them thoroughly before filling your sprayers. Straining the stains eliminates particulate matter that would later clog spray nozzles. These clogs can mar an otherwise beautiful stain job with unsightly dribbles.
Hyde Concrete’s DOs & DON’Ts of Prepping for Concrete Staining
- DON’T agree to do a job unless you can do a sample somewhere on the final surface.
- DO take your time getting the masking paper good and tight into any corners. If you don’t, it can end up keeping the stains from getting all the way into the corner of the floor.
- DON’T forget to grind the surface you’re using for your samples if you plan on grinding for the final application.
- DO make sure you have ample rags on hand, as well as masking tape, paper and plastic.
- DON’T set bottles of stain down on your finished surface. There’s always a danger of stain dripping onto the floor and leaving an unsightly ring.
- DO vacuum the tops of doorframes and windows, as well as along the floor under unfinished drywall. These all hiding places for dust and debris that you don’t want to end up on your floor.
- DON’T underestimate the importance of explaining to your client what stains can do and what they can’t. If your customer is not comfortable with a floor that retains its character, flaws and all, then staining might not be for them.
- DO bring your supplies inside, into your mixing area, so they can come to room temperature before you use them.
Questions from Readers
Question
If I grind the concrete, do I still have to use an etching solution?
Answer from Concrete Decor
If you are grinding a concrete surface to remove a coating or create a surface that allows a new coating to properly bond with the concrete surface grinding the best choice. Etching by itself will also profile the concrete surface in order to open the surface for a coloring and/or coating application. You do not have to do both.