
Take an older home on the beach in need of radical change. Add a designer and a concrete contractor, both of whom are comfortable thinking outside the box. Give them carte blanche and as much time as they need. Allow their creative juices to simmer. What do you get? A dramatic award-winning remodel project that screams individuality.
The Rockview House remodel is the culmination of a collaboration between designer Dennis Britton and concrete contractor Tom Ralston. It is a stunning combination of unique concrete pours, cutting-edge acid staining, distinctive utilization of natural materials, eye-catching use of glass, and subtle exploitation of polished and unpolished steel.
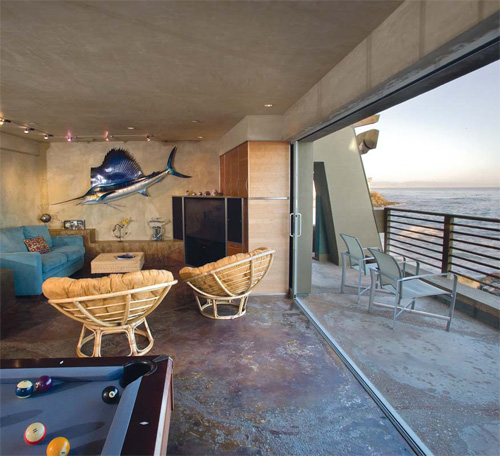
“Rockview started as an idea,” says Ralston, owner of Tom Ralston Concrete, Santa Cruz, Calif. “The only thing that was distinctive about the house before the remodeling was that it sits on a cliff right on the ocean. When the tide is high the water slams against the bottom portion of the structure. We wanted to bring the beauty of the outside — the craggy beach-worn cliffs and the elements of the ocean — into the interior of the house.”
“We wanted the house to look as though the ocean had once been inside it,” explains Britton, owner of Dennis Britton Residential Design, in Carmel, Calif. “We wanted it to be part of its surroundings as opposed to an encroachment on them.”
“The first, and maybe most obvious, challenge was that we knew what effect we wanted, but we didn’t know how we were going to get there,” says Ralston.
They started with mock-ups, both on-site and off-site, Ralston recalls. “We had never tried pouring floors, walls or steps quite like these,” he says.
“Everything we did on Rockview was a first and one-of-a-kind. We spent two or three weeks working on new techniques for pouring walls and floors, seeding the concrete with beach materials and applying acid stains to mimic the natural colors surrounding the house.”
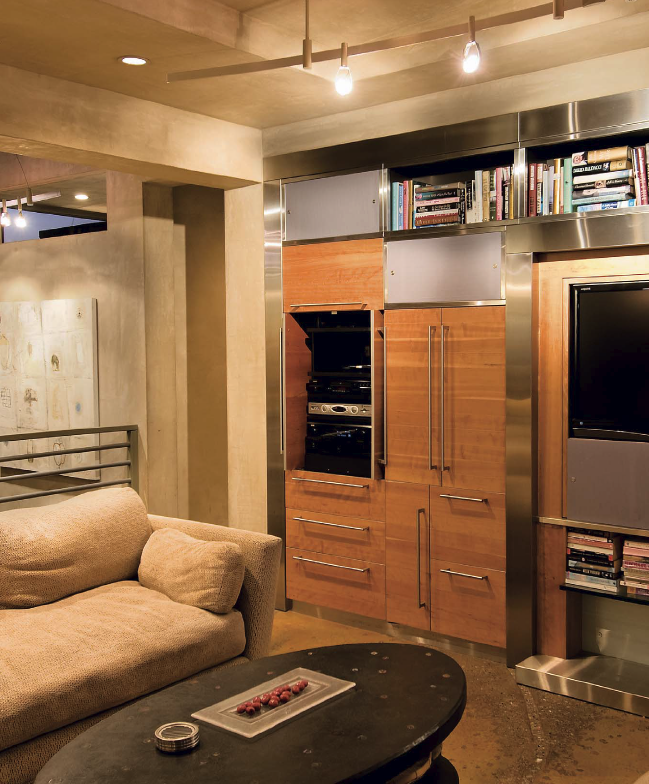
The walls
Ralston, Britton and crew envisioned walls that reflected the surrounding cliffs — craggy-looking, with fissures, cracks and veins. Ralston used a technique in which they started by filling vertical wall forms about one third to two thirds full with concrete. The concrete was then lightly vibrated, leaving random air pockets. “We wanted to leave a bug-holed look, and too much vibration would limit the fissure effect,” Ralston says.
After the initial pass in which the walls were partially filled, stones, beach glass, shells and aquarium sand were placed on top of the partially poured concrete, the idea being to create the appearance of an irregular vein, or strata, in an eroded cliff. After about 30 to 45 minutes, when the concrete had partially set, they poured more concrete on top of the irregular veins.
Acid-staining vertical surfaces
At that point, they had walls that essentially looked like poorly placed concrete. Color was needed. “We didn’t have much experience with blending acid stains on vertical surfaces, so we were very cautious,” says Ralston. They used hand-held sprayers, brushes and rags (to minimize runs), blending the stains wet on wet to create a seamless color transition.
Ralston met with success by applying two acid stains — L.M. Scofield Co.’s Fern Green and Antique Amber. He also reduced the strength of each with water. He used 3-to-1 ratios of water to stain in some areas and 1-to-1 ratios in others. “We had both stains ready to apply at the same time, especially when we were making the transition from one color to the next. If the green was too bright, we used the antique amber to mute it. None of the walls were sealed.”
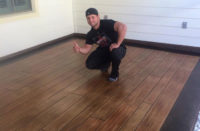
The floors
The idea for the floors was inspired by a trip to Alaska, says Britton. “When you fly over areas of the wilderness, you can see how water has carved channels in the landscape. We wanted that look, combined with the pockmarks and colors of the rocks surrounding the house.”
So, again, they knew what they wanted but had to figure out how to get there. “The rocks surrounding the house have a pitted, pocked look with a combination of dark brown, light brown and green colors,” Ralston recalls. “We thought we could embed aquarium sand, beach glass and seashells to attain the look of an ocean surround. We mapped out each room prior to seeding with these materials.”
But how to create an appearance of three-dimensional channels on a flat surface? Ralston cut strips of 2-inch thick foam in random patterns to mimic channels and laid them on the subfloor. The concrete was poured around the veins of foam. A few days later they pulled the foam and filled the channels with a mortar mix laden with aquarium sand, seashells and beach glass. The mixture was rinsed off the following day with muriatic acid and water to expose the specialty aggregates.
And what about the pitted, pockmarked look? “I guess I was obsessing about that part,” says Ralston. “I woke up at about three one morning wondering what would happen if I used a turkey baster to drip retardant in a random pattern. We did some mock-ups and it worked. At first we carefully dripped the retardant out, but as we became more comfortable with the technique we drew the liquid into the baster and randomly flicked it onto the floors. The results were excellent.”
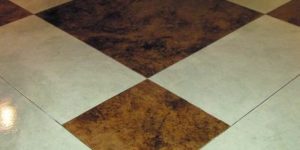
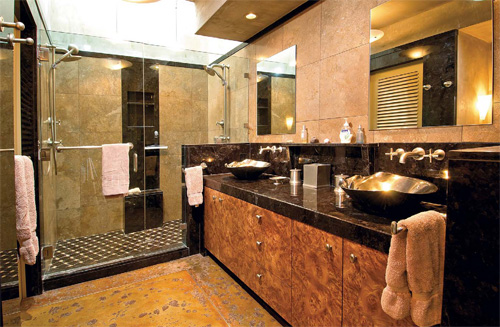
Staining the floors
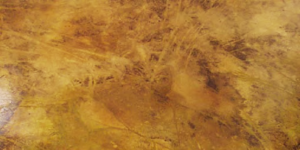
To achieve the browns and greens that he wanted on the floors, Ralston used combinations of three Scofield acid stains — Fern Green, Antique Amber and Padre Brown. They began with Padre Brown around the aggregate channels and in the round areas that had been exposed with the turkey baster retardant application, allowing the stain to radiate to the edges of the treated areas. “A really cool effect happened when we did that,” recalls Ralston. “Much of the perimeter had a dark shadow line that resulted from the pooling of the acid stain in the exposed areas, leaving a highlight of color around the areas. It kind of looked like eyeliner.”
Once the exposed areas were stained, they sprayed the Fern Green around their outer edges, creating another ring of color. Then they moved on to the base color (Antique Amber), spraying lightly over the entire floor in a circular motion. The acid was neutralized 24 hours later with a mixture of ammonia and water.
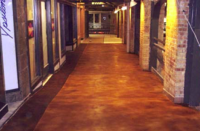
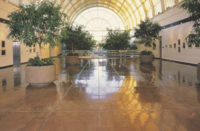
The floors were sealed with water-based epoxy followed by urethane, and it was finished with three coats of acrylic wax.
“This job was a success on so many levels,” Britton says. “It was really a giant experiment, but it worked — fortunately we had owners who were willing to let us experiment and find our way as we progressed.”
www.tomralstonconcrete.com
Rockview House Wins ASCC Decorative Concrete Award
The concrete work in the Rockview House remodel project won recognition from the American Society of Concrete Contractors’ Decorative Concrete Council earlier this year. The project was awarded first place at the DCC’s 2011 Decorative Concrete Awards in the “Cast in Place, Special Finishes over 1,500 Square Feet” category.
ASCC executive director Bev Garnant says the group considered four categories when evaluating contestants: aesthetics, craftsmanship, functionality and creativity. “As with all our award winners,” says Garnant, “the Rockview House project stood out in every one of our categories.”
For more about the 2011 ASCC DCC Awards, see the feature story in this issue Click Here