
I must be honest. I don’t like April 15 and I don’t look forward to pour days that include steps. It’s that same pit-in-the-stomach feeling for both, I guess. You know what I’m talking about — when you have to do something you don’t want to do because you’re unsure of the outcome. But boy, the feeling of accomplishment when you’re finished.
Success for both taxes and step pours is in our control, but I’m not touching the tax thing. The goal of this column is to provide a step-by-step progression for the installation of decorative steps.
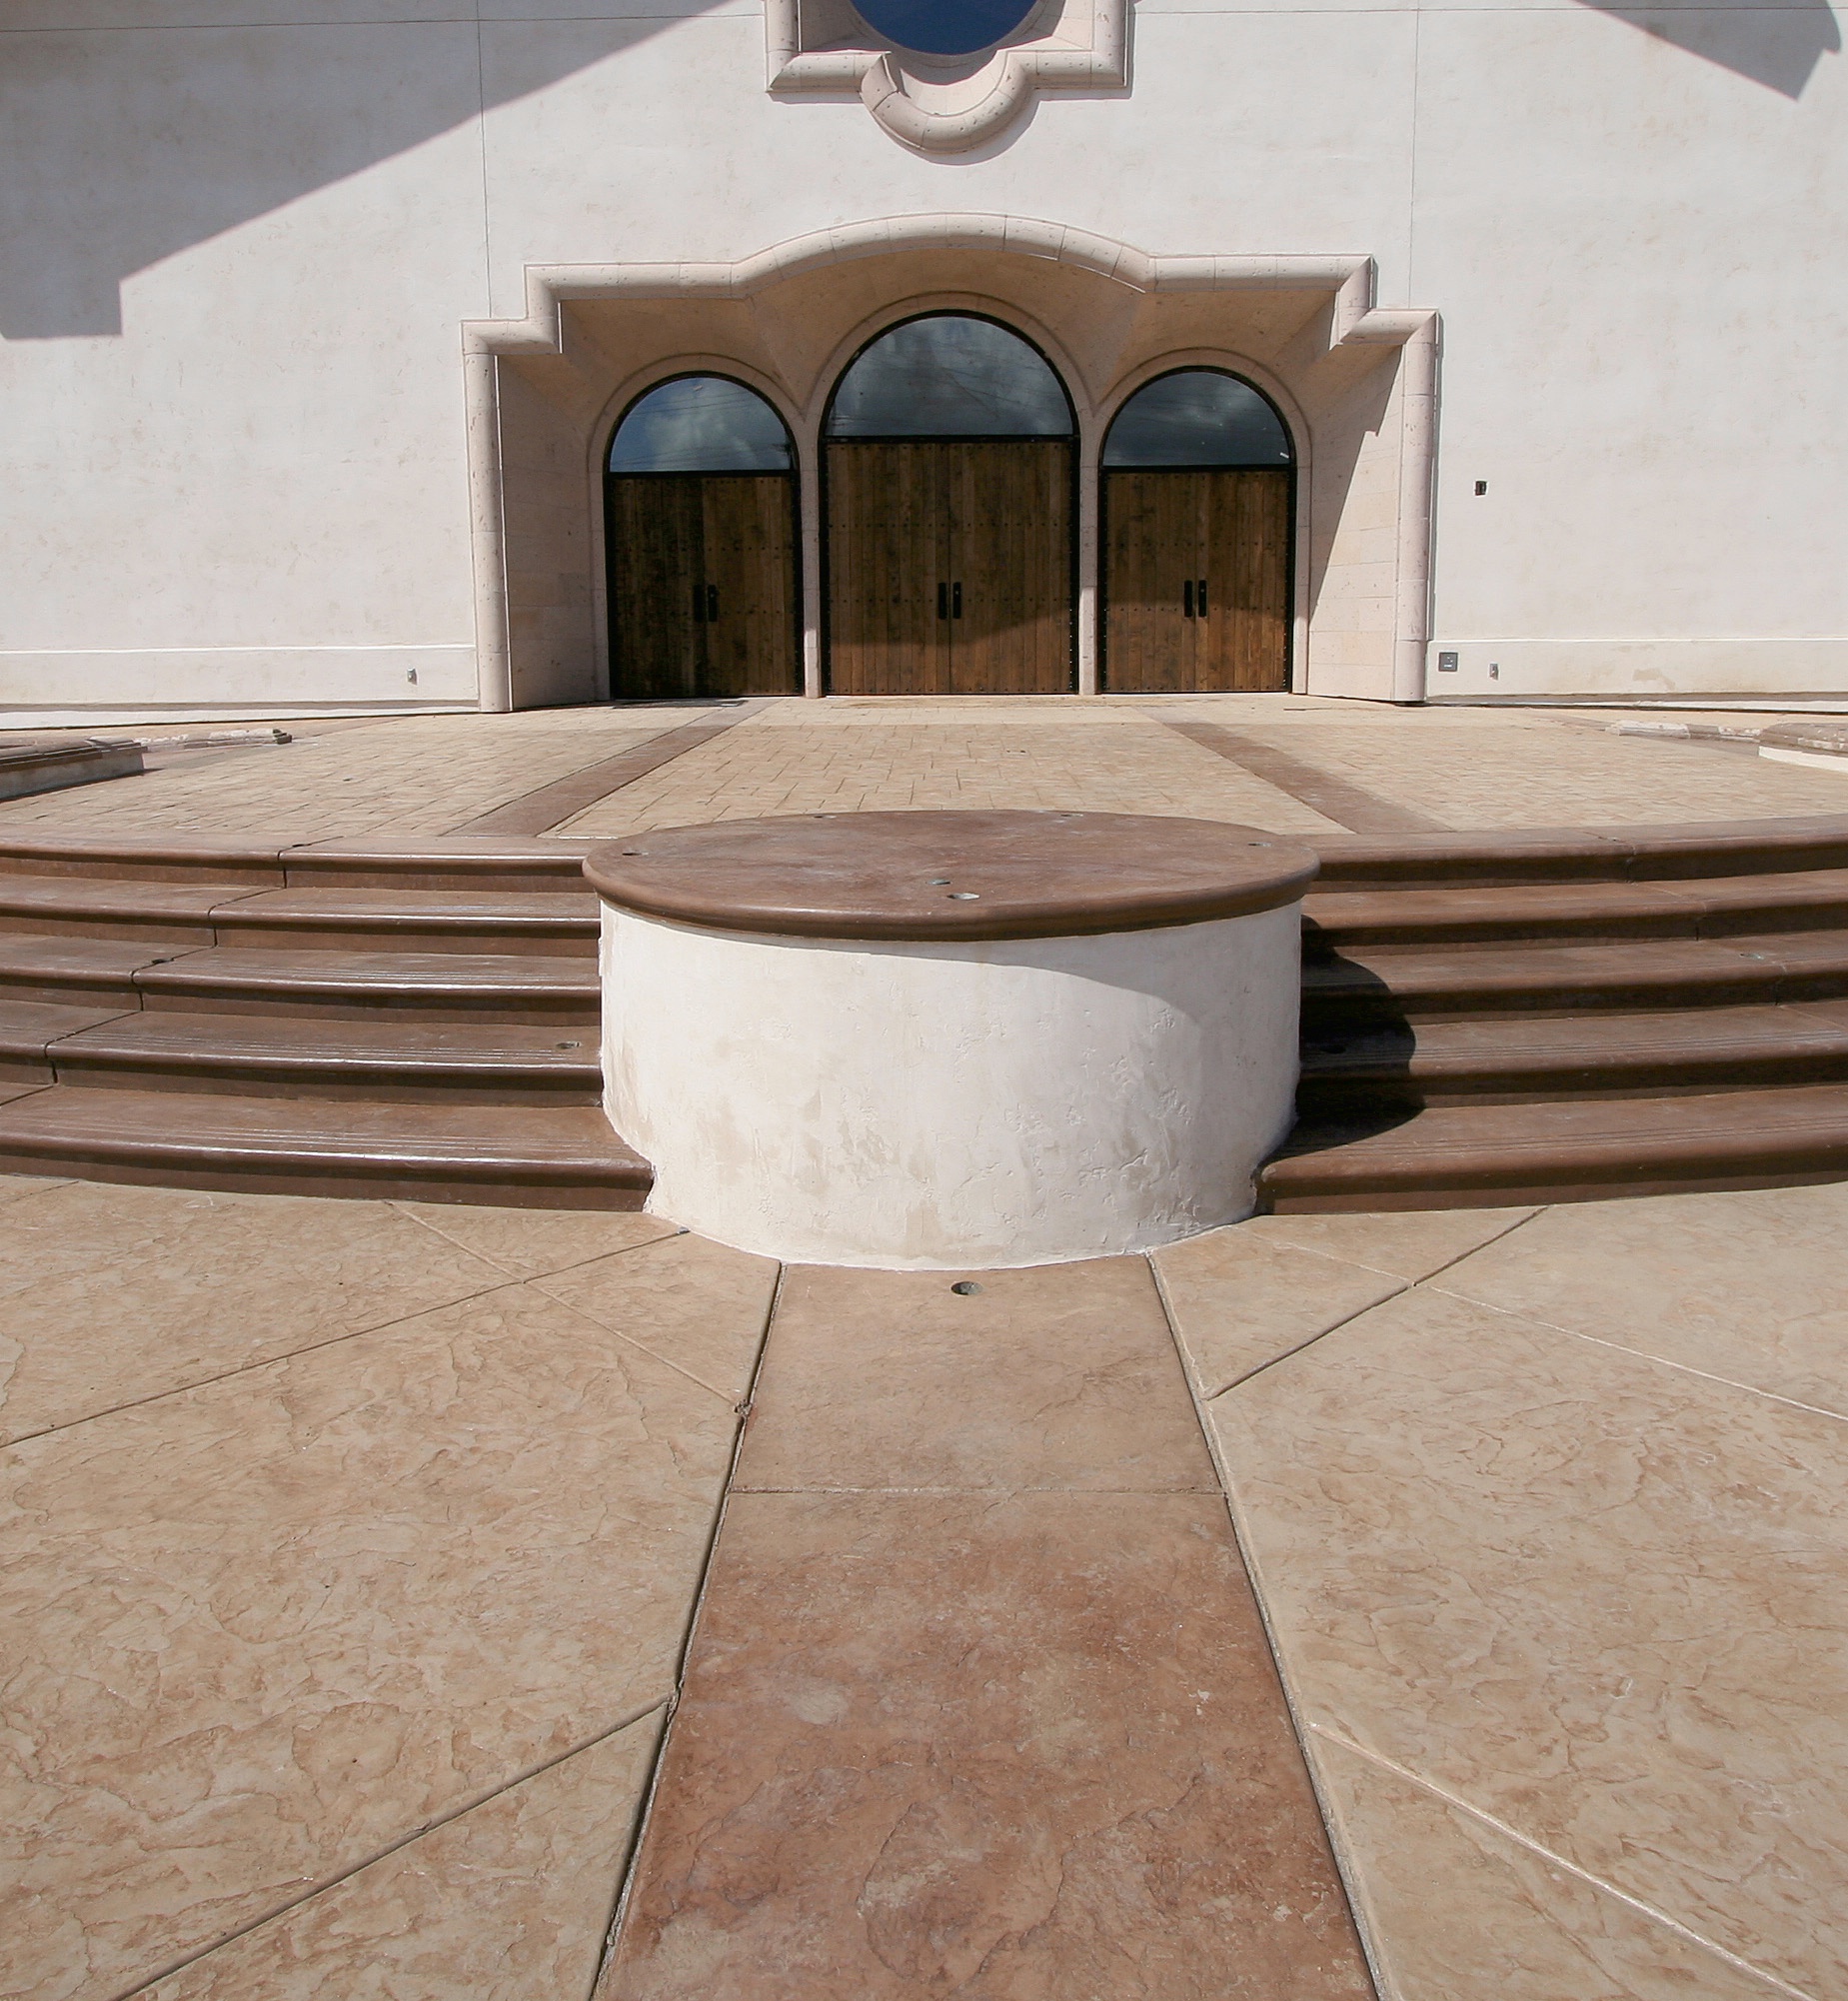
Many decorative concrete projects require steps to transition from one elevation to another, and the steps need to be as decorative as the rest of the project. Let’s cover the process of turning ordinary steps into colorful decorative steps.
STEP ONE:
Add a form liner to your riser
The form liner will shape the vertical surface or step. There are many shapes to pick from, but I recommend choosing one or two styles and mastering these. Remember, the key to all decorative concrete is to become familiar with the tools and products you are using. I personally like the bull-nose-style step liners. They work great with step lights by providing a safe spot for the light to tuck under the nose of the step.
Attaching the liner to the form board is somewhat easy. These liners are usually made of a poly foam material that is quite flexible. Most are thrown away after one or two uses. The poly foam can be easily attached by nailing through the form liner and into the step board. You may try placing a 2-inch strip of duct tape where the nails penetrate the poly foam to help keep the nails secure. As you can imagine, the poly foam is delicate. Trim the form liner flush with the bottom of your riser board just before attaching it. Remember to allow for the thickness of the form liner when setting your steps.
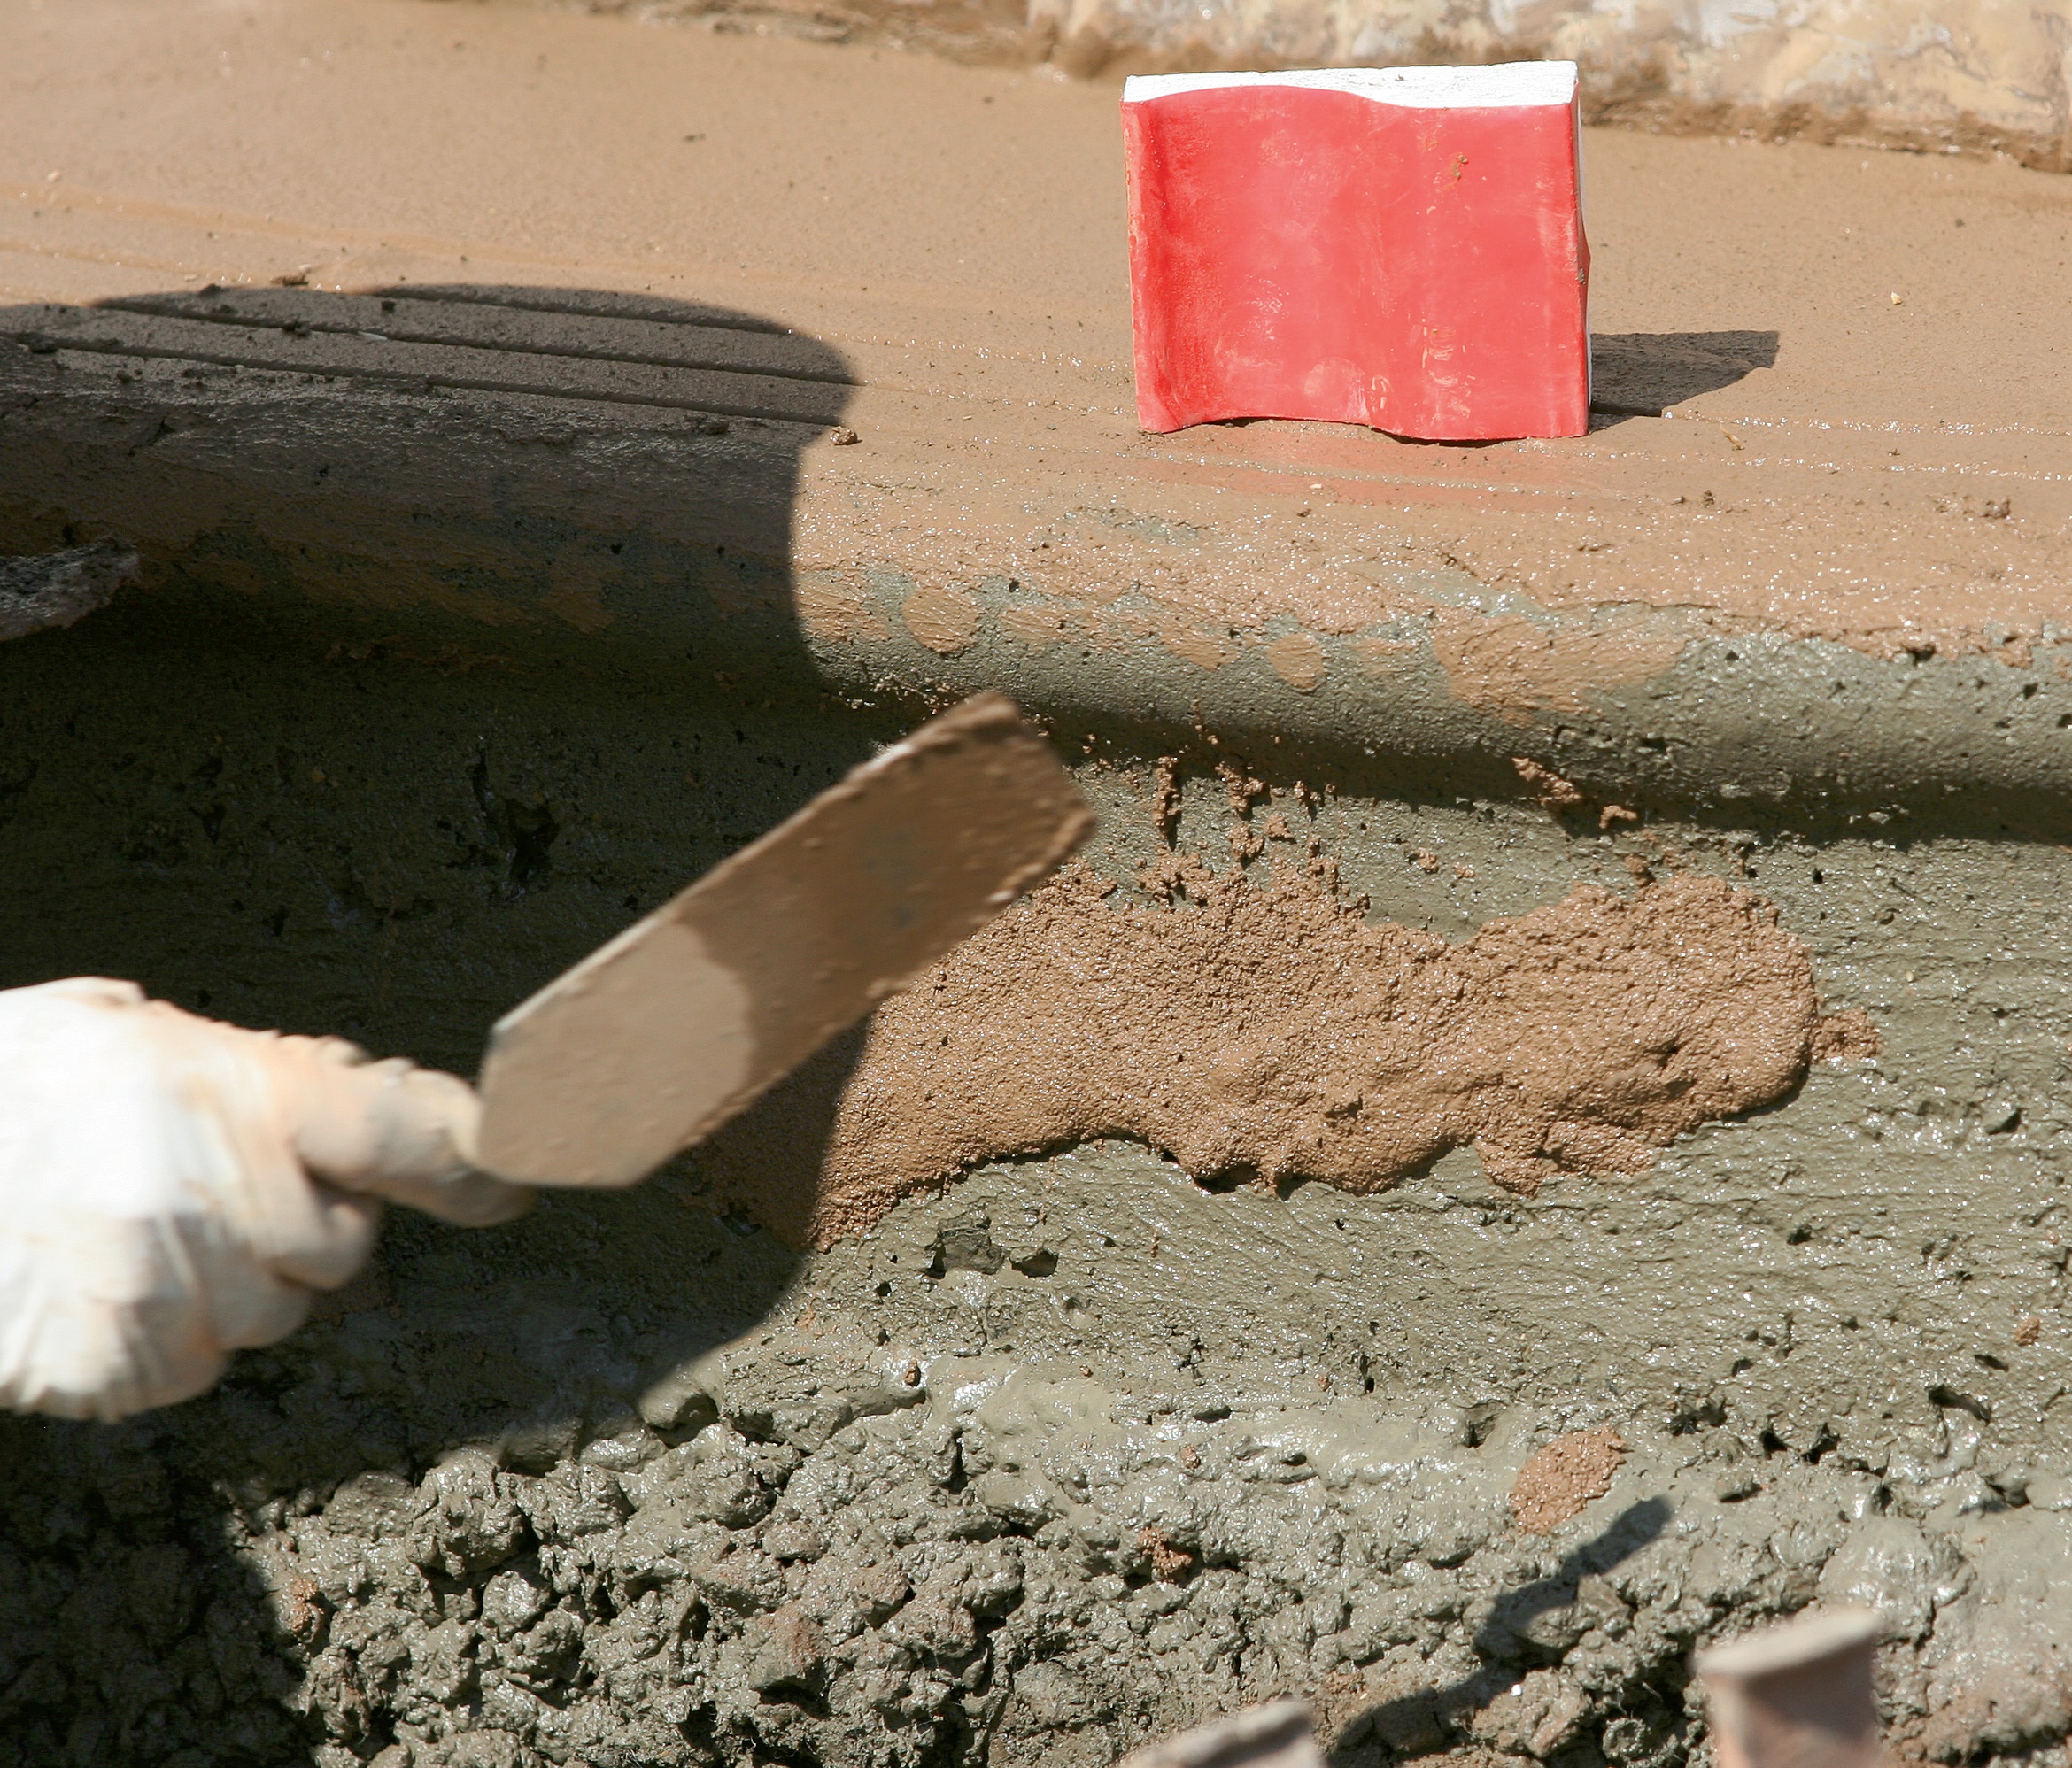
STEP TWO:
Placing the concrete
This is a good time to have a “Come to Jesus” meeting with all connected with the pour. This includes your crew, the ready-mix driver and the pump operator. Stress the importance of maintaining slow and controlled concrete placement. Double-check your staking to make sure you have plenty of support.
Pour the concrete as dry as possible to eliminate pressure against your formwork, and take your time. You may try vibrating or tapping the riser lightly to eliminate all voids on the vertical surface of the form liner. Float the tread or surface of the step so that it is level with the bottom of the step above. This is critical to insure proper slope and simplify the finishing process that is soon to come.
STEP THREE:
Coloring your steps
You have a couple of choices here: integral coloring, where the color is in the mix, or cast-on color, with color hardeners. There are pros and cons for both, but I recommend integral coloring for new crews and color hardeners for experienced ones. Putting color in the mix will eliminate one step in the path to successful installation of decorative steps. On the other hand, color hardeners offer many more color choices as well as more control of the finishing process. You decide which option is most comfortable for your crew as well as best for your customer.
Timing, timing, timing. It’s essential. And it is different for every job, according to weather conditions. Knowing when to pull stakes and start removing the forms with the form liners attached is critical. Early stripping will create slumping on the nose of the step, while late stripping will usually end with a poor finish. You have the most control before the concrete is poured. Start off with small yardages and lengths of steps, and pour one or two steps at a time. Turn off the cell phones and tell visitors or curious customers now is not the time. Most people have no idea the degree of difficulty most decorative projects entail.
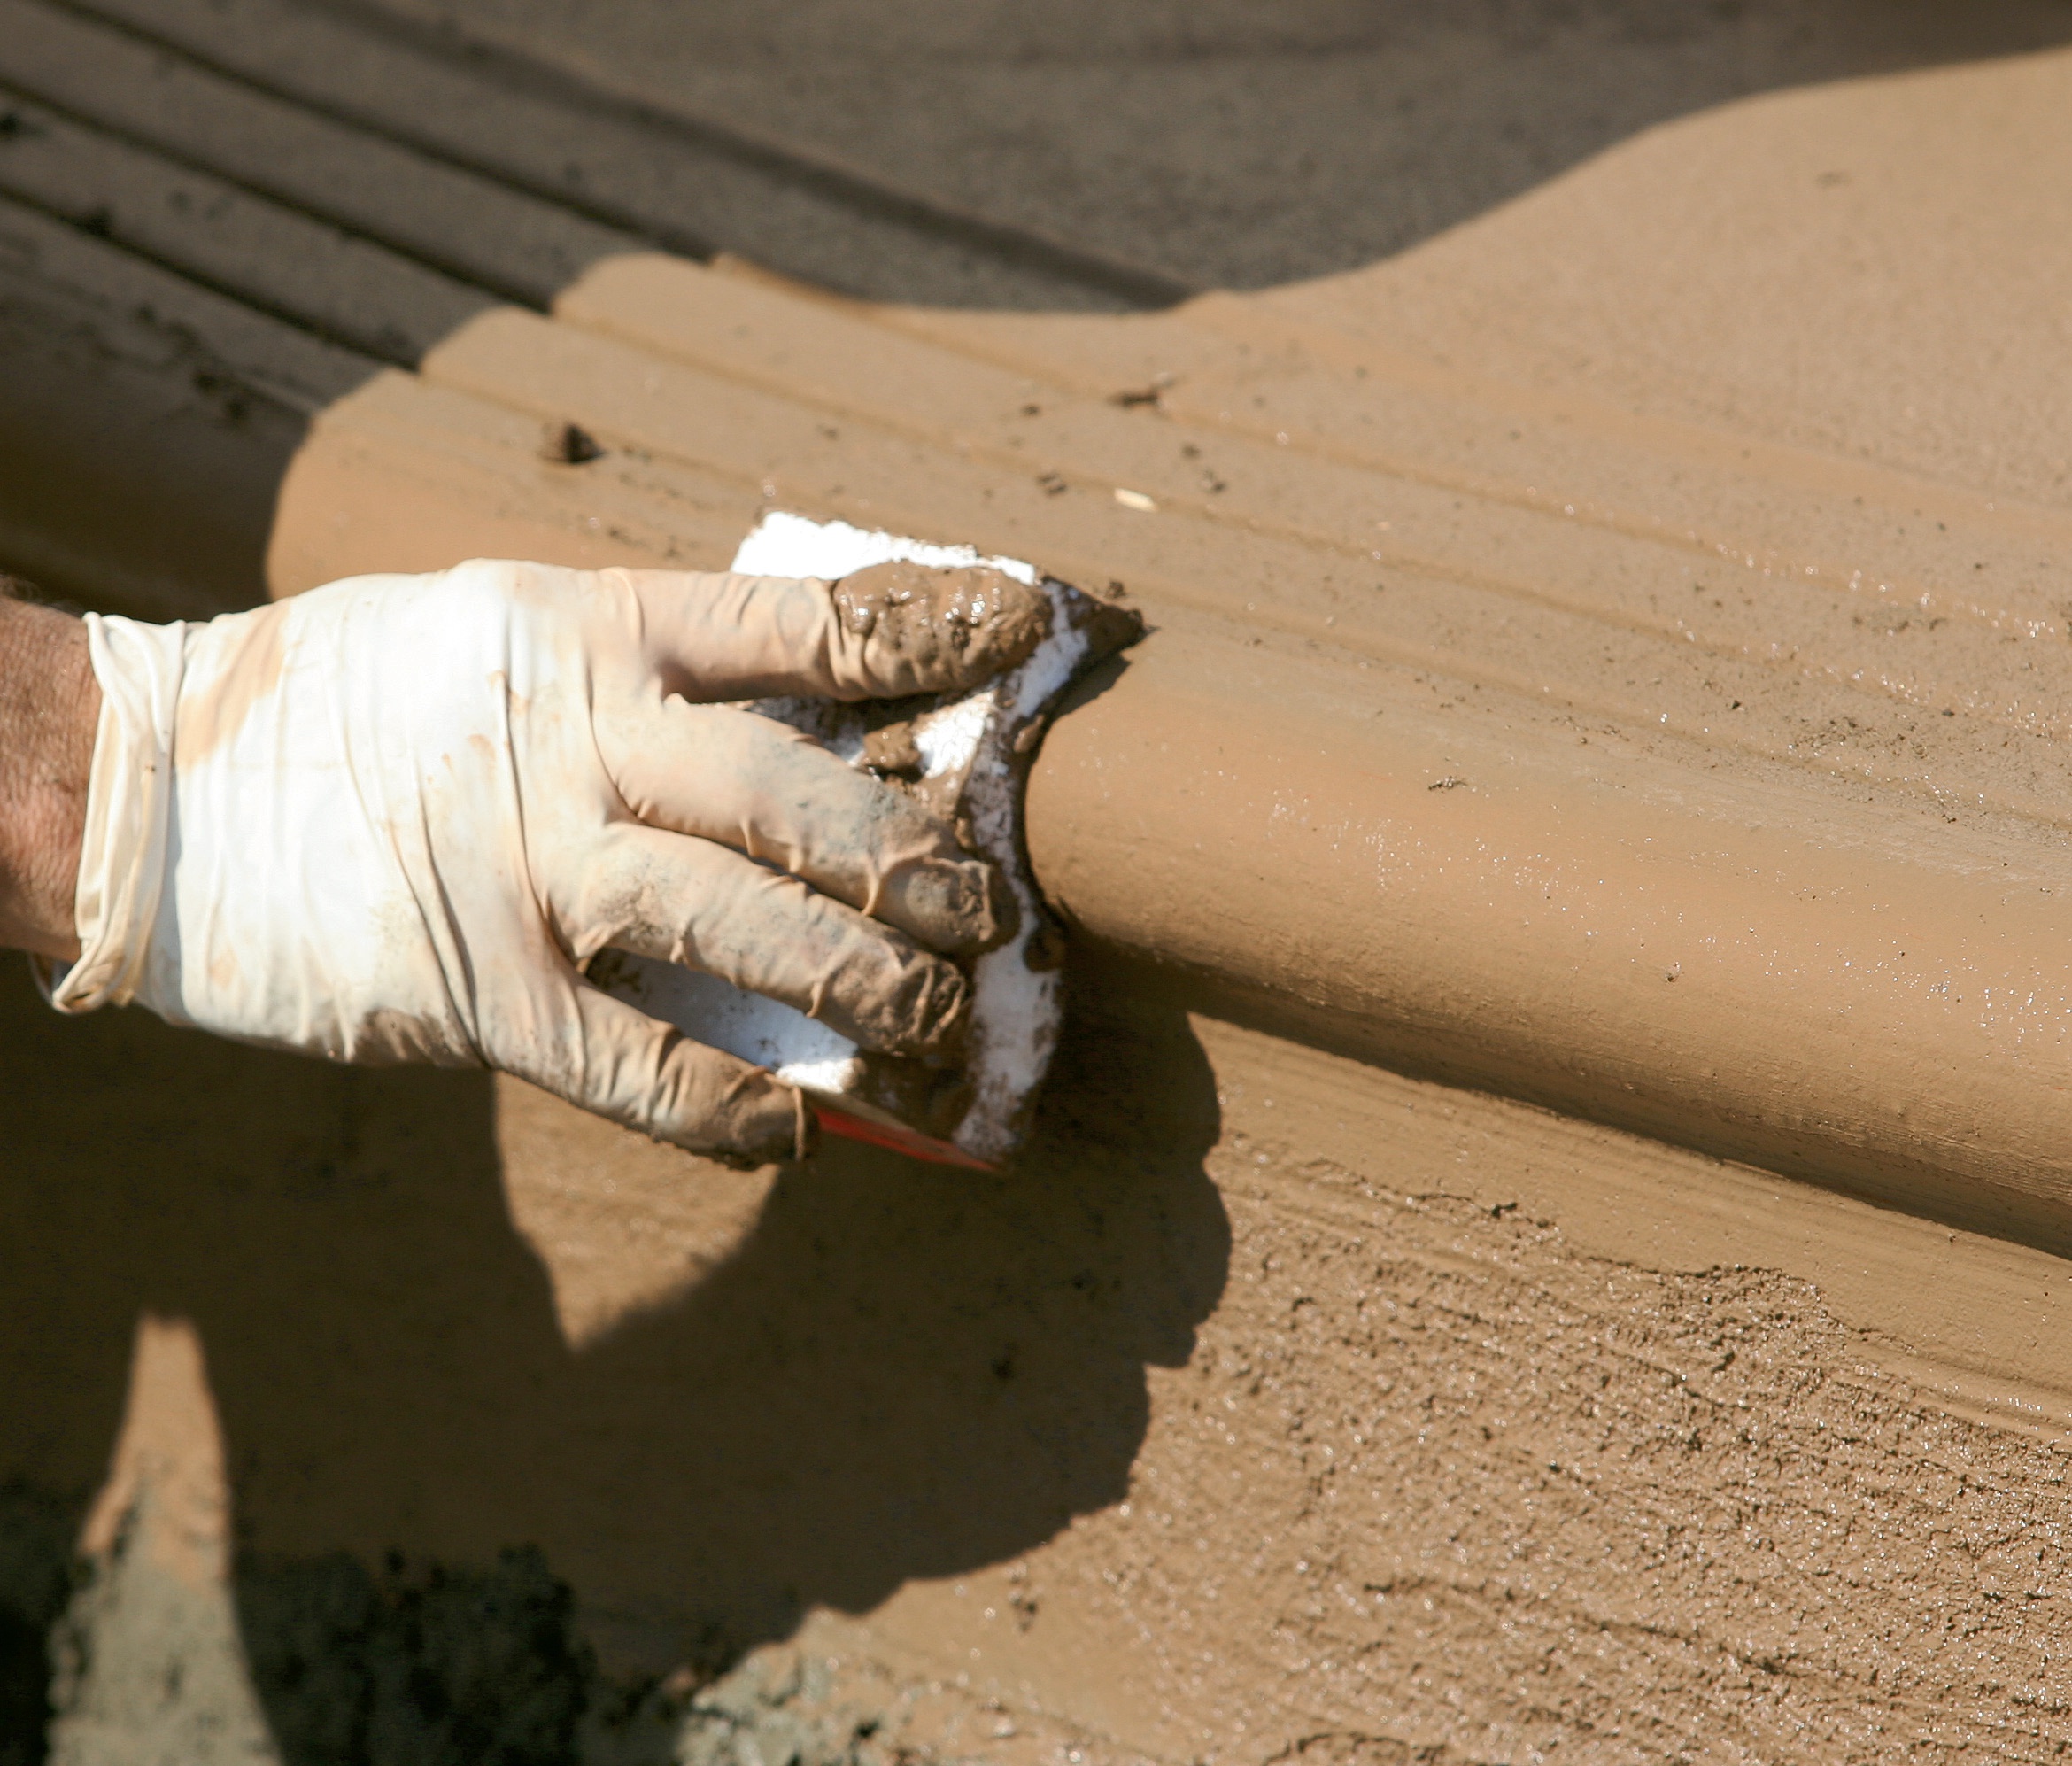
Use a profile tool on the face of the step once the liner is removed. The tool can usually be purchased from the form liner manufacturer or simply made in the field by wrapping duct tape around a 4-inch piece of the poly foam liner. The tape will wear and need to be replaced often. I recommend having several of the profile tools made well in advance of the concrete placement. They will fill voids and smooth the step as needed.
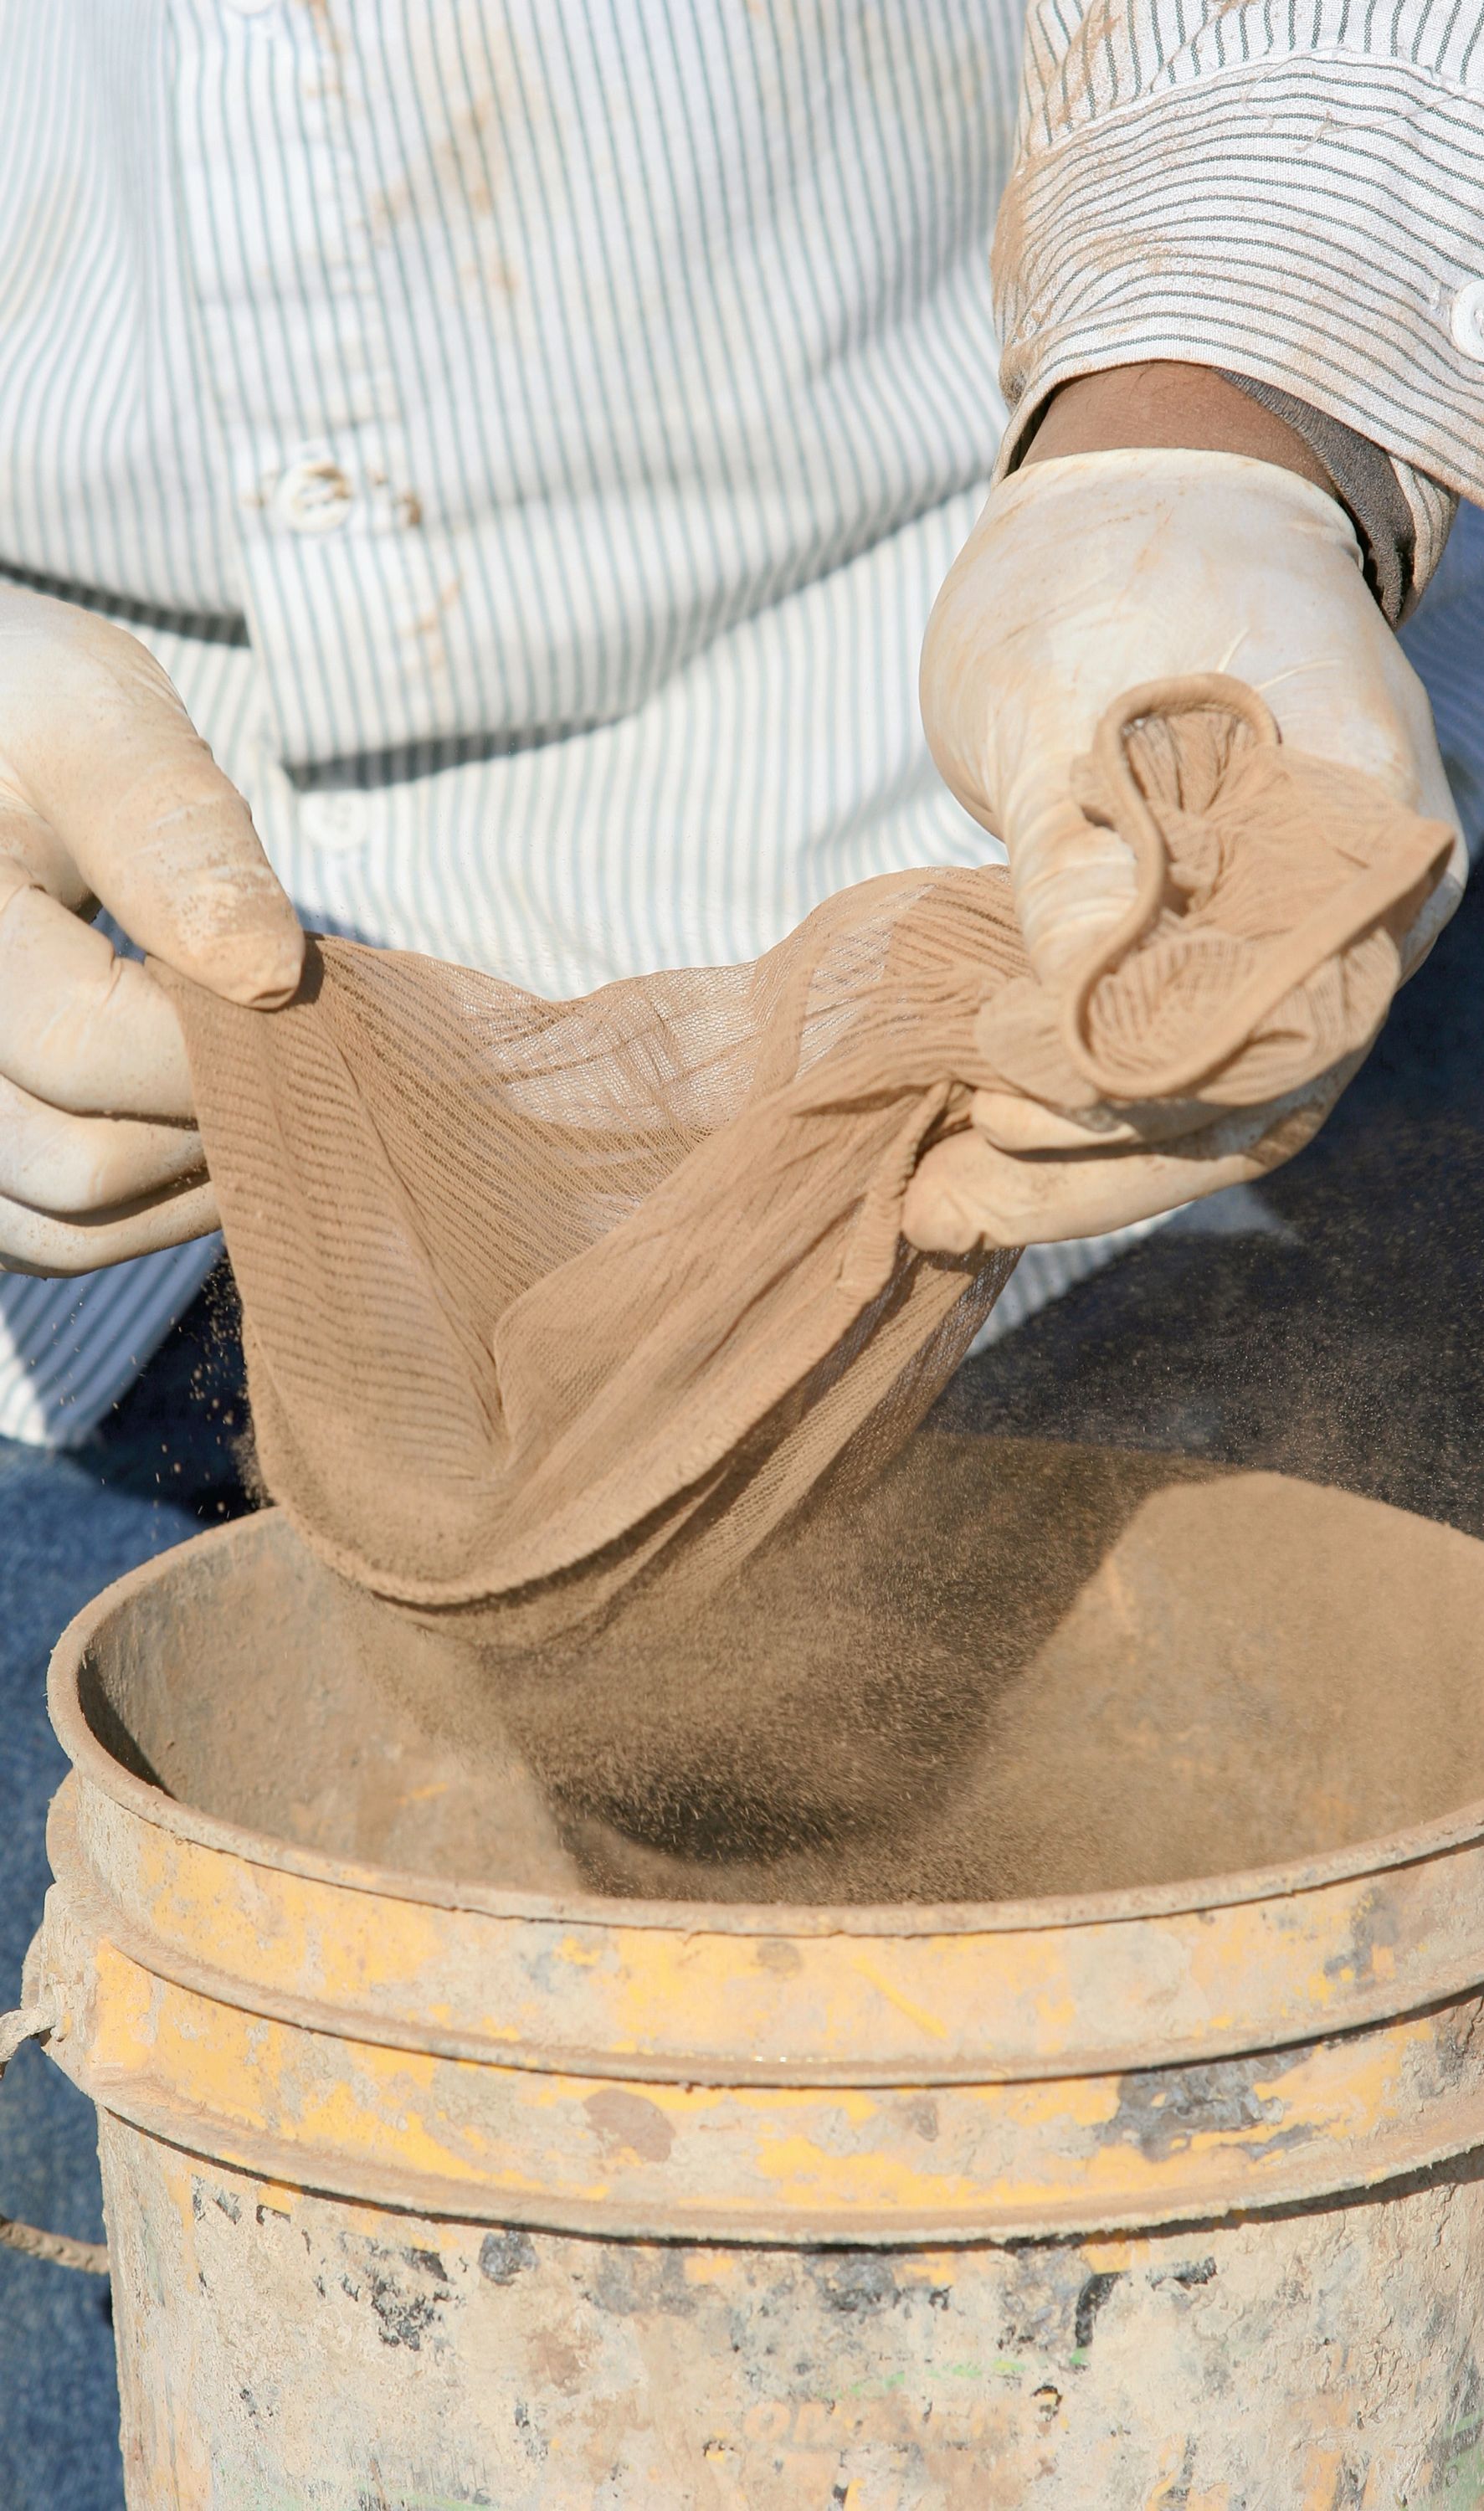
As the smoothing process is repeated while the concrete hardens, add sifted color hardeners to the face of the step and smooth with the profile tool. My crew usually turns the sifted color hardeners into a paste and brushes thin coats of it onto the surface. The hardeners mitigate the effects of the small-sand aggregate that will drag or scar the face of the step during profiling.
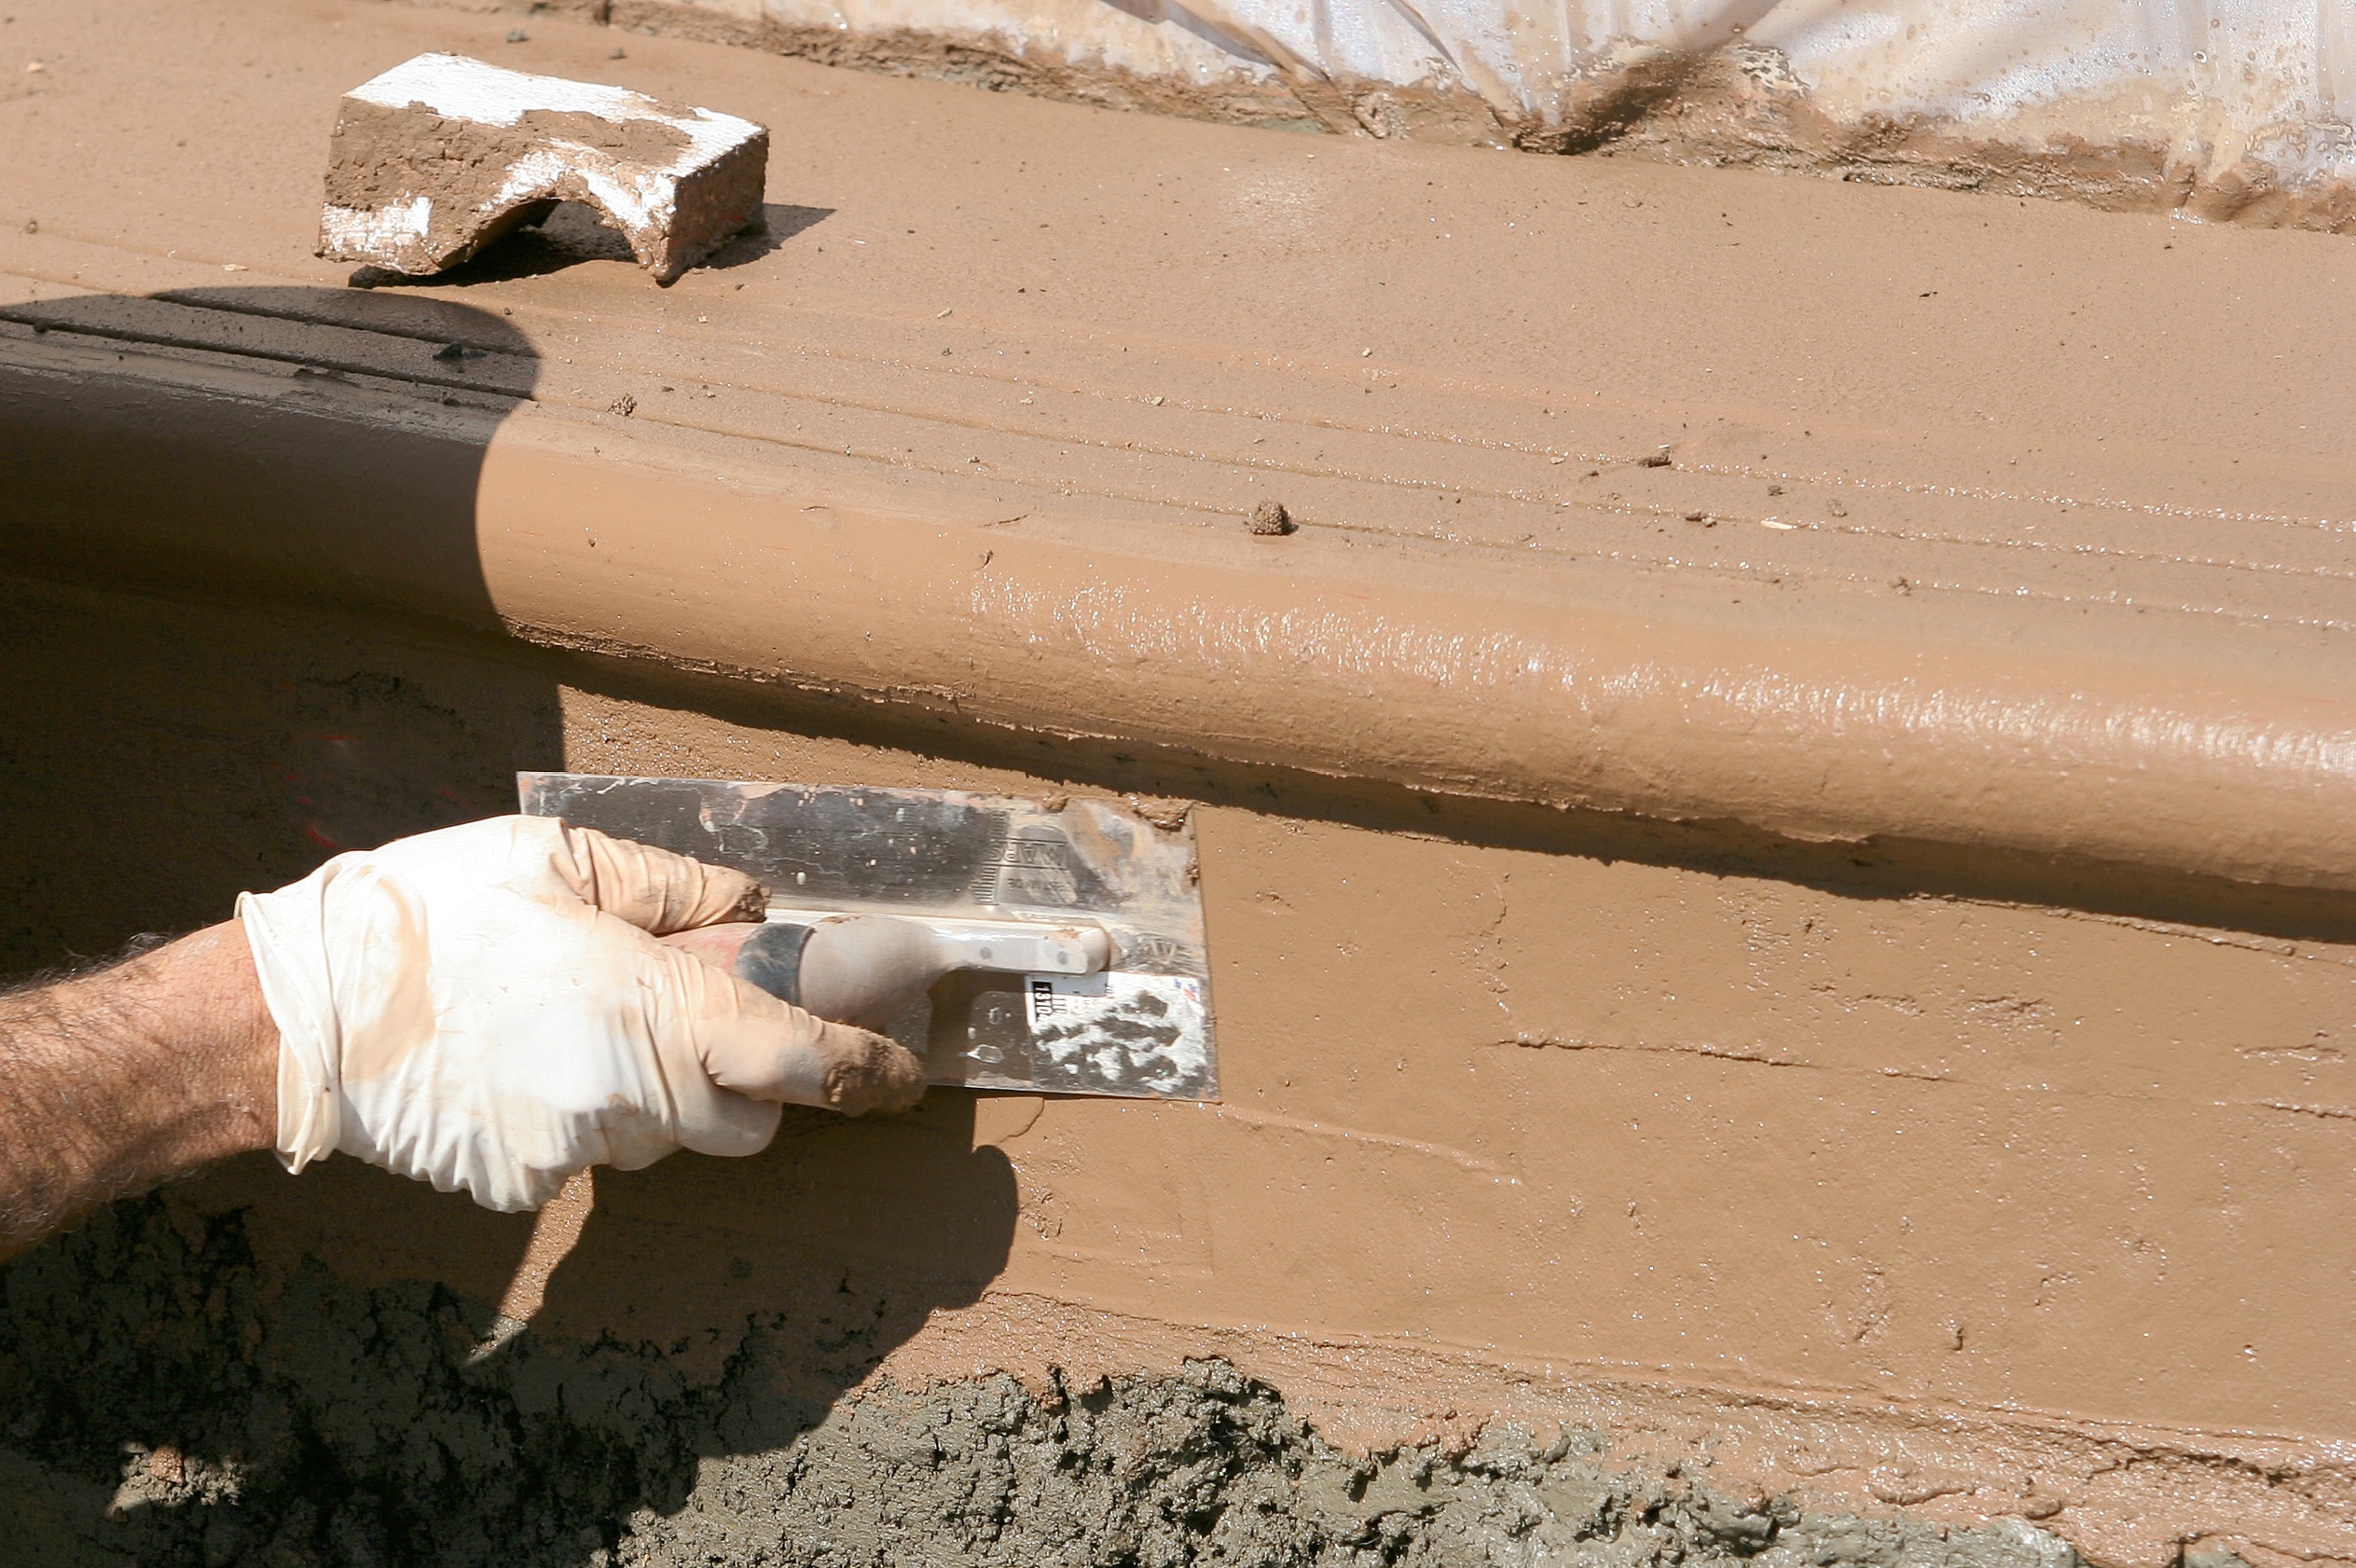
STEP FOUR:
Finishing the steps
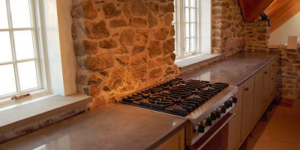
Our crew usually stamps the surface of the step and not the riser or face. This makes the step more friendly to foot traffic and less dangerous. You may decide to brush all or part of the step. Pick a fine or light brush to apply the finish to your steps. This will help blend the surface as well as provide for safe travel. If stamping the tops of the steps, try to pick a less aggressive pattern and lightly stamp the impression into the surface. Remember that the nose of the step is delicate and will slump until hardened. Small texture skins work well for this process and may require two people to complete the job.
STEP FIVE:
Protecting your new steps
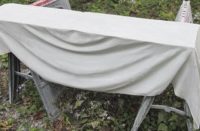
Don’t assume that everyone knows not to walk on your work. Decorative steps can look aged even when they are new. Protect your work with caution tape to create a safe space until the steps are strong. Let them cure completely before detailing and sealing. Be sure to add a nonskid agent to your sealer for protection and apply light coats to help eliminate runs.
Good luck and happy stepping.