
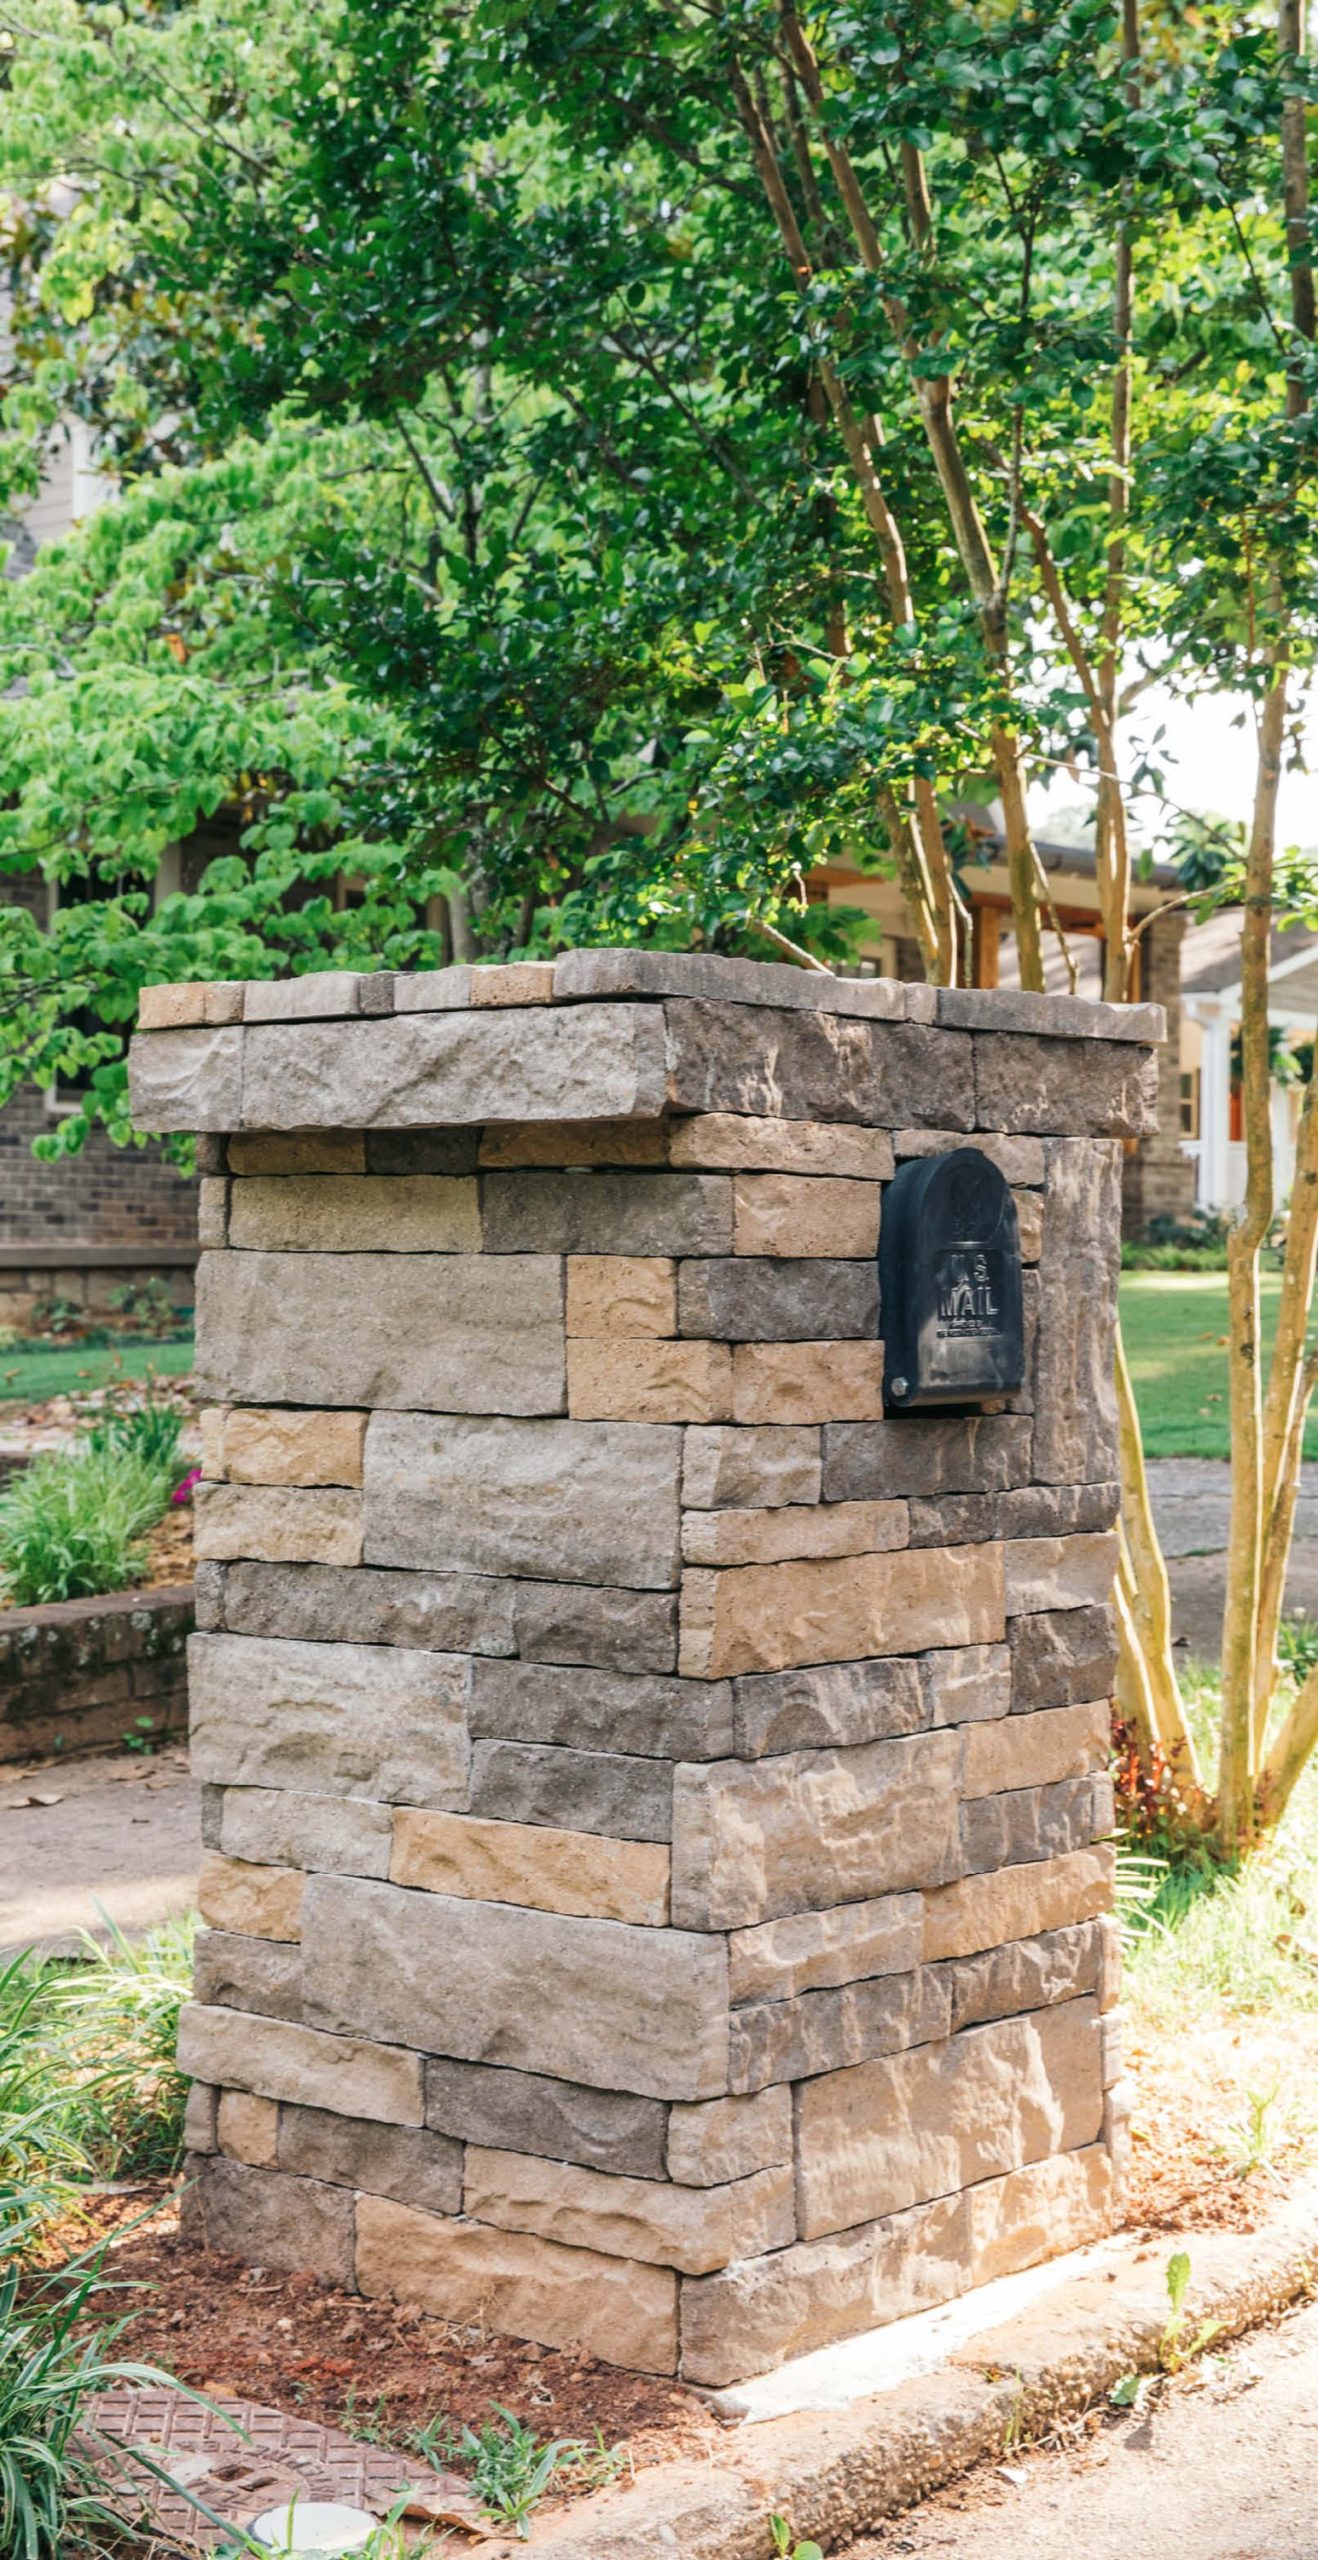
As clients look to increase their home’s curb appeal, they often overlook transforming the mundane mailbox. Considering a home’s curb appeal encompasses everything from the sidewalk to the front door, a stone-veneer monument mailbox can quickly and easily make a big impact in improving a home’s first impression. Here’s what you need to create a monument mailbox and how to do it:
Products and tools needed
- High-strength anchoring epoxy
- Surface-bonding cement
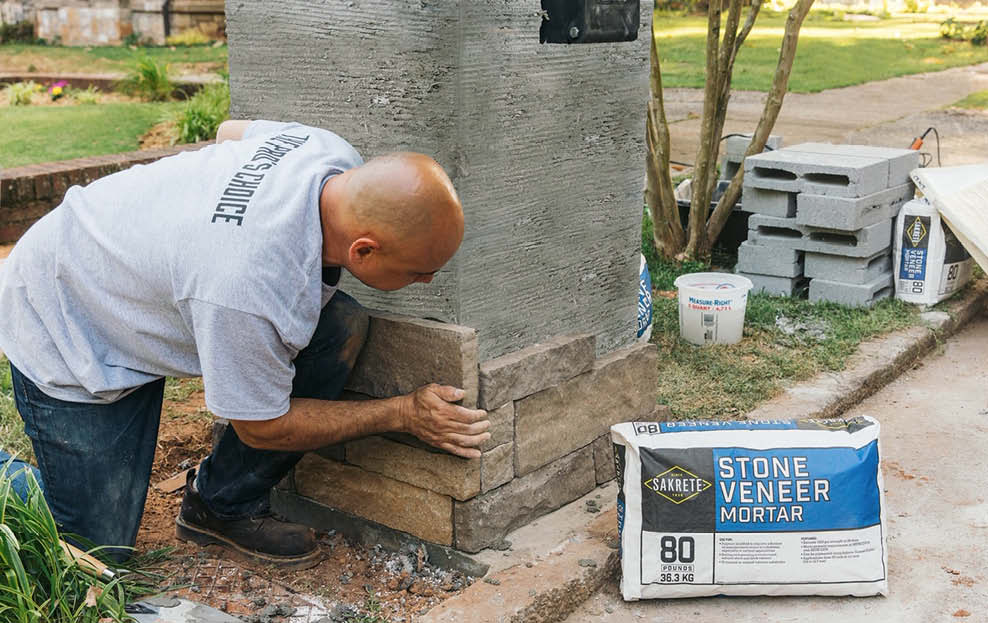
- Stone-veneer mortar
- 2-by-4 frame
- Concrete blocks
- Bucket
- Paddle mixer
- Square-notched trowel
Preparation
- Before you begin, check with local municipalities to ensure you follow code requirements for the area and dig the proper footing size. Be sure to call 811 before any digging project to protect yourself and others from unintentionally hitting underground utility lines.
- Begin work on a warm, sunny day — preferably when the temperature is between 40 and 90 degrees F with no rain in the forecast for 24 hours. If the air and subsurface are cooler than that, it will affect the set time.
 |
 |
Step by Step Instructions
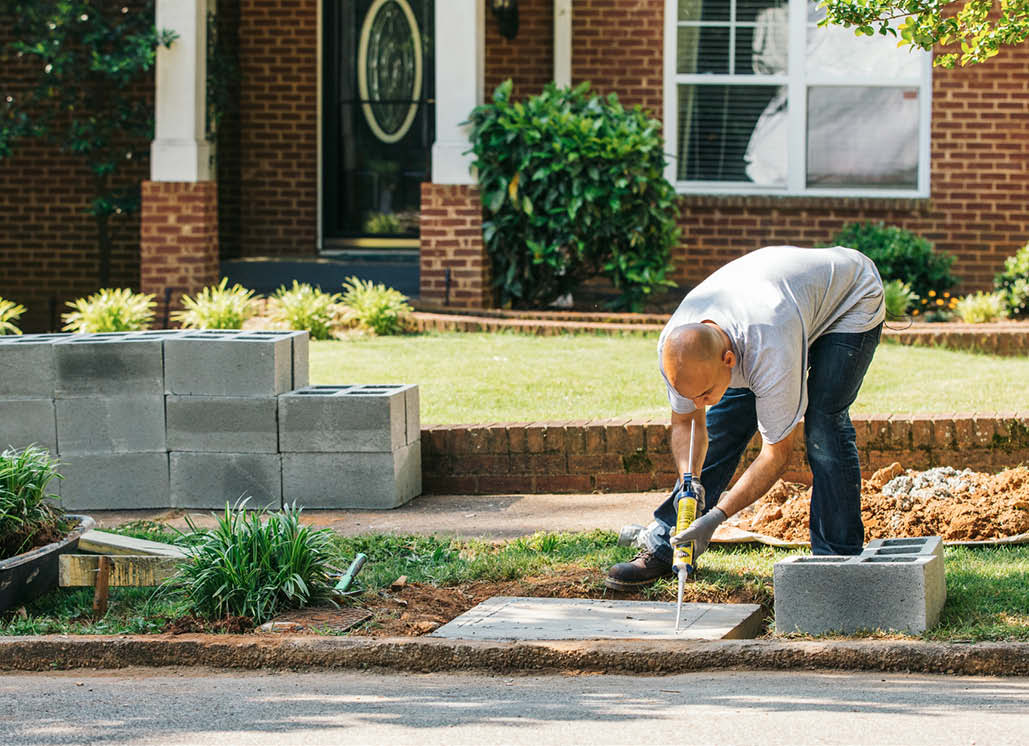
1. Pour a level, 6-inch concrete slab using a 2-by-4 frame (or what the local building code requires) for a proper size footing. Secure each course of blocks with a high-strength anchoring epoxy, staggering the joints.
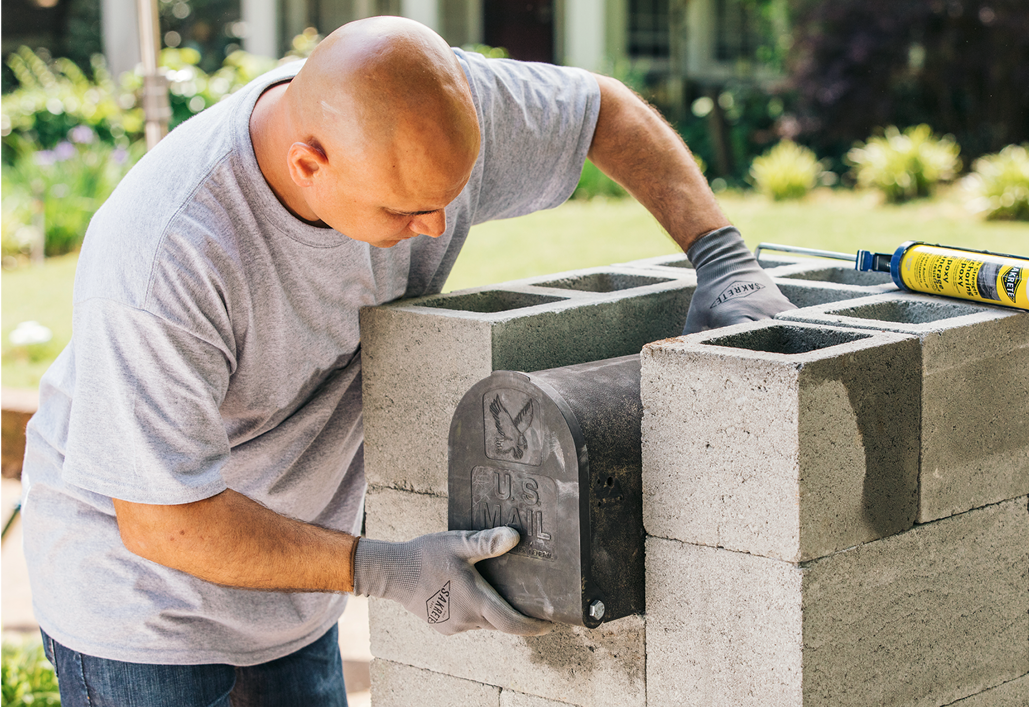
2. Carefully measure the area to ensure there’s enough room to set the finishing blocks on top of the mailbox. You may need to notch a section to accommodate the mailbox height.
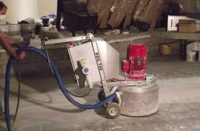
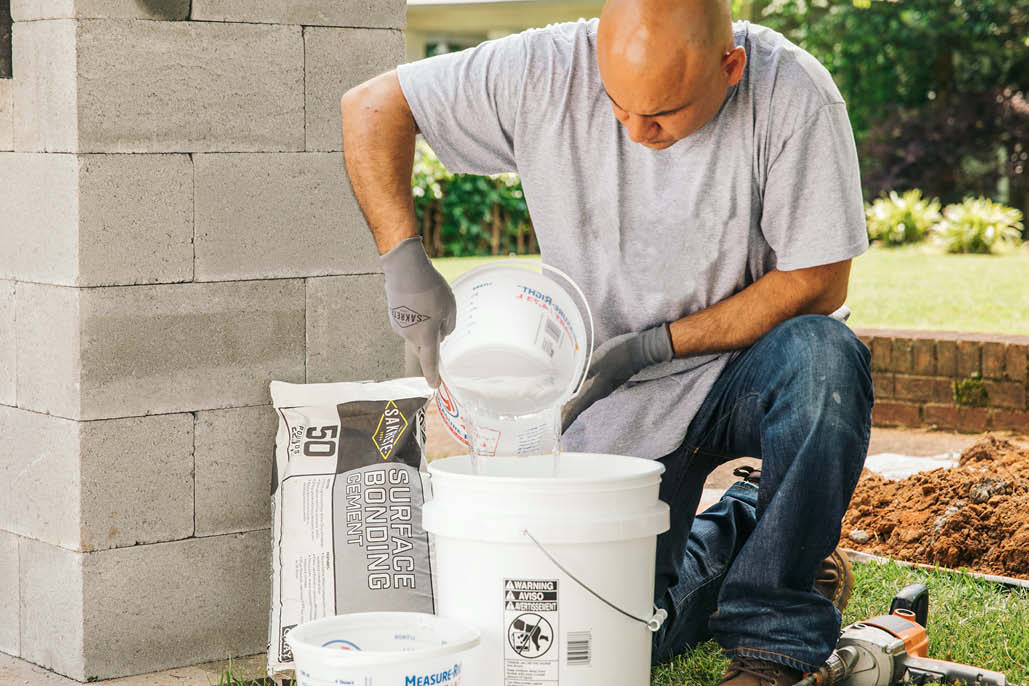
3. Using a paddle mixer, blend the surface-bonding cement with water in a bucket. Add water as needed until a peanut butter consistency is reached.
 |
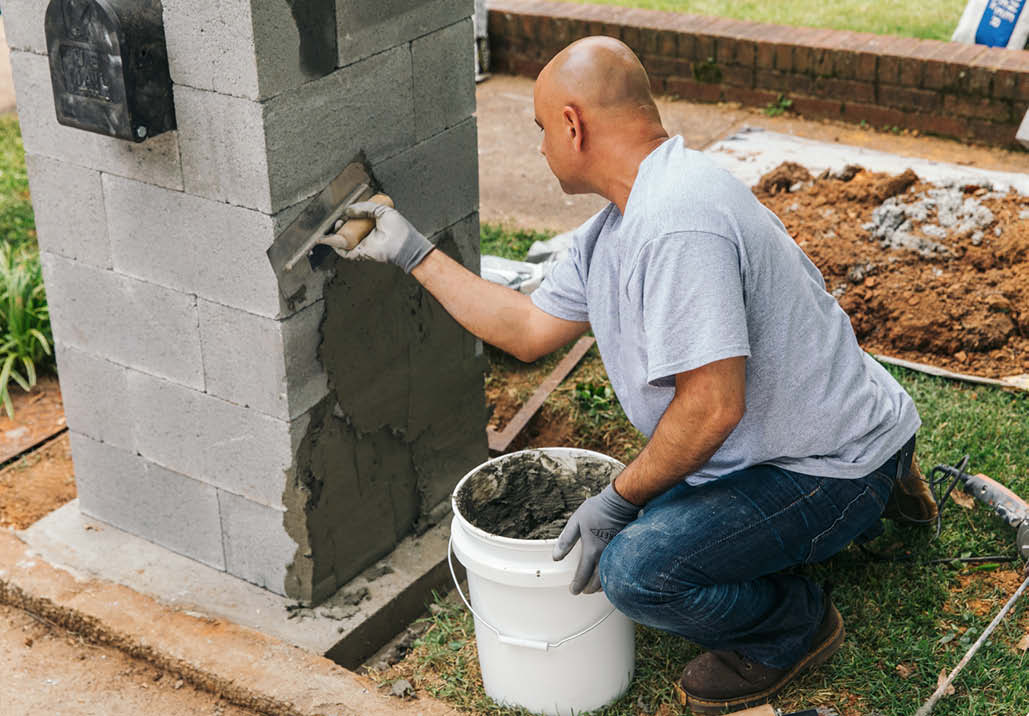 |
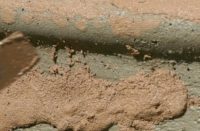
4. Mist the blocks with water to a surface-saturated dry condition. Using a trowel, apply a thick, even coat of surface-bonding cement. While the material is still pliable, comb the mix in a horizontal pattern using a scarifier tool. Be sure to apply enough so that the ridges made from the tool are full and approximately ¼-inch deep. Let the scratch coat set overnight.
5. Dampen the scratch coat and mix the stone veneer mortar. Apply a half-inch or more layer of the prepared stone veneer mortar to each piece of stone, as if you’re buttering bread. Starting at the bottom of the column, press the stone into the base, working your way up, checking periodically to ensure there’s 100 percent coverage.
With the right products, a stone veneer monument mailbox can be completed in a few days and can provide a significant upgrade to a home’s curb appeal.