In Part 1 of this hand brushing series, I discussed how to brush acid stain over exterior, broom-finished concrete. This time, I’ll detail how to be successful brushing acetone dyes on concrete. When brushing dye on interior floors, most people think it is impossible, since most dyes are acetone-based and flash in about 10 seconds. Because of this quick dry time, it becomes incredibly hard to hand brush without leaving horrible brush marks.
Remember, when you work with acid stains, you’re using water so you have a lot more work time to keep a wet edge. When working with dyes, 10 seconds isn’t enough time to keep a wet edge. By the time you dip your brush in the dye, what you’ve already applied is dry.
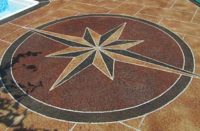
From walls to detailed patterns, there are lots of photos and videos on social media where contractors mask off everything. They spend hours taping and protecting before spraying everything in five to 10 minutes. But the key to my success and efficiency with expertly detailed decorative concrete involves using a brush. It saves me a ton of time.
It takes two
I wasn’t the one who invented this technique and I’m not the only one doing this. Regardless, I want to show you how to do this efficiently and effectively on interior work with the aid of denatured alcohol. Simply apply the dye, following it with straight denatured alcohol.
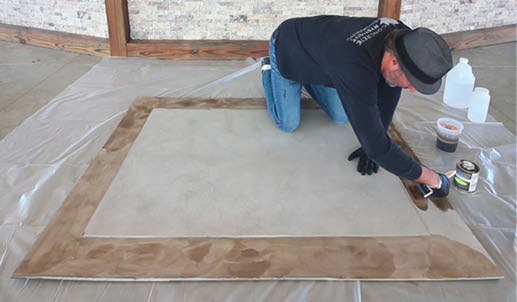
This method takes two people. The first one applies the dye, leaving behind a ton of brush marks. He or she should try to leave puddles of color instead of straight lines. These people can travel farther with each dip of the brush since they don’t have to worry about keeping a wet edge. It’s very important that they stain the entire area this way and don’t miss the edge of the cut line.
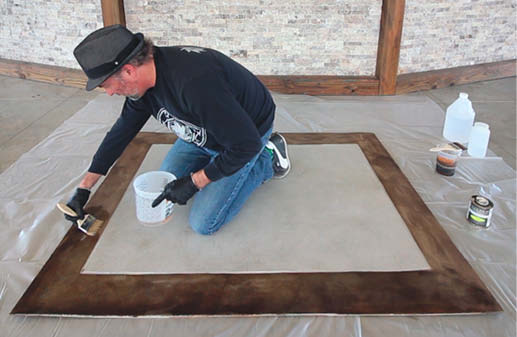
The second person follows behind with straight denatured alcohol. Because it dries slower, they have enough work time to keep a wet edge. At the same time, they can remove all the existing brush marks and leave a puddle of denatured alcohol that will dry fast enough and not leave any new brush marks.
Try this at home
You may ask: Why not just use denatured alcohol with the dye in the first place? The reason is that dyes need the acetone to first break them down. They’re not big fans of denatured alcohol.
Try this experiment. Mix two small cups of the same color dye, one with denatured alcohol and the other with acetone. Watch what happens to the dye particles. Tiny particles of color in the denatured alcohol solution will start to separate from one another. You won’t see this in the acetone mix.
|
|
|
Down to the details
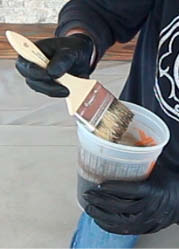
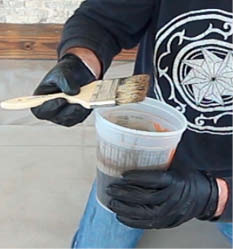
Let’s break down how to hand brush dyes in detail. As I wrote in Part 1, first hold the brush close to its base like you would a pen or a pencil. When you dip your brush into the cup of dye, the acetone will instantaneously wick up the bristles. Be careful not to dip your brush all the way to the metal band. You never want too much dye on your brush because it will drip everywhere. And since it dries so fast, it’s harder to remove than you expect.
After dipping the brush into your cup, remove the excess liquid from your brush by aggressively dropping the brush down twice, just above the material. This will remove the excess liquid and allow you to pull the brush out of the cup without dripping everywhere.
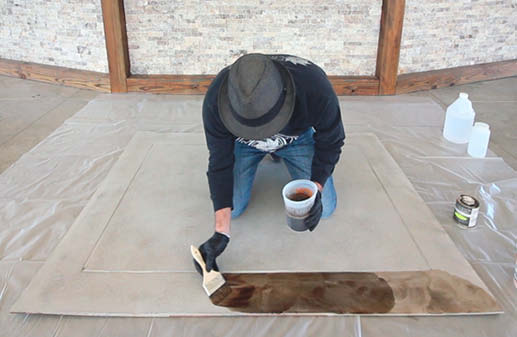
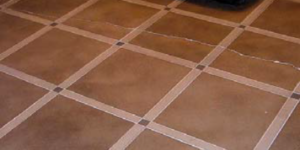
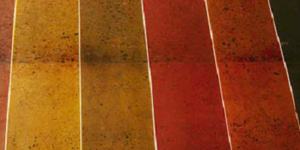
Next apply the dye on your border as much or as little as you want. You can’t stop the brush marks so decide how much you want to apply to the border based on your customer’s expectation of color saturation. When you apply the denatured alcohol, you’ll remove a little of the darker areas. This will result in a more even application of color.
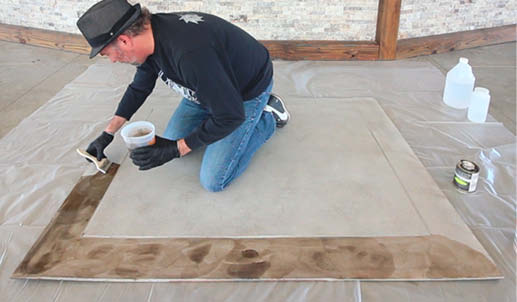
The second person then floods the border with denatured alcohol. When I say flood, I don’t mean apply so much that it bleeds past your cut line and into the main area. I mean apply enough liquid on the floor to give you time to work with it. Working with this small puddle of denatured alcohol on the border, brush through every ounce of what was already applied.
Watch the existing brush marks and make sure you thoroughly brush through them. Remember, just like you would with acid stain, brush with your entire arm not just your wrist. Try to make big circular brush strokes as you go. This helps leave less brush strokes after the alcohol dries.
Once you remove the existing brush marks, move down the border. Don’t keep working it in. If you let the denatured alcohol dry while you’re still brushing, you’ll start to see brush marks again. Let the denatured alcohol dry at its own rate. It will remove any leftover brush marks you made as it slowly dries.
Continue this method until you finish the entire border. If needed, you can go over the area one more time with denatured alcohol. But be careful. Every time you reapply, you remove a little more of the color, resulting in a lighter border.
Editor’s note: The accompanying video shows Rick Lobdell demonstrating his hand-brushing technique with acetone dye and denatured alcohol. Due to the size of the demonstration, Lobdell did the work solo. On a real job, two people are recommended to complete the task properly.