

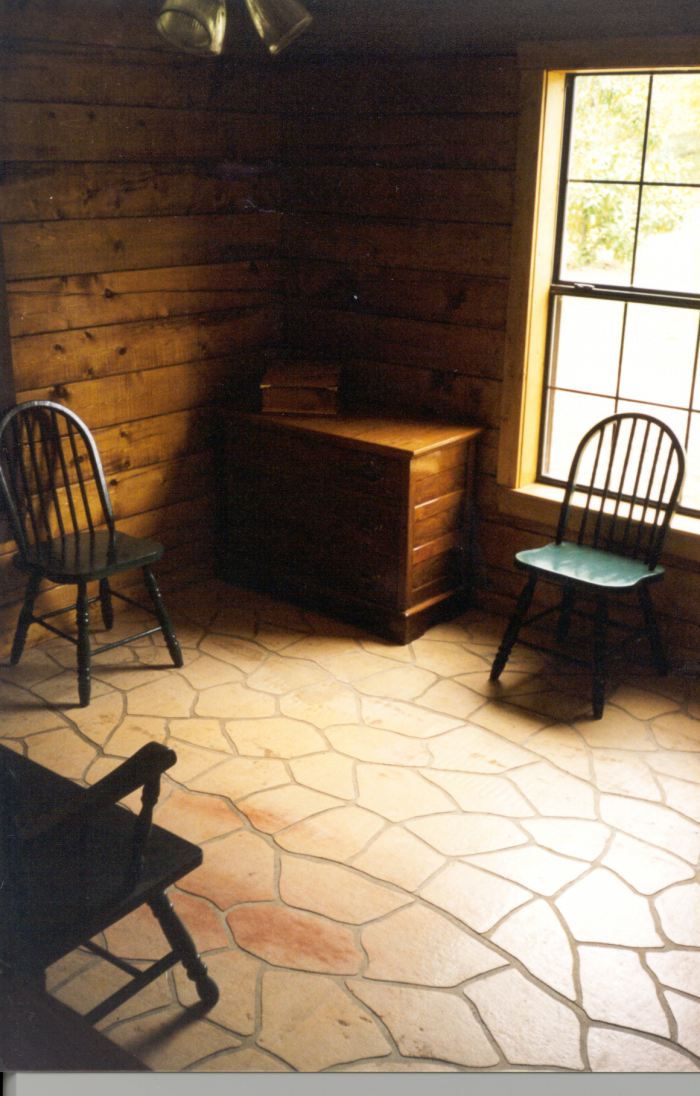
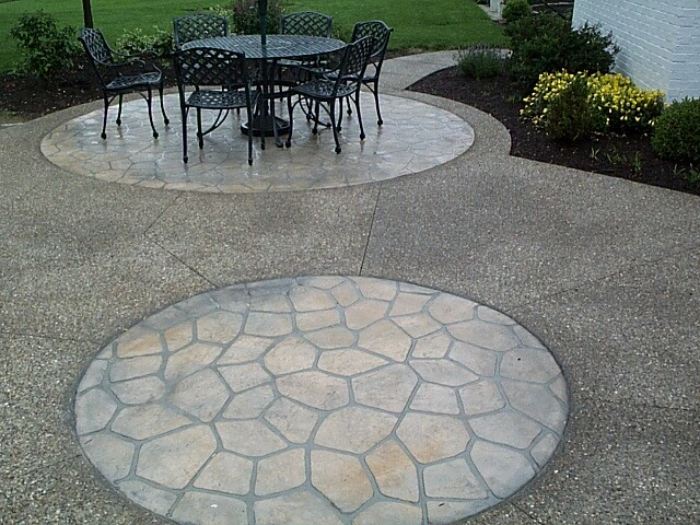
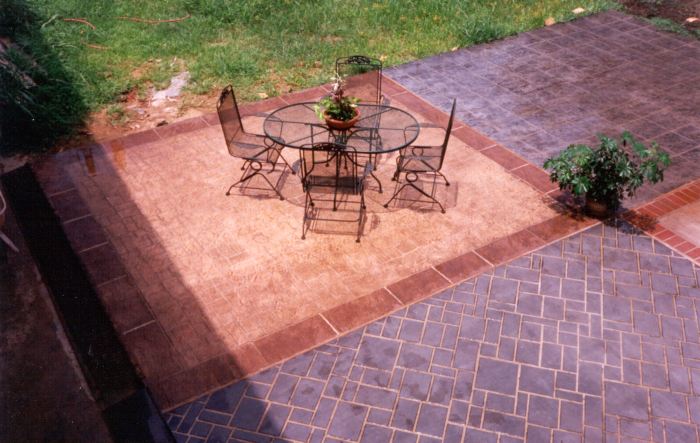
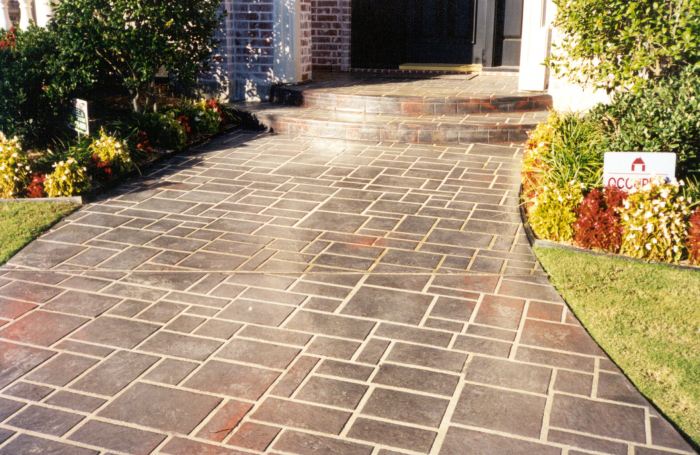
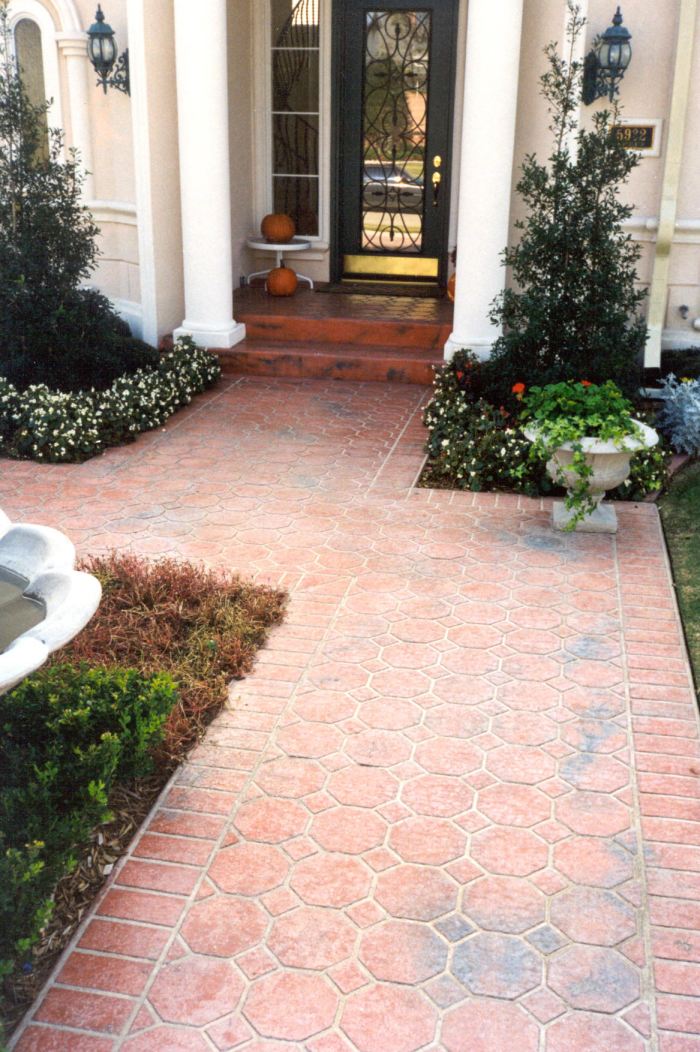
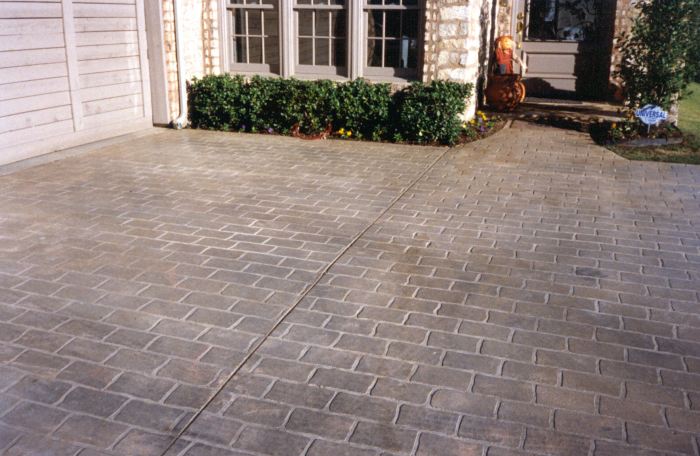
Stenciling gives a more detailed and realistic finish to fresh concrete than stamping. And there are other advantages to stenciling, as well.
 Stenciling concrete is frequently relegated to renovation projects, because stencils work well with overlays and spray applications. But, as many contractors in the know will tell you, stenciling fresh concrete gives a more detailed and realistic finish to fresh concrete than stamping alone. And there are other advantages to stenciling, as well.
Doug Burgan is president of Spray Pave Utah in Roy, Utah. He says the primary reason he prefers stencils to stamps is that “we can do large areas — different patterns all at the same time, not in different pours.” Also, he prefers the shallower grout lines created by stencils. Stamps leave deep impressions, he points out, which collect dirt and can trap moisture.
Contractors who use stencils on fresh concrete agree that the process isn’t difficult; rather, it is all a matter of timing and technique. If you’ve not tried stenciling on fresh concrete, the following tips and tricks may open a whole new world of decorative concrete for you.
Sizing up the job
It may seem elementary to say, but make sure you are familiar with your stencil patterns and how they will lay out ahead of time. Some patterns have more waste factor than others, while will be more difficult to place. Some contractors do a dry run. Jim Mullins, director of training for Artcrete Inc., in Indianapolis, sums it up well: “You should examine the layout before you have the wet concrete on the ground.”
Burgan says that for large projects, he rolls the stencil out in the grass, lines up the patterns and overlays the seams, and then staples it together.
That way the stencil is ready and there will be no surprises during placement. Lining up of patterns is very important, he says. “You can tell if [a stencil] wasn’t placed properly if you see extra large grout lines.”
In Noblesville, Ind., Steve VandeWater, managing member of ArtistiCrete L.L.C., recommends, “If you’re working up against a wall and it’s an odd pattern — like a European fan or flagstone pattern that’s not square or doesn’t have a straight edge — lay [the stencil] on the ground and snap a chalk line. Then cut it to create a straight edge to go against the wall.” And the main thing for rectangular patterns, he adds, is to make sure ahead of time that the corners are square.
Laying the stencils
When you should place the stencils is a judgment call, but most contractors advise placing them as soon as possible.
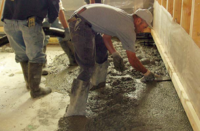
Conditions at the job site and weather factors such as wind and temperature play a role in the timing. The surface should be firm but creamy, without standing water. Bleed water means the concrete is too wet and causes several problems.
Embedding stencils too deep is the most common mistake. “If it’s too soft it’s easy to bury [the stencil] into the cream,” observes Burgan. If you embed the stencil too deeply it will allow the color hardener application to build up too much and crust over the stencil, or the stencil will be difficult to remove.
Bleed water will also cause color hardener to penetrate under the stencils, a situation you want to avoid.

But don’t wait too long to lay your stencils, either. If you do, you won’t get good adhesion. Remember, you need to lay the stencils consistently for an even appearance.
When laying the stencil, roll it off the top of the roll so the curl goes towards the concrete, advises John Klug, estimator with G.R. Trumble Construction Co. in Florence, Ky. “That way you won’t be fighting it trying to roll up on itself.”
Also, watch out for kinks in the stencil. “If the stencils have a lot of bends and other distortions due to improper handling, throw that piece away and get farther into the roll where the stencil is fresh and undistorted,” Mullins says. A distortion can cause a stencil to allow color hardener underneath, which defeats the purpose of using the stencil in the first place: the creation of a nice grout line.
Different contractors use different methods to lightly stick the stencil to the surface of the concrete. Some prefer rollers, either napped or closed loop, while others use a bull float. The aim is to just tack the stencil to the surface.
 |
 |
 |
The key to this step, Burgan says, is to “always start in the middle and roll out” in each direction.
Greg Chapman, director of training and technical assistance at Elite Crete Systems Inc.’s training office in Merrillville, Ind., says, “If you start from the left or right, it’ll push the stencil. [Working] from the center stretches the stencil properly.”
Tips for challenging areas
There will always be a job that has a tricky area, either odd-shaped or up against a wall. These are instances when a contractor needs to be creative.
VandeWater explains, “If the area is walled on two sides, you may have to walk into the concrete and bull float your footprints out before you continue laying stencil.”
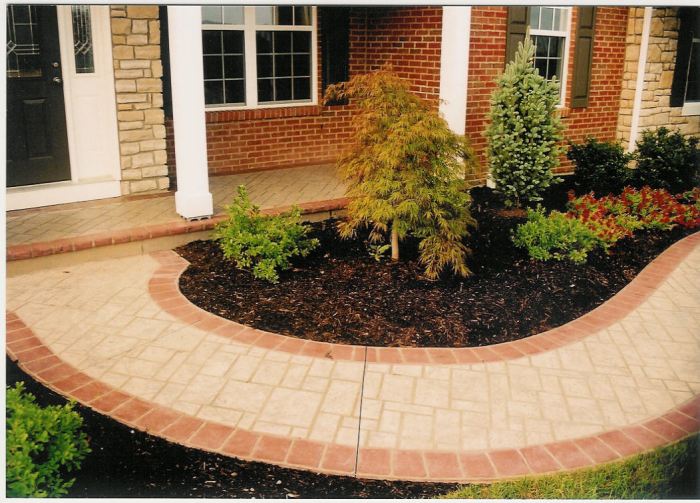
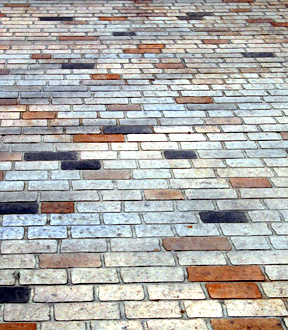
 Sometimes you may have to think like an engineer, Mullins says. “The slab can be spanned with a pick or walk board, allowing the contractor access in these cases. … [Or it] could be necessary to break the pour down into more manageable sizes, implementing border and band type patterns, such as cobble headers and soldier courses of brick.”
Burgan suggests always having a sharp pair of scissors on the job so that you can modify the stencil to make it fit and look natural.
And if you need a grout line that doesn’t exist, Klug says, use a piece of paper and make your own.

Coloring and texturing the surface
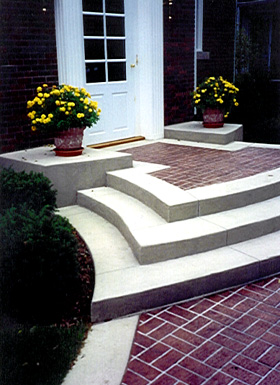
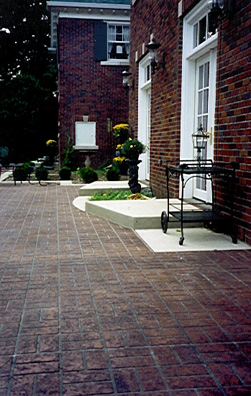
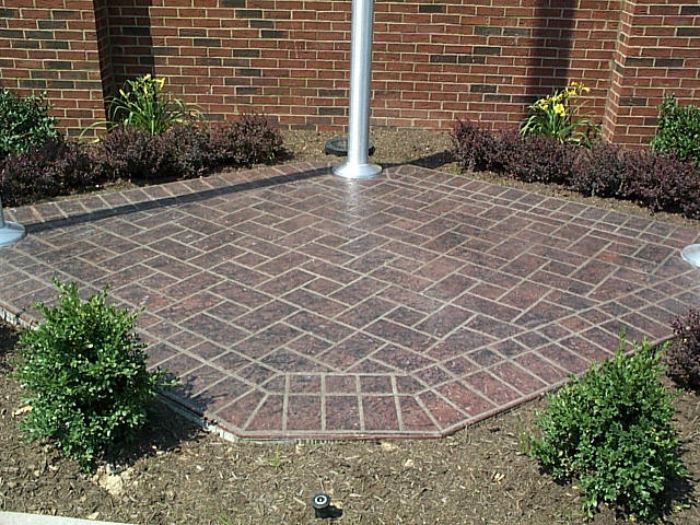
Contractors who strive for realism will combine color hardeners and surface textures. “Using stamps mats with stenciling in new concrete gives real nice, authentic detail,” says Jeff Hartzog, sales and marketing manager for Specialty Concrete Products Inc. in West Columbia, S.C.
“A lot of jobs we do have three to four colors [that we] throw in different areas,” explains VandeWater. On those multi-colored jobs you have to blend the colors into each other, but “mottled colors look more natural,” he adds.
 |
 |
Burgan suggests starting with the lighter colors. “If you go too dark [to start] it’s always harder to come back. Sometimes you can work the concrete to bring the gray concrete back up, but it’s very risky.”
One possible fix after the concrete is dry is use acid stains, but Burgan cautions to always do a test in a discrete area.
Sometimes, you can make dark colors work for you. Need black letters or a logo outline? Klug says they used the following technique to create their company logo: Black was used to color the background, the stencil was laid on top, and then they applied the other colors they wanted. “When we pulled the stencil we had the black letters and the black outline,” he reports.
With detailed stencil patterns you may need to be creative in applying the color. For a five-color compass, Klug says they used a teaspoon to apply the color hardener. “It allowed us to apply it with more control.”
After the color hardener is broadcast, a release agent is applied. Then texture mats or texture rollers are used to add realistic detail to the surface. VandeWater uses mats on small areas and a roller on large areas because it is faster.
How deep should the texture be? The answer, says Burgan, will often depend on the customer. “Some want light texture for patios; some want more aggressive textures.”
Removing stencils
Anyone experienced with stenciling fresh concrete will tell you not to wait too long to pull them up. And this is for good reason! If the concrete gets too hard the stencil will be difficult to remove. As Klug explains, “We made that mistake one time and it’s amazing how hard the color gets. [We] wound up pulling stencil in two-inch pieces.”
VandeWater reports he avoids this problem and creates a better look by pulling stencils right after the surface is textured. “Most people wait longer, until the concrete is set up. What happens [if you wait] is you get a slick grout line. … When we pull [the stencil off], the mortar joints have a sandier-looking appearance that’s more natural.”
But Burgan says his experience is that if you pull the stencil too soon, you’ll wind up with jagged grout line edges. Test-pull in a discrete area to check, he advises.
The keys to success
Stenciling fresh concrete may seem daunting, but it is simply a matter of developing a little finesse with the process.
As Mullins points out, “The big secret to a successful decorative job is to keep everything consistent: the slump of the concrete, the application of color hardener and your finishing process.”
Burgan recommends taking a few factors into account.
- How detailed the project is
- The weather
- The size of your crew
- How experienced your crew is with decorative concrete.
“You may have to break a large job up into sections,” he says. “Take the time to cut the stencil where needed to make it look natural. That’s what’s going to give you a great-looking job instead of an OK looking job.”
Ready to stencil your patio or driveway?
Offered by Concrete Decor Store Cobblestone - Concrete Stencil Roll
by Decorative Concrete Impressions Paper Stencil for Concrete - Basket Weave
by Bon Tool