

Now that summer is here I’m in full design mode on multiple projects that mostly involve designing a basic tile pattern on concrete. Since I’m back in major math mode, I thought I’d share a challenging design project I did a couple of years ago for a client in Chattanooga, Tennessee. I came up with the idea for a unique pattern on his dining room floor before I determined if I could pull it off. I was confident in my math but designs like this don’t come along very often.
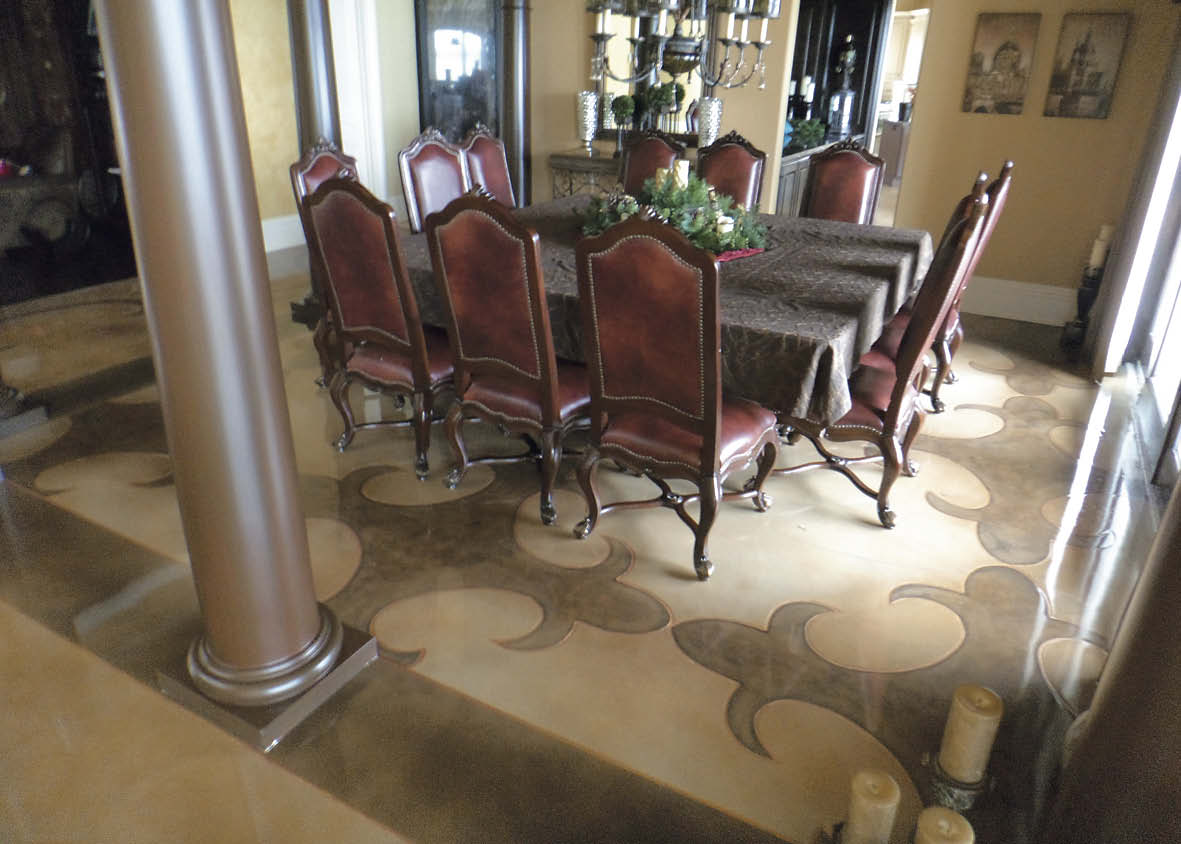
When you look at this floor, you see a very large design with the dining table sitting in the middle of it. In previous articles, I’ve pointed out that you need to be aware of how big or small an image should be to fit the space correctly. It’s important to visualize what the final scene will look like and decide how the scale of your design fits into it. You never want to make a medallion so small that you can see it under a table.
 Practice makes perfect
My initial drawing had a pattern that was way too small. Once I got into the layout phase I realized I needed to adjust the scale right away. That’s why it’s very helpful to sketch ideas out before the install.
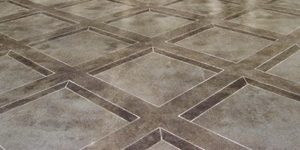
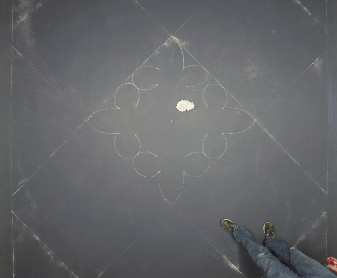
Since this design has a pattern I decided to lay out a large tile pattern on the floor to use as a guide. I measured 6 feet on the diagonal of the tile. That means I measured the distance from corner to corner across the middle of the tile and came up with 6 feet as a good starting point.
Then I hand drew my first image. It took me a little longer that day to lay out each image in the pattern. Nowadays I can do this in half the time. Like I constantly say: Practice makes perfect! Although I’ve only done this design once, it’s still all basic math. Practicing math is just as important as practicing the actual designs.
|
|
|
Mock-up mechanics
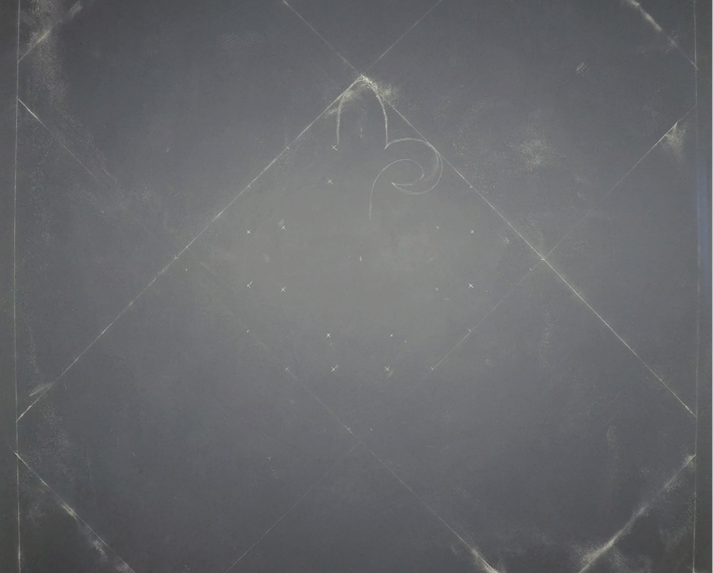
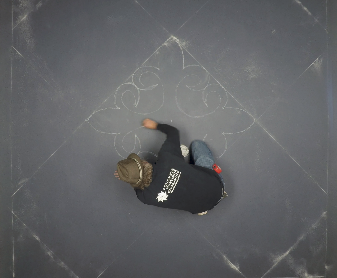
Let’s look at the mock-up project and break down how I did this layout. First, I found the center of the room and started a tile pattern on a diagonal. For this demonstration I drew a 4-foot tile pattern (because that size worked best in the mock-up room). Then I drew one-eighth of my image.
Previously, I explained how I use the Cartesian coordinates as a method for most of my layouts. In this instance I took that theory and tweaked it to my advantage. Instead of measuring from the center of the room I used all four sides of the square for my measurements. As long as your tile is a perfect square you can use it to your advantage. I plotted all my points out from the first corner and duplicated the pattern on the other three corners.
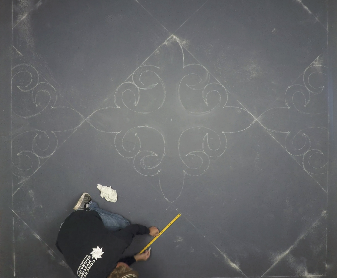
Once I got those initial plot points down, I drew the outside edges of the image. At this point, I stopped and took a step back to make sure everything matched. Then I drew the inside lines and had to fine-tune some of my curves to ensure accuracy. Once I was satisfied with the look, I moved on to the next tile.
From here on out, you can use the same measurements from all the corners of the tiles you want the image on. I plot out each tile and then draw the pattern. After each one I step back to make sure the curves match. Then I repeat the steps on the next tile.
The corner tiles don’t have corners to measure from. So I use the center of the tile line and measure the reverse from there. At first it was confusing but once I got the initial one down the other three were easy.
|
|
|
|
|
|
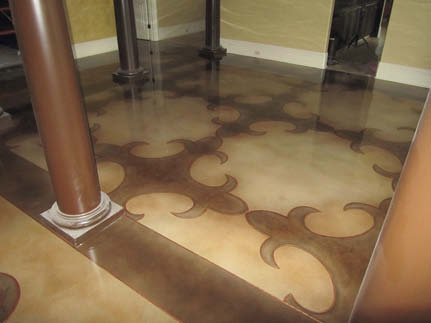
The grand finale
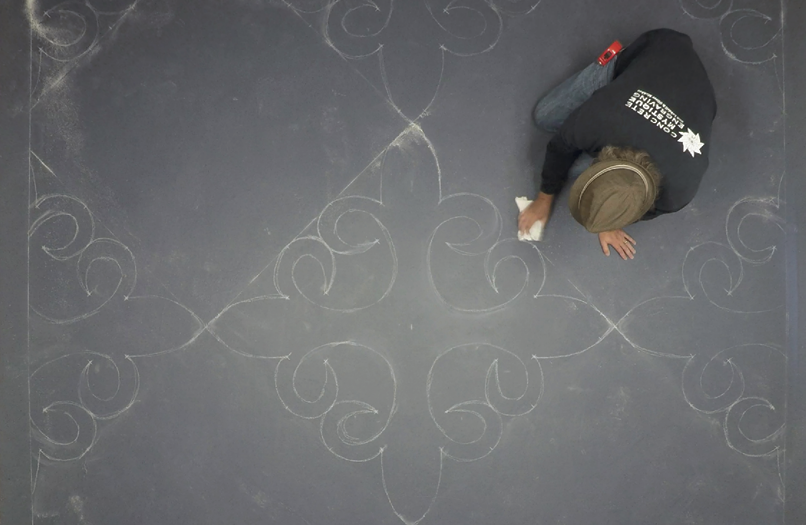
Finally I remove all my tile pattern lines. The finished product is a unique fleur-de-lis tile pattern. The design looks incredibly hard to do but it just takes a little patience to see the bigger picture. It is a lot easier to produce than it looks.
Using a tile pattern to your advantage keeps everything square and accurate. I would never be able to draw a design like this without starting with a basic tile pattern. It’s amazing what the basics of all decorative concrete design can help you make.
Video Tutorial
Questions from Readers
Question
How can I imprint poetry onto concrete?
Answer
There are a couple of methods for imparting language and designs to concrete, new or old.
On new concrete there are a couple of stencil manufacturers that can produce the poetry. The stencil is then embedded onto the wet concrete surface. However, when using this method a stencil is generally used in conjunction with a color hardener that is broadcast onto the wet concrete after the stencil is placed. This method prevents the covered areas from accepting color. The next day you can pull your stencil off the surface of the freshly placed concrete. With some minor cleanup, your poetry is both legible and a permanent fixture in your concrete. The concrete can then be sealed.
Another, more simple method, is to wait until the concrete is installed. After it is, you can color your slab with a reactive (acid) stain(s) to achieve the desired colors. Before sealing the concrete, place an adhesive- backed stencil onto the colored surface. Then apply a gelled acid (very safe to use) which removes all color from the treated spaces. This method is really quite fun and delivers exceptionally detailed results.
Still, another method includes placing the concrete, coloring the concrete with acid or acrylic stains, and then using a custom-made stencil and mechanical needle scaler to chip away the exposed concrete surfaces inside your stencil. This will engrave your poetry into the concrete surface.
All three methods are proven and effective. However, if this is something you are doing for the first time, I encourage you to go with the second method. It’s also popular among concrete artisans and has been used for more than 20 years.