
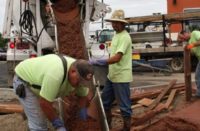
 The creation of a high quality concrete job starts with proper sub-base compaction. Generally speaking, a minimum of 4-inch rock sub-base is required to support the concrete slab cast on grade. The rock sub-base should provide uniform support to the slab without any soft spots. Soft spots in the sub-base will likely settle at sometime in the future with the weight of the hardened concrete on top of it. If soft spots are allowed, this could cause the concrete to settle unevenly and crack. An uneven sub-base will not provide a uniform slab thickness and this can also be a cause of random cracking.
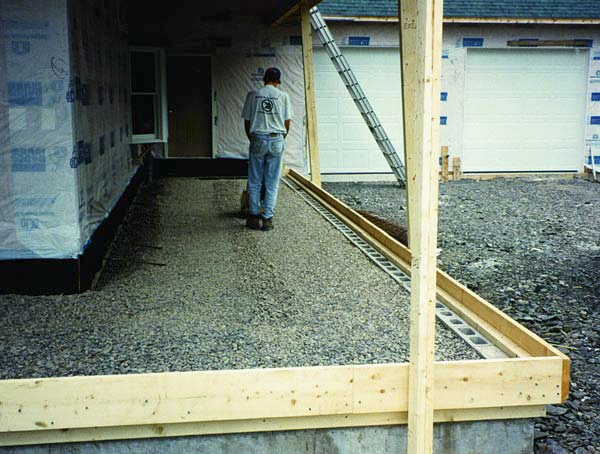
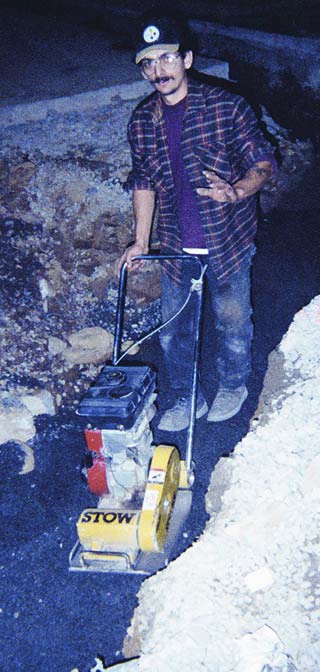 When extensive backfilling is needed, compact the rock in lifts, if necessary, to provide a suitable sub-base, as illustrated in (photo 1). Here the worker compacts a deep fill trench in multiple lifts to obtain good compaction after underground utility lines are installed. In (photo 2), the worker compacts the sub-base of a porch deck. By first grading the 2B crushed rock in a uniform manner, graded rock was compacted uniformly using a plate tamper. (Note: the isolation material is mounted to the building. Prior to the pour, shingles were laid over the block work to provide a bond breaker so the concrete would not stick to the block work. Steel reinforcement was then installed.)
Preplanning your Jointing technique will also be a factor for success. There are three basic types of joints in slabs on grade: 1.) Construction joints, 2.) Contraction Joints and 3.) Isolation Joints.
A Construction Joint is the point where one pour ends and another pour begins. If you pre-plan the layout, you could bulkhead at re-entrant corners or layout the job to provide adequate size panels within the slabs after your contraction joints are installed.
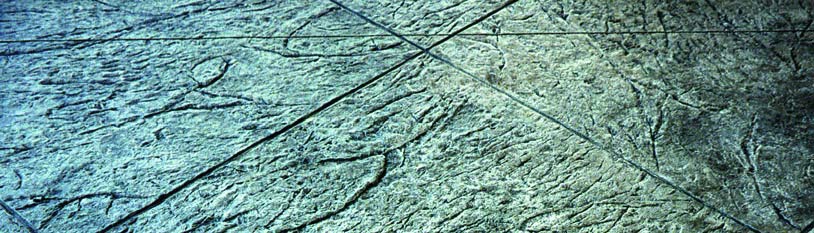
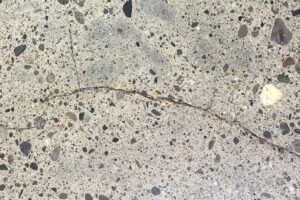
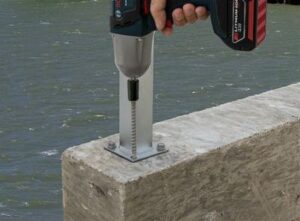
A Contraction Joint is placed in the slab at a location that permits a straight-line plane of weakness. This joint placement, in feet, is usually no more than 2 to 3 times the slab thickness in inches. The resulting panels should be as nearly square as possible. In walkways never make the long side more than 11⁄2 times as long as the short side. Driveways and patios wider than 10 to 12 feet should be divided down the middle so the contraction joint makes a panel that is relatively square. The contraction joint may be installed while the slab is still wet by using a groover tool or it may be cut-in after the pour, while the concrete is still green using a diamond blade saw, as seen in (photo 3). This type of joint should compensate for the slab shrinkage rate of the concrete while it dries, which is approximately 1⁄8" every 20′, providing the concrete is placed at the proper slump. Concrete placed at a higher slump will result in excessive shrinking leading to a higher shrinkage rate and possible random cracking.
An Isolation Joint permits the slab to move horizontally or vertically. This movement will take place with respect to the adjacent walls, columns or footings. In many applications the isolation joint material is fitted with a removable cap to create a void that will be present after the concrete has hardened. Later the cap is removed and the void is then filled with a suitable caulking material to provide a weather-tight seal.