

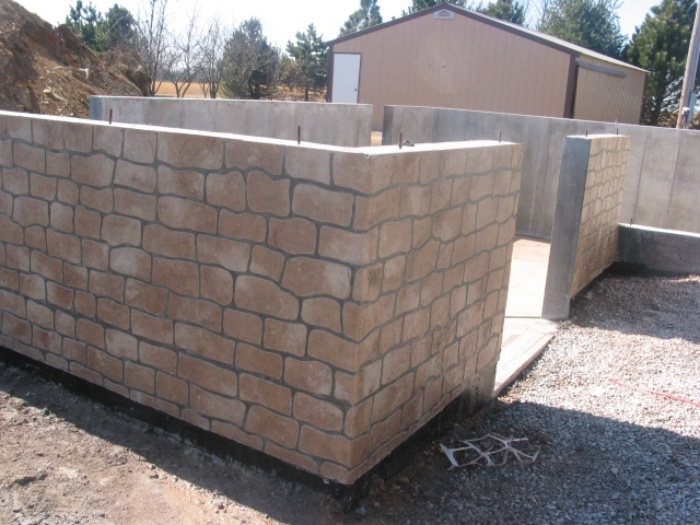
Stencils offer a variety of pattern options for vertical concrete surfaces. One contractor spruced up two office buildings, mimicking the look of slate on one and using vinyl stencils with an overlay to create a faux brick surface on the other one.
Suppose a real estate speculator buys an old tilt-up warehouse, hoping to fix up the dingy structure and turn it for a tidy profit. The to-do list will most likely include replacing those plain concrete walls with a finish that is more appealing. And for help with the facelift, the developer will probably turn to a decorative concrete contractor — someone like you. How will you do it?
 |
 |
Sure, you could attach slabs of slate or bits of brick to the walls and call it good. But you could also provide a result that looks just as good for less money — by stenciling the look of rocks or bricks onto the walls instead.
Rod Scott, president of Concrete Surfacing Systems Inc. in Sacramento, did just that for a developer who hired him to spruce up two office buildings for resale.
Finding inspiration
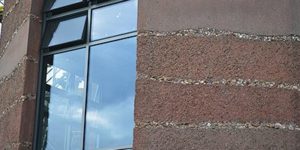
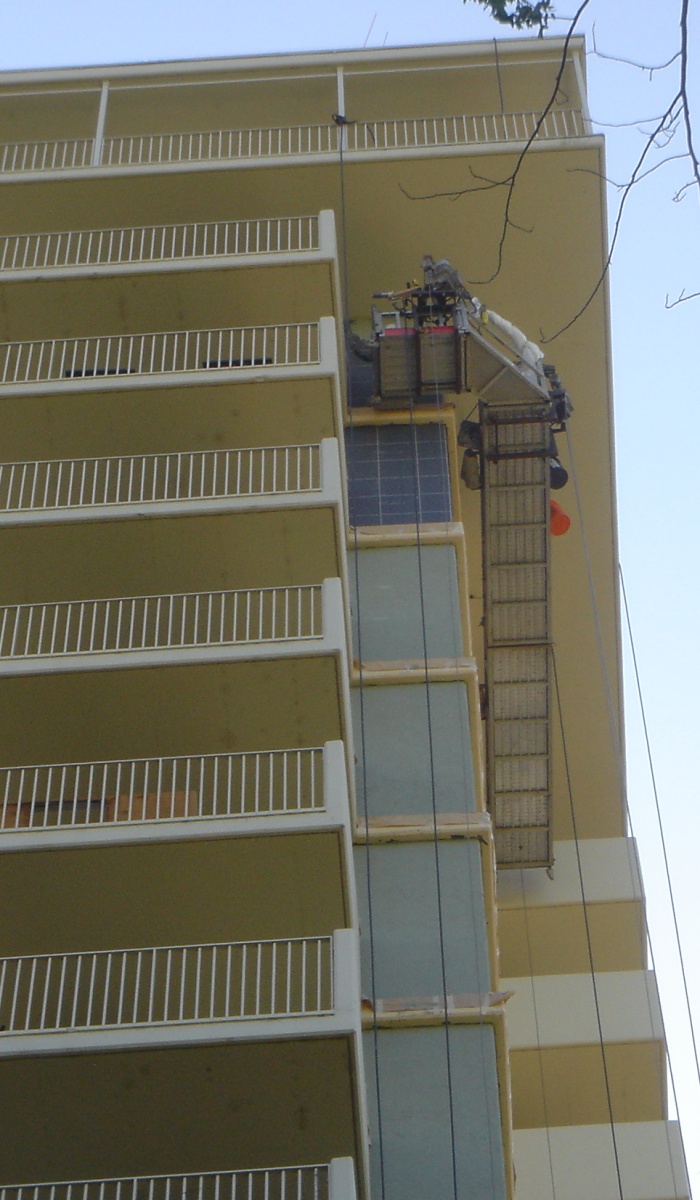
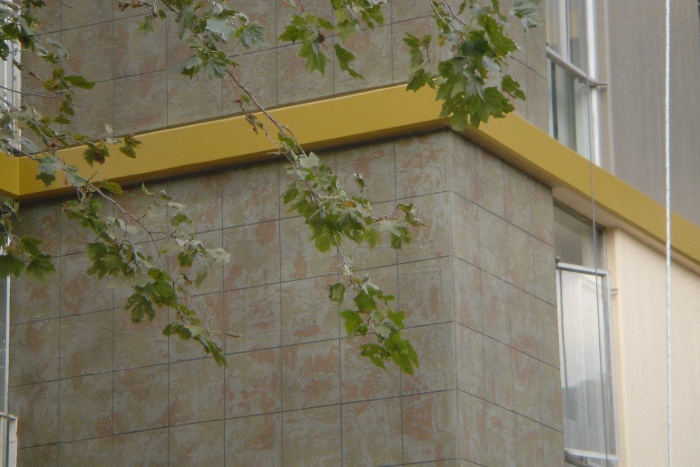
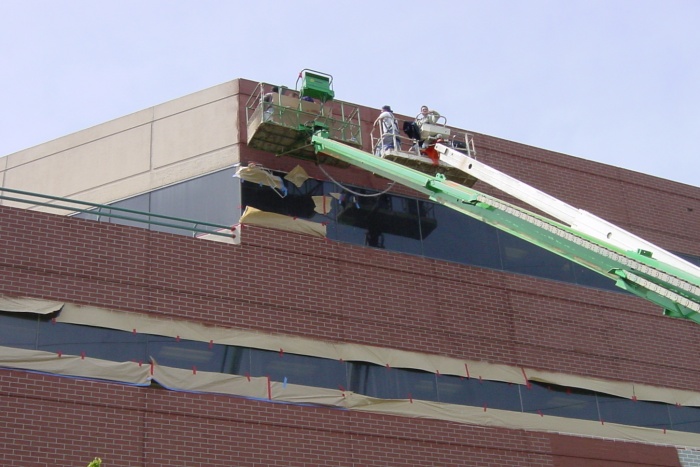
Scott’s crew mimicked the look of 18-inch-wide pieces of slate on a 15-story building in downtown Sacramento. The developer had attached authentic slate at the ground-floor level but turned the top 14 over to the concrete team. Not only was the stencil tape and overlay job cheaper than rock, Scott says, it was easier and safer: “Stencils are not going to fall and hurt people.”
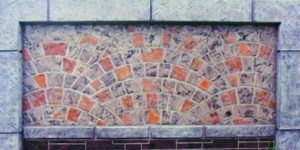
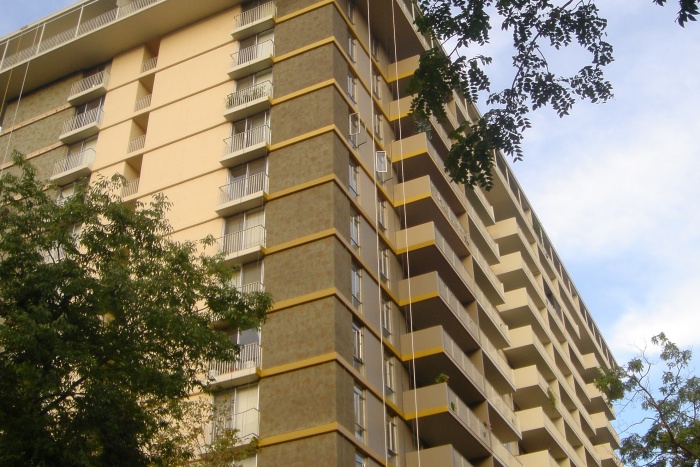
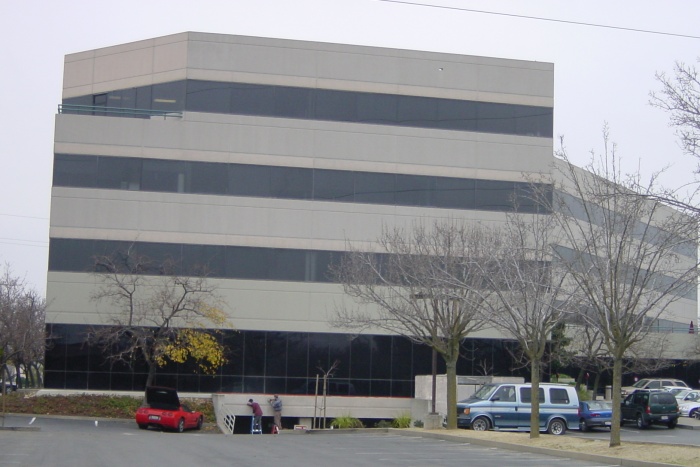
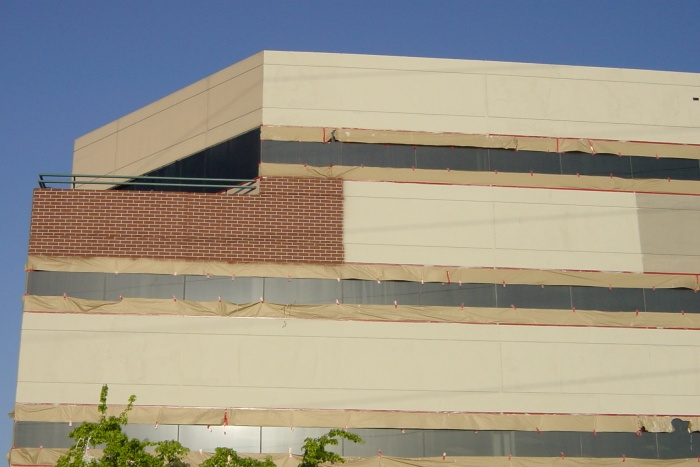
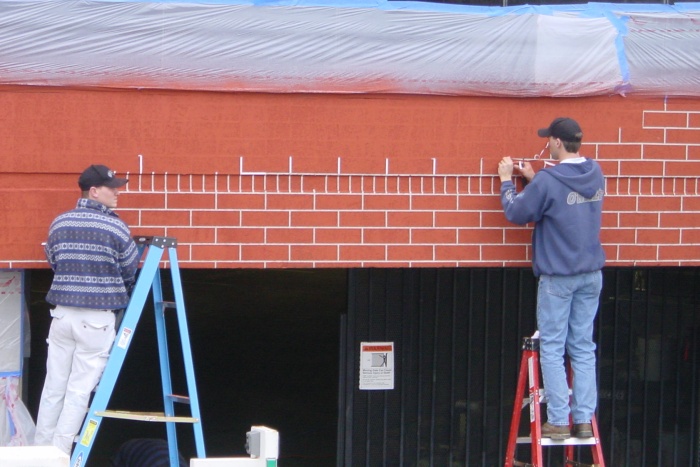
For the second structure, a 4-story building that was four blocks long, Scott’s team used custom-cut vinyl patterns with an overlay to build a faux brick surface on the sides.
While stenciling floors is a fairly familiar concept to most decorative contractors, stenciling walls is still a novelty. “But you know what? It’s coming up,” Scott says. “People don’t know they can do it yet. It looks like fake brick and it’s a lot cheaper.”

Heather Monroe, senior operations manager for Decorative Concrete Impressions LLC, has also noticed an uptick of interest in stenciled applications in general, including on vertical surfaces. “The appeal of using stencils for the contractor is that they are easily promoted and offer the customer a variety of pattern options,” she says.
The same stencils used in interior and exterior flatwork can work with vertical applications indoors and out. Stencil patterns can be cut from paper or vinyl, while grout lines can be pulled from a roll of tape, helping artisans achieve the look of brick, stone or tile. As always, custom designs combined with borders and accent pieces allow contractors to mix it up.
 |
 |
How it was done
After using window-washing equipment to scale the sides of the 15-story office building, Scott’s crew used lasers to get their lines straight. Starting at the top and working their way down, they also did what they could to square their pattern with pre-existing joints in the poured-in-place building. The old hand-cut joints weren’t exactly laser straight.
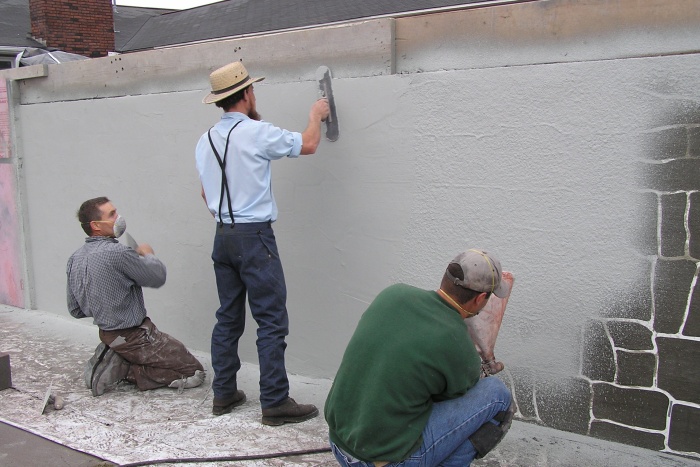
After a skimcoat of grout-colored, polymer-modified stucco material, they taped down the grout lines with fiberglass embossed stencil tape. “The surface was so rough, it needed, a skimcoat anyway,” Scott says.
The team applied three colors of overlay to match the colors of the slate on the first floor. After the tape was pulled came a coat of clear acrylic sealer.
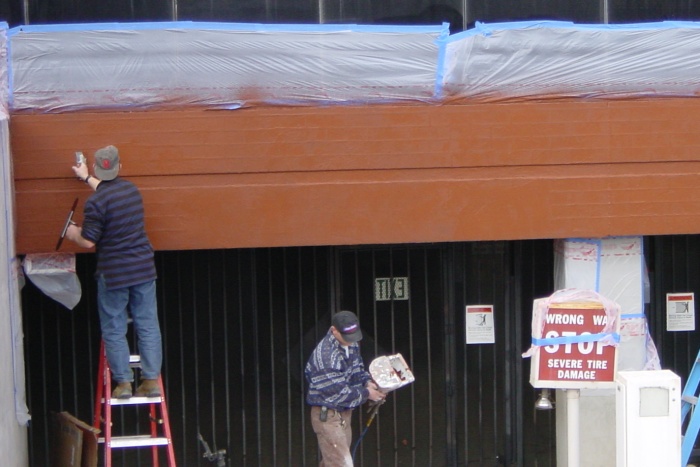
For the 4-story structure, a couple of 90-foot cherry-pickers gave them all the access they needed. The team worked with 4-by-8 sheets of self-adhesive vinyl stencil. As the client wanted simulated bricks a little larger than the standard size, they used a pattern cut to order by their supplier, Multicoat Corp. The supplier also custom-mixed the red for the bricks. “There are a lot of ‘brick reds,’” Scott notes.
 |
 |
The next steps
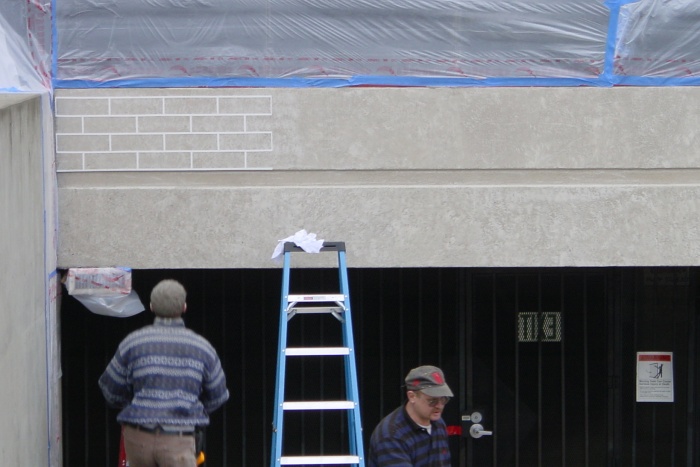
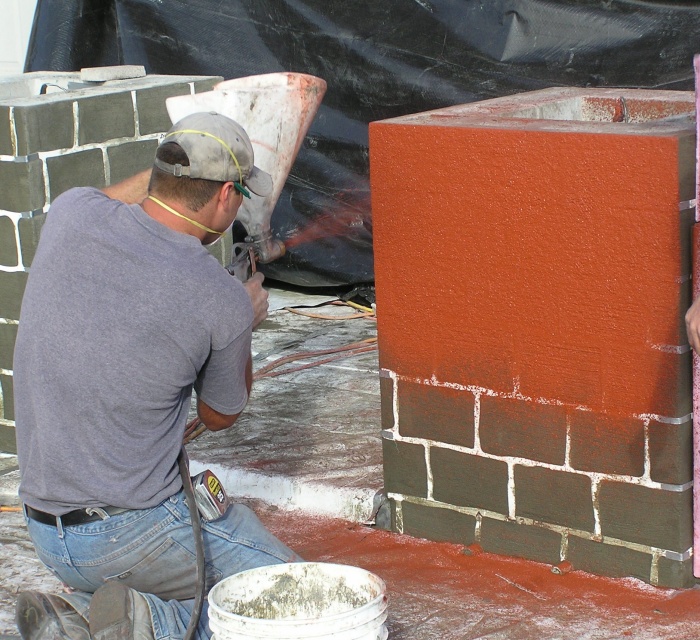
After the crew skimcoated the concrete, they drew chalk lines across the top of the walls for guidance, and then affixed the stencils from the top down. Then they sprayed red polymer-modified material over the stencils. This time, to avoid a stucco look, they troweled the material to get a smooth surface, them swept it with concrete finish brooms to give it the feel of brick. “It really warmed up that building,” Scott says. “Now it looks like a brick building, whereas before it was a tilt-up building.
“The stucco-style plastering technique is the most common way to apply stencils to a vertical surface, Monroe says. The other common method is to use stencils and colorants when creating decorative flatwork for tilt-up construction. “Either a nonadhesive stencil can be applied to a base coat while still tacky, or an adhesive-backed stencil will work successfully on a smooth-troweled surface,” she says.
The project requirements will dictate the type of mix used, she says. “The material used can be as simple as a three-coat hard stucco mix of sand, cement and lime, or can be any commercial synthetic coating products that are used with polymer.”
Adding color
Generally, color is mixed into the overlay as liquid or powder pigments. Acid stain can be sponged onto the surface, applied as a fine mist, or brushed on for accenting, Monroe says.
 |
 |
Even carefully applied stain can bleed under a stencil pressed against a rough concrete base. So if you are using stain, it might be prudent to seal the concrete first, so the stencil’s adhesive can grip a smoother surface. A thickening agent mixed into the acid stain will help prevent excessive running.
Finally, Monroe recommends that a cap piece be installed along the top of the wall to help prevent moisture from getting behind the layer of plaster. “A properly maintained vertical surface, sealed and kept free from hydrostatic pressure, will indefinitely retain its integrity and beauty,” she says.
Another way
Concrete stencil supplier Artcrete Inc. offers both the spray-on and tilt-up approaches to vertical concrete applications. “The use of stenciling on vertical surfaces is just now becoming more popular,” says Artcrete national director of training Steve Peters. “The more panelized and modular construction becomes, the more stenciling will grow in use and acceptance. Also in some areas, some masonry materials are becoming harder to get in a timely manner.”
With Artcrete’s Artcast/Topcast Vertical Concrete Applications, you can stencil both sides of a precast panel with a chosen pattern. The stencils come attached to retarder paper for placement in the casting bed. The paper works with liquid retarders to control the surface finish.
Artcrete’s Deck Coat, for its part, is a two-part precolored product that is spray-applied over adhesive stencils on existing vertical concrete surfaces.
When stenciling wet panels, Peters recommends using self-consolidating concrete with strength of at least 5,000 pounds per square inch. “If a special aggregate is desired, it can be placed as a face mix on the downside of the panel and then immediately covered with a standard mix,” he says.
He also recommends a three-step process for keeping stencils straight. 1. Keep formwork straight and square. 2. measure the first stencil to make sure the pattern is parallel and square. 3. When placing consecutive stencils, overlap them and match the pattern bond.
Looking for stencils for your next vertical project?
Offered by Concrete Decor Store Facebrick - Concrete Stencil Roll
by Decorative Concrete Impressions Keystone - Concrete Stencil Roll
by Decorative Concrete Impressions