

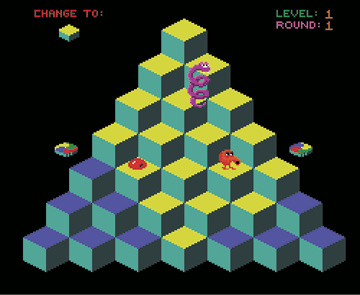
When I’m planning a project with a geometric tile pattern, I always think of the arcade game Q*bert. Many of you probably already know how much of a geek I am but let me remind you of my age. Yes, I grew up playing Q*bert, the original version. The idea that you can take three connected “squares,” change the color for all three and make them appear to be two walls and a floor is pretty cool to me. That you can do some scoring and staining concrete to a floor to make it even cooler.
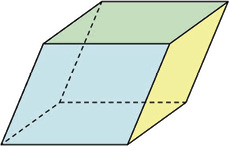
There is a catch: You cannot actually make this design using “squares.” Even good old Q*bert didn’t use squares. They look like squares, you want to believe they are squares, but they aren’t. Instead they are parallelograms. If you start this design thinking you’re making squares you’ll fail immediately. Once you start working with geometric shapes, and not just tile, the idea of a square is out the window.
 Understand the definition
To pull off this design, you must visualize what size parallelograms you want. But first, let’s define parallelogram. A quick internet search notes, “A parallelogram is a simple (nonself-intersecting) quadrilateral with two pairs of parallel sides. The opposite or facing sides of a parallelogram are of equal length and the opposite angles of a parallelogram are of equal measure.” The difference between a trapezoid and a parallelogram is a trapezoid only has one set of parallel sides.
Now in high school I had studied all the heavy hitters — in algebra, geometry and calculus — but I had forgotten about a parallelepiped, or rhomboid, until I looked up parallelogram. A parallelepiped is a 3-D figure formed by six parallelograms (the term rhomboid is also sometimes used with this meaning). By analogy, it relates to a parallelogram just as a cube relates to a square or as a cuboid to a rectangle.
I dare you to tell clients all this in a sales call. I would love to see the blank faces trying to keep up with all this information.
 Visualize the design
All this is very important. As you develop your design skills, the better you are at visualizing the design the easier it gets to lay it out. In sales calls, I’m often told that my competition warns clients that I’ll be too expensive and will take too long. This is only because they don’t understand how to draw and how to use basic math to lay out designs like this.
 I’ve never lost a sale because I took too long to lay out a design. In fact, 99 percent of the time my clients can’t believe how fast I complete the design-work phase on my projects. My philosophy is let the competition stay confused and I will steal every one of those sales from them while they are still trying to understand how to draw a basic tile pattern. As long as you understand the visual picture and how to get there, most anyone can do this in a reasonable amount of time.
Follow the steps
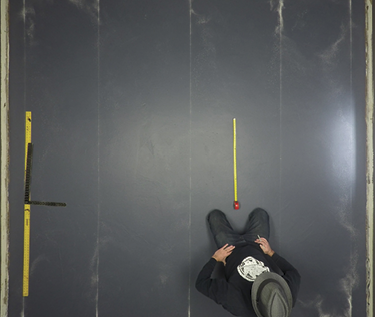
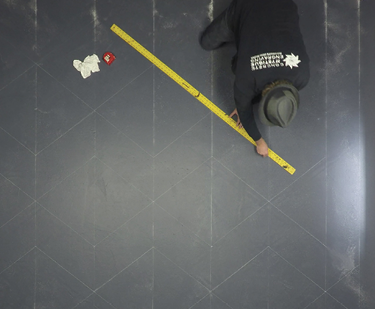
Let’s break down how to draw a floor of parallelograms. Like always, depending on the space, start with a 6- to 10-inch border around the room. Find the center in one direction and chalk a line through it. From there, measure the size you want your main parallelogram to be.
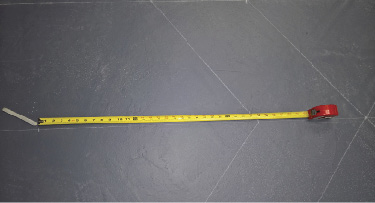 Your measurements are the far points of the diagonal, not the width of the tile. For this article, we’ll use 36 inches. Measure 36 inches from the center line in both directions. After chalking those, measure 18 inches between all your 36-inch lines to establish a center line for each.
During this time, you’re planning the size and shape of your main parallelogram. Since one diagonal length is 36 inches, the other must be either longer or shorter. If they were the same, we would be back to making a square instead of a parallelogram.
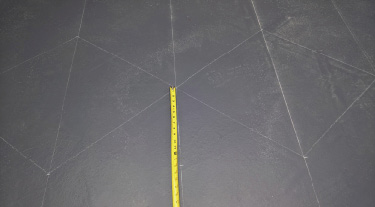 For this article, we’ll measure 28 inches. Plot a line of parallelograms through the center of the room based on these measurements. Next, we must visualize the design’s 3-D aspect. So that everything can break down easily, don’t complicate the design with an unusual measurement. Just split the diagonal in half. With this floor, that’s a 14-inch 3-D side to the parallelogram.
It quickly starts to get easy here. Measure 14 inches in both directions off the initial parallelogram on all your 18-inch lines. Now connect the dots and you’ll see the 3-D. Of course, it will be easier to see it once you stain and show three different value changes, but we’ll talk about that in another article. This one is about how to draw the design.
 Repeat after me
After you draw the 3-D tiles, repeat all these measurements until you fill out the entire floor. As you’re measuring, you’ll see how the tiles are in the same line as they travel diagonally through the space. You can use this to your advantage when finishing the last lines that touch the borders. After you chalk out all the lines, erase those that travel through the larger parallelograms you started with.
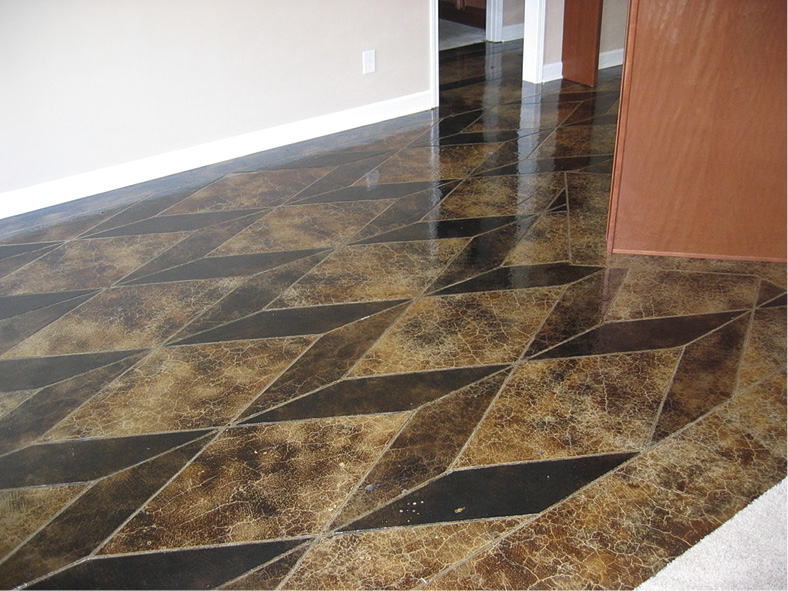
 There are so many directions you can take the look of this design. No matter what size you make the shapes or how extreme you stretch the look of the parallelograms, if you keep math organized it will always look 3-D. This rhomboid illustration shows how you can make the shape look more or less 3-D by how big you make the vertical side of the design.
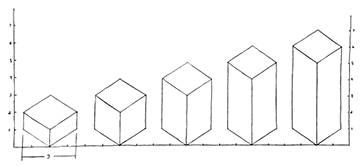 Visualize all my measurements as 1-foot increments. This will help you see how big they can quickly get. The main parallelogram is 3-by-2 feet. The vertical starts at 1-foot wide and grows to 5-feet long by the end. Yes, you must imagine a floor full of these shapes. This is how this design works.
Unlike the basic tile pattern which 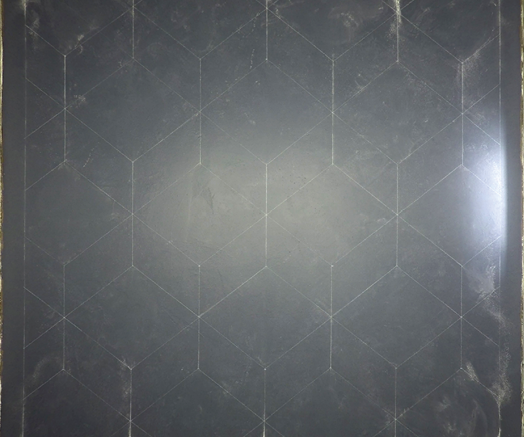 involves the entire floor, this design is about understanding the size of this visual shape and then repeating it. Remember designs like this can get busy very quickly. We are in an era of design where less is more and people don’t want extremely busy floors.
Think big, think simple and have fun. These floors are cool to do once you practice and get the hang of this design.
Video Tutorial