


The beauty of decorative concrete comes from its versatility and stunning final results. Each project’s unique traits help sell the next project. However, your future potential clients don’t necessarily have access to your past projects, which is why photography is a crucial component of your marketing plan — regardless of your company’s size. Whether you use the photography for a brag book, on your website, in brochures, on social media or with articles, you should always ensure you portray your work at its best. Here are 5 Tips for photographing concrete to remember:
Take photos of completed projects
Our hardscapes show best when they’re 100 percent complete and all the surrounding work is also done. Sometimes, it’s difficult to go back to a project after you’ve packed up and left, but it’s worth the effort to produce more professional-looking photos. Ideally, all furnishings should be in place. Just like selling a house, it looks best if the photos show the product in its useful state.
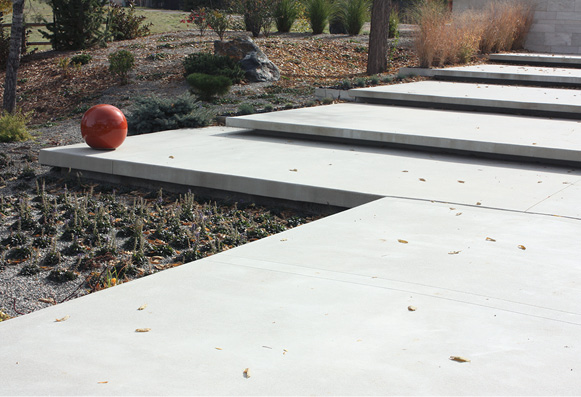
Do: For a stamped concrete pool deck, wait until the lawn chairs are out, grass is green and the pool is filled.
Don’t: Have hoses across the deck or forms still in place.
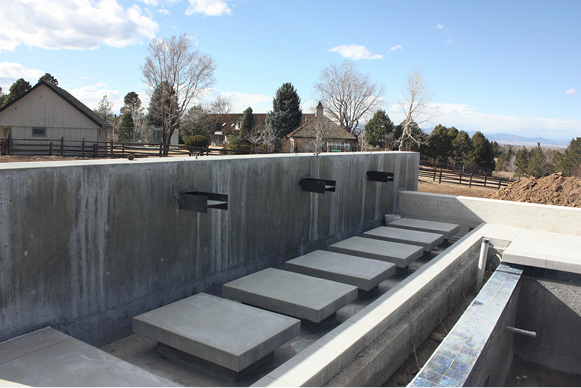
Ensure the area is clean
This may require using a broom to sweep the surface or hosing it down and waiting for the sun to dry it out, but it’s worth the effort to show off your product at its best. Also make sure the surface is free from clutter. Your camera bag or an empty soda cup shouldn’t be in the photo.
To create this photo opportunity, offer to return and do a final cleaning after all other trades are done. Use that opportunity to not only clean the surface, but increase customer satisfaction and get great photos.
If you must take in-progress photos, make sure the job site is “safe” and no one is violating any safety regulations.
Do: Clean surface, pick up and dispose of trash, and make sure your notepad and camera bag aren’t in the photos.
Don’t: Let trash, dirt or clutter distract from your amazing work.
Choose the right time
This may not be possible for all projects, but if you have the freedom to control when you take your final photos, choose dawn or dusk. The natural lighting at these times of day usually provides excellent conditions to show the surrounding elements at their best. The lighting also tends to show off a pavement’s texture and color.
If your concrete is in an area without hard shadows, a sunny day is also a good choice. If shadows are prevalent during most of the day, an overcast day will work to your advantage.
Do: Watch where shadows fall while you’re working on your decorative concrete project and determine the best time of day and weather to show off your work. Shoot with your back to the sun if possible.
Don’t: Photograph the work if there are harsh shadows that hide interesting features or if the light is so bright it washes out details. Make sure your shadow isn’t in the photo either.
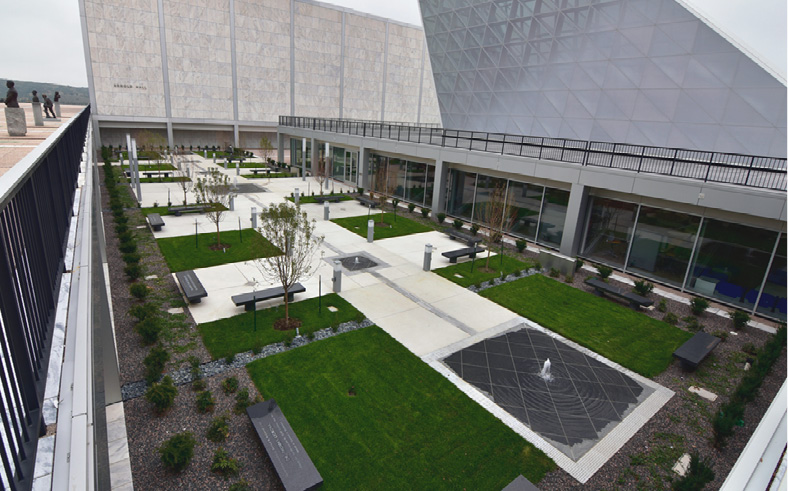
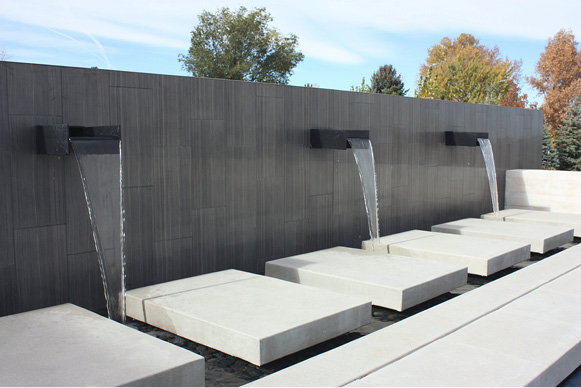
Include the project’s surroundings
Look around. As concrete contractors, we can appreciate a clean saw cut and beautiful consistency. However, our clients care more about the big picture. Be sure to photograph the hardscape in its setting in addition to the details which make it great.
Do: Take photos that include the adjacent building or the surrounding scenery. Even some great sky can add value to the overall picture.
Don’t: Just focus on the concrete’s great details.
Use your photos
Photos are a great — yet often underused — marketing tool for our industry. Most of us take photos with our phones or cameras because concrete is such a visual medium. If you take photos, add them to your brag book, put them on your company’s Facebook page and display them on your website. The more you can share the possibilities of decorative concrete, the more we expand knowledge, broaden opportunities and further innovations.
Do: Share your completed photos.
Don’t: Keep them on your phone indefinitely where they take up memory space and can only be seen by you.
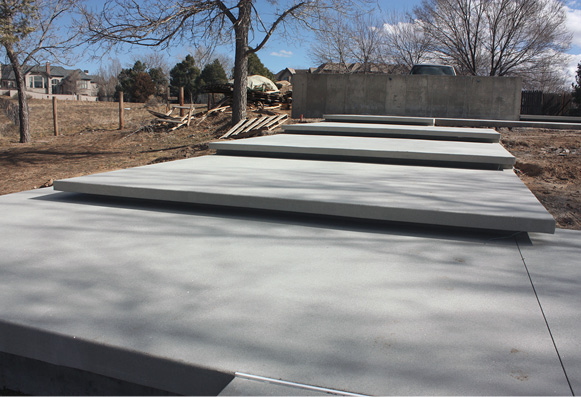
These tips will help you build your portfolio and sell more work. Please continue to take progress photos for your own documentation. But marketing photos should primarily be finished projects. You may think some forming and progress shots are cool — but put yourself in your client’s shoes. Most of them don’t “get” concrete construction like we do. All they may see is a dirty job site or an unfinished project.
If you can afford it, invest in a nice camera and take the time to understand how it works. If you don’t have the time or resources for nicer equipment, at least heed these tips. They’ll up your game considerably.