
In a world where construction projects are dominated by cutting edge products and constantly evolving technology, Jack Aldrich wants to do his share of preserving the “old ways” that have typically been passed on from generation to generation. He sees value in keeping old construction techniques alive in this ever-changing world.
Building is in his blood, he says. His grandfather was a carpenter and blacksmith, his father a builder/developer and his brother a builder. And he’s been fortunate enough to have been trained by Alex Skellon, a master mason and owner of Scottish Stone Craft, a company that has restored a multitude of historic buildings, sites and monuments in Scotland, England and the U.S. Skellon’s extensive portfolio includes plantations, notable houses and several lighthouses.
Aldrich’s travels have taken him up and down the East Coast where he’s worked on a fair share of historic restoration projects from New England to Florida, with stopovers in Williamsburg, Virginia; St. Simons, Georgia; and Beaufort, South Carolina.
“My trade is vintage workmanship and old school craftsmanship,” says Aldrich, who’s currently director of facilities and maintenance for the Dataw Island Club in St. Helena, South Carolina, near Beaufort. “And I want to share what I’ve learned” … beginning with tabby, a finish that was once very common in the Lowcountry of South Carolina and Georgia, as well as coastal districts in Europe.
A little history
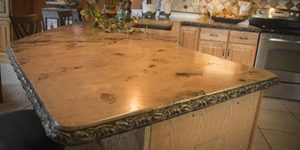
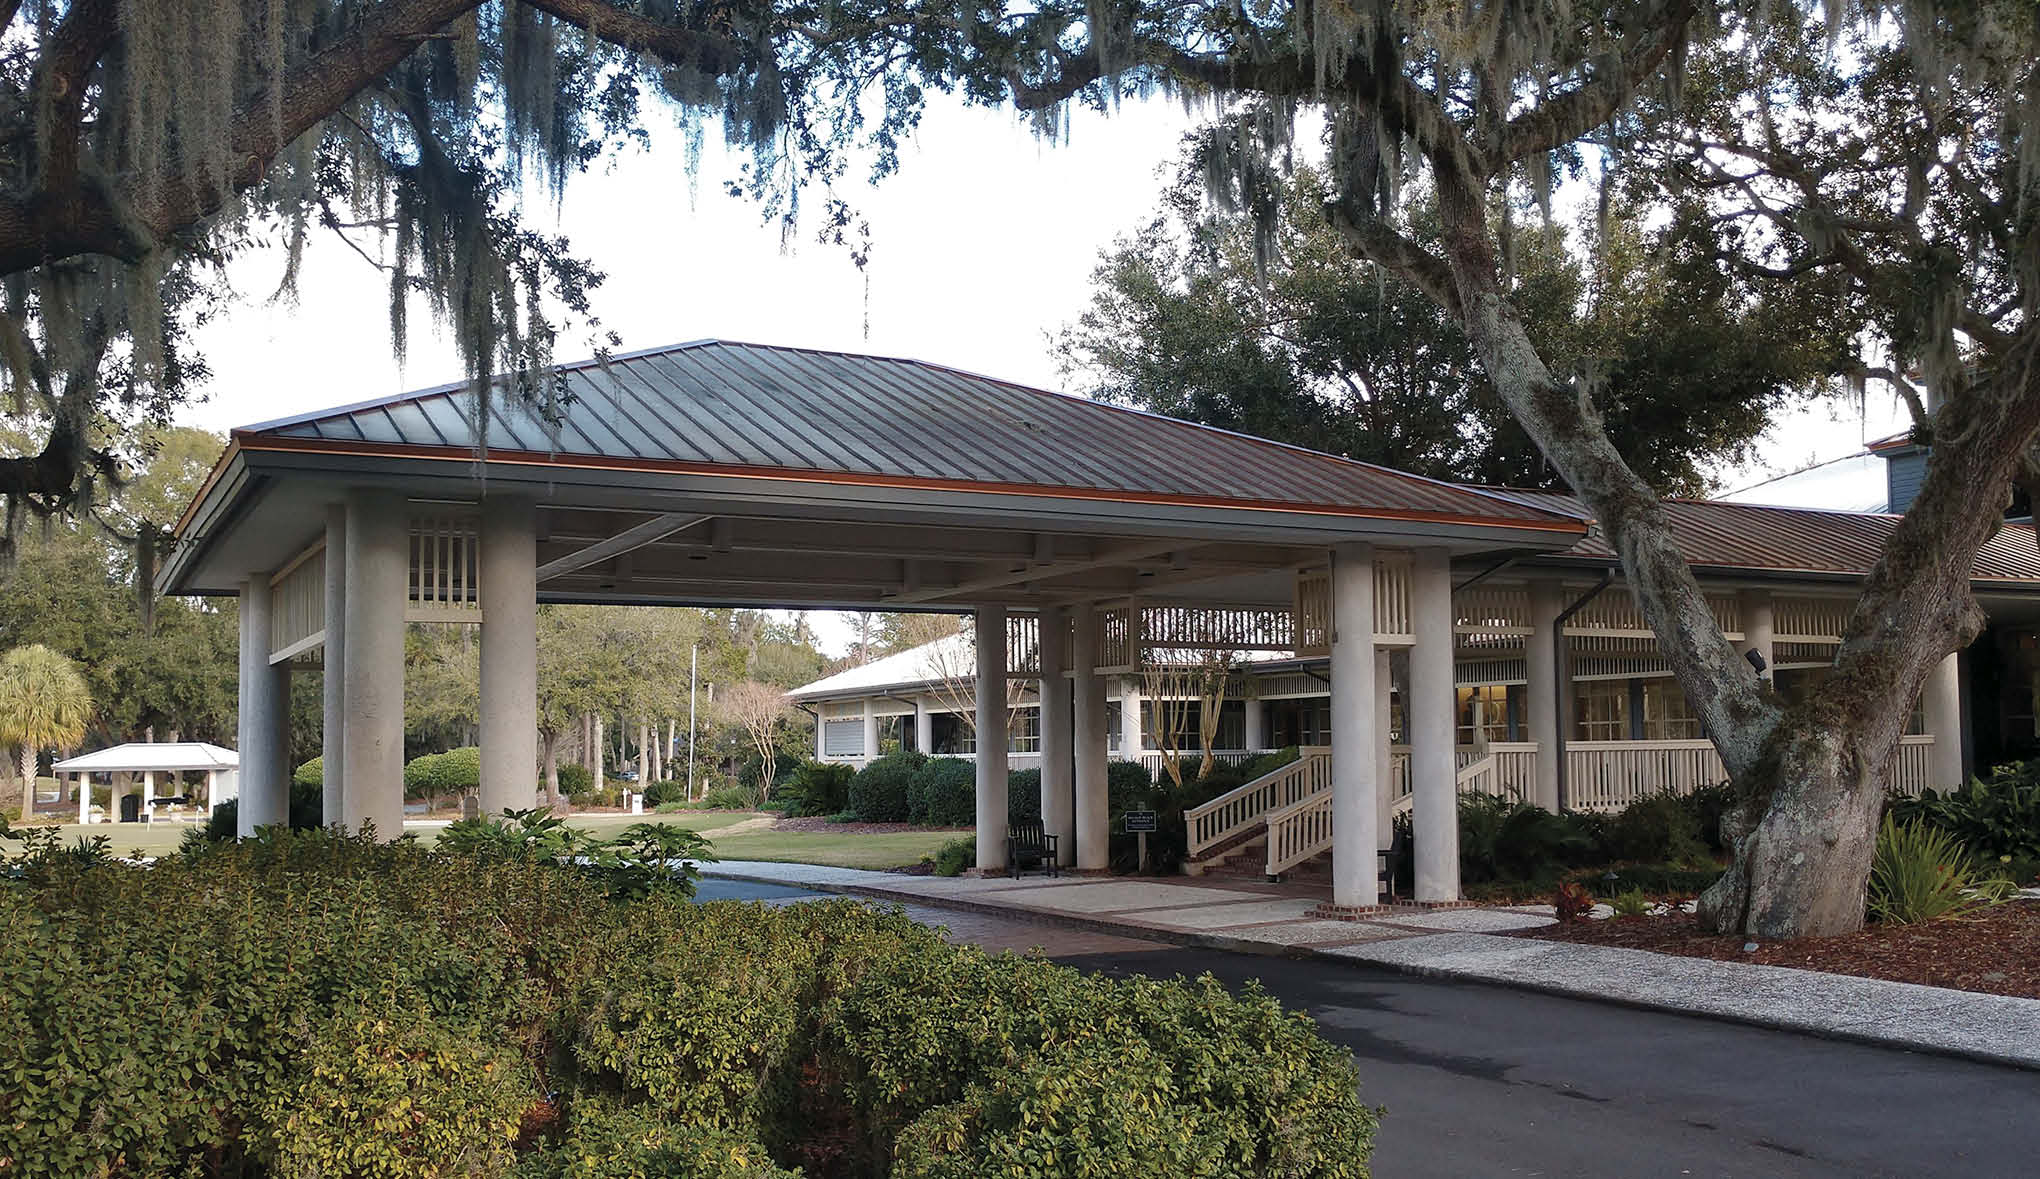
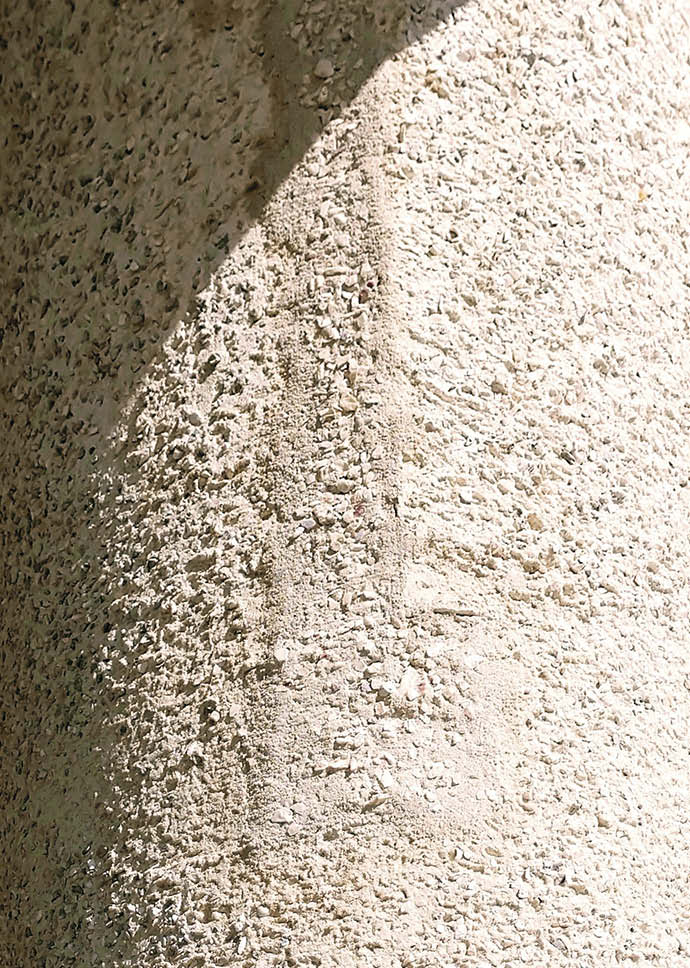
Tabby is an old-fashioned concrete that’s made by burning oyster shells to create lime and then mixing it with water, sand, ash, and crushed oyster and coquina shells, Aldrich says. Parts of the Dataw Island Club’s visible foundation and the massive columns that support the porte-cochere at the entrance have a tabby finish on them.

The clubhouse, one of the largest special event facilities in the area, is near Sams Plantation. This site dates back to the late 18th century and on the list of the National Register of Historic Places. It consists of the archaeologically significant remains and ruins of at least 12 tabby structures, including the main house and an entirely intact smokehouse with the only pitched tabby roof known to exist in the U.S.
When the architects designed the clubhouse back in the late ’80s, they specified tabby as one of the finishes so the structure would tie in with the nearby ruins.
Patching at its best
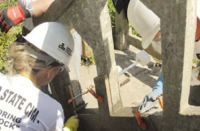
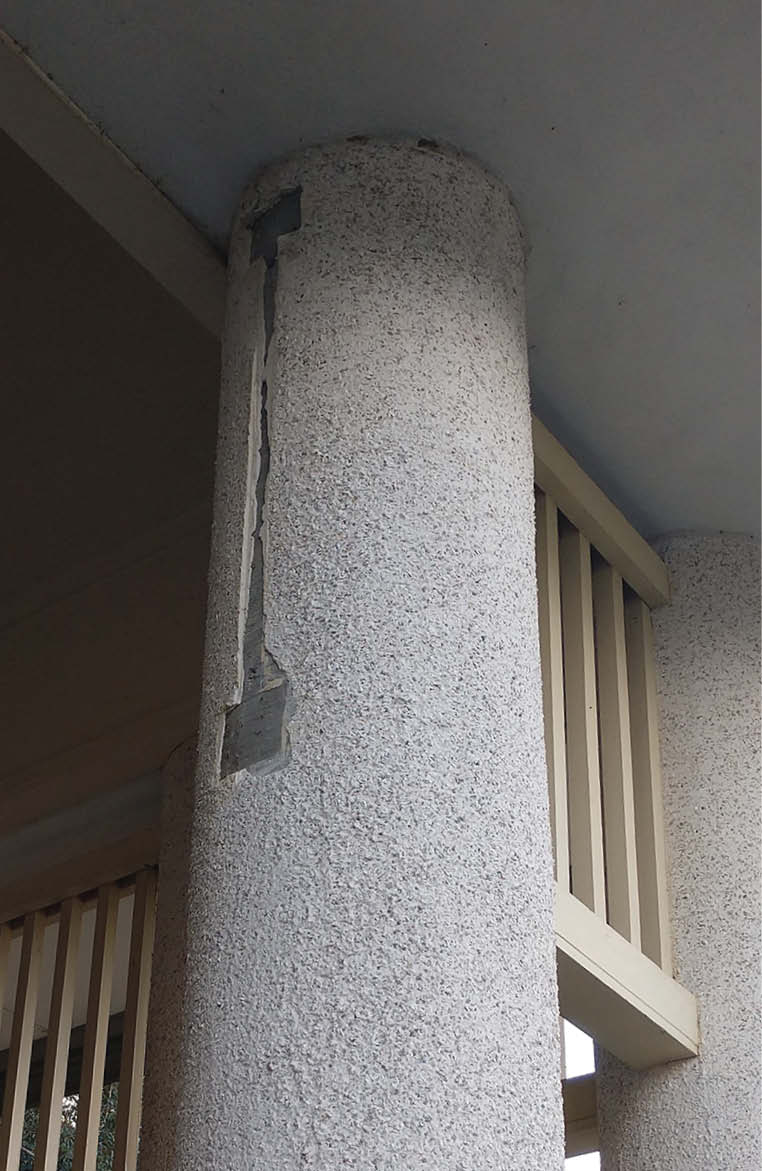
In 2018, a beer truck making a delivery ran into railing that lined the roof of the porte-cochere. Subsequently, removing the railing then exposed the attached tabby columns that needed repair.
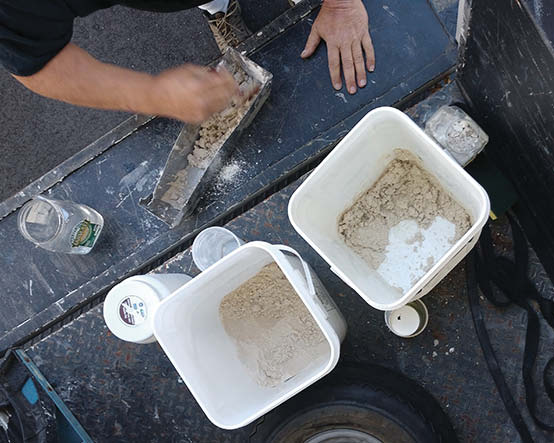
The first order involved making the tabby. Aldrich used white sand and white cement “to mimic the wash they did back in the day made from oyster shell and lime.” After it’s applied, he blends that with coquina shells and what’s called “chicken scratch.” “Chicken scratch” is made up of very small pieces of crushed oyster shell. To get the correct mixture, it had just the right shade of white with hints of purple.
He says he dug up the shells at a nearby beach. “Mason places around here sell small crushed oyster shell but it’s almost too white because they use so much bleach,” Aldrich says. Using the right kind of shells and sand is key to getting the mixture right and not too yellow.
“It’s important to use white sand and white cement and to mix it three parts sand to one part white cement,” he says. Then add water until you get a stiff consistency. “The mixture shouldn’t leave any marks on your hands when you grab it,” he says. “It should have a consistency almost like bread dough. If it’s too wet, it will smear on.”
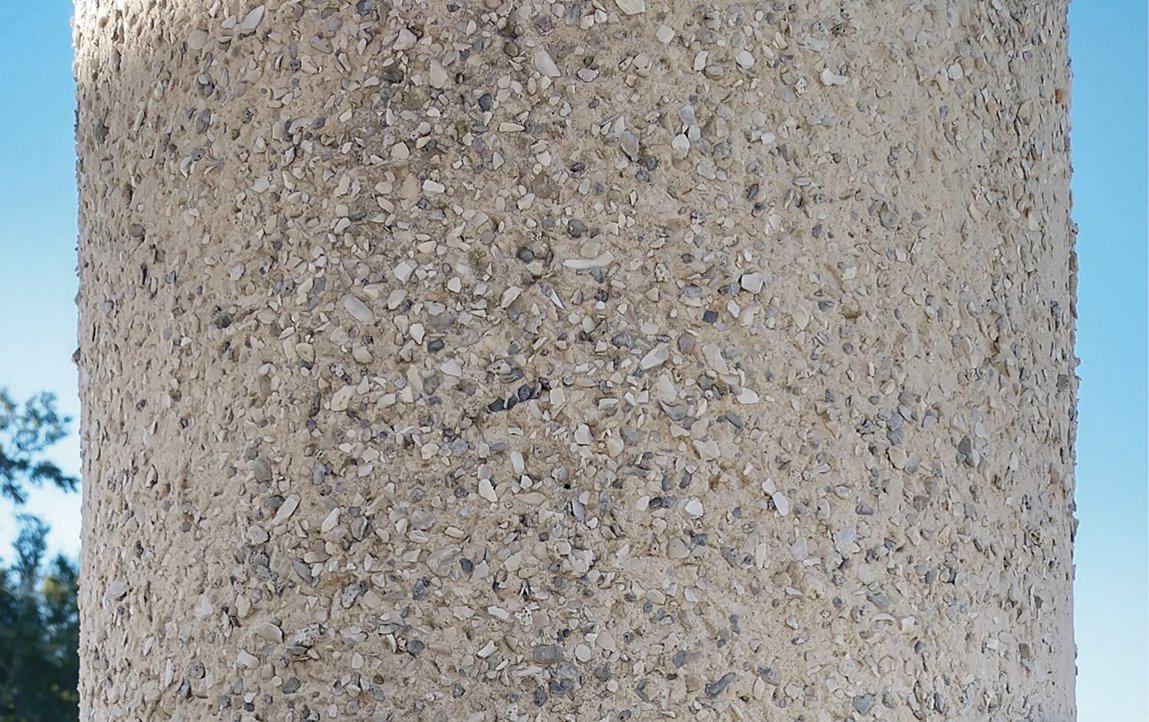
Next, he says, use water to dampen the area that needs to be patched. Then trowel on the white cement mixture. After placing the mixture, it’s time to add the shells. Begin by troweling in a handful or so of very small and crushed shells.
Next, throw a small shell mixture at the patch area, followed by larger shells. Repeat this action until you have covered the area sufficiently.
When repairing a column that requires a ladder to reach, Aldrich shares a trick that saves steps, cuts down on waste and makes cleanup easier. Before throwing the shells, tie the sleeves of a long-sleeved sweatshirt around the column. After this, tuck the hood into your pants to create an apron. This will catch all the extra chicken scratch shell mixture that doesn’t stick. Then you can throw it again and again.
To help make cleanup easier still, he adds, cover the area beneath the patching job with rubber mats.
When applying the tabby in hot weather, use a water spritzer to mist the patch area. This ensures it doesn’t set up as quickly.
As a final touch, use a paint brush to blend the shells together and create a feathered look.
Follow his advice, Aldrich says, “And even though it’s still a patch, in time you won’t notice it. It’ll blend right in.”