
There are many benefits associated with cleaning between diamond tool grits. These include:
Always having a clean job site.
It’s professional, more efficient, shows you care and gives the crew a morale boost!
Allows for easier inspection.
Inspecting the floor for random scratches between grits allows you to catch a problem before it happens. I use a thick carpenter’s pencil and mark each scratch or imperfection I find. This can be helpful since job sites are often not well lit. And with all the goings on, it’s easy to get distracted and forget to process something.
By identifying the issue, you can choose to do a crosshatch of the same diamond tool grit if it’s an extensive issue. Or you can use a hand grinder to quickly fix something right then.
Allows the aggregate reveal to be quantified.
For example, after your first grit if you’re required to achieve Class B sand aggregate and you clean well, you may see that you have already done that. Crosshatching should be performed with no weights.
Or the solution may be the opposite. Say only 50% of the floor is sand aggregate and the other 50% is Class A cement fines. In that case, move your weights forward or add more weight. Or you could do half passes instead of one-third overlaps. Adjustments allow for quality floors to happen.
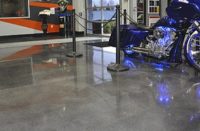
Allows the appearance to be quantified.
For example, the project you’re working on requires a gloss of 30+ a DOI (distinction of image) of 50+, and a haze of 10 or under. After the first resin diamond (50, 100 or 200 grit), putting the meter on the floor and evaluating the numbers are crucial. If the gloss is good but the DOI is low, it’s extremely important to maximally refine that step.
In some cases run that resin again (crosshatching). Or crosshatch with the next resin or do half passing, crosshatching and a diagonal pass. Doing these at the initial stage will save time rather than getting to the 800 grit and not meeting these numbers.
Removes items from the floor that could scratch.
When trapped under the grinder, things like loose diamonds, dirt from wheels/shoes or screws can damage the tooling or create random scratches. Clean even when there’s no aggregate reveal class or appearance level required. The floor quality depends upon it.
Here’s the tip:
Make cleaning between steps a habit you won’t quit.
Vacuuming is good.
Vacuuming will remove 90% of the concrete dust and other debris including the diamond grit that has fallen out of the diamond tooling during that last pass. However, it won’t remove the surface powder. This makes it more difficult to see random scratches and measure the gloss, DOI and/or haze.
To test for surface powder, wipe a dark-colored cloth across the surface. If it’s present, the cloth will be dusty white.
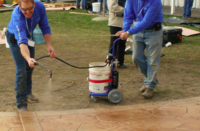
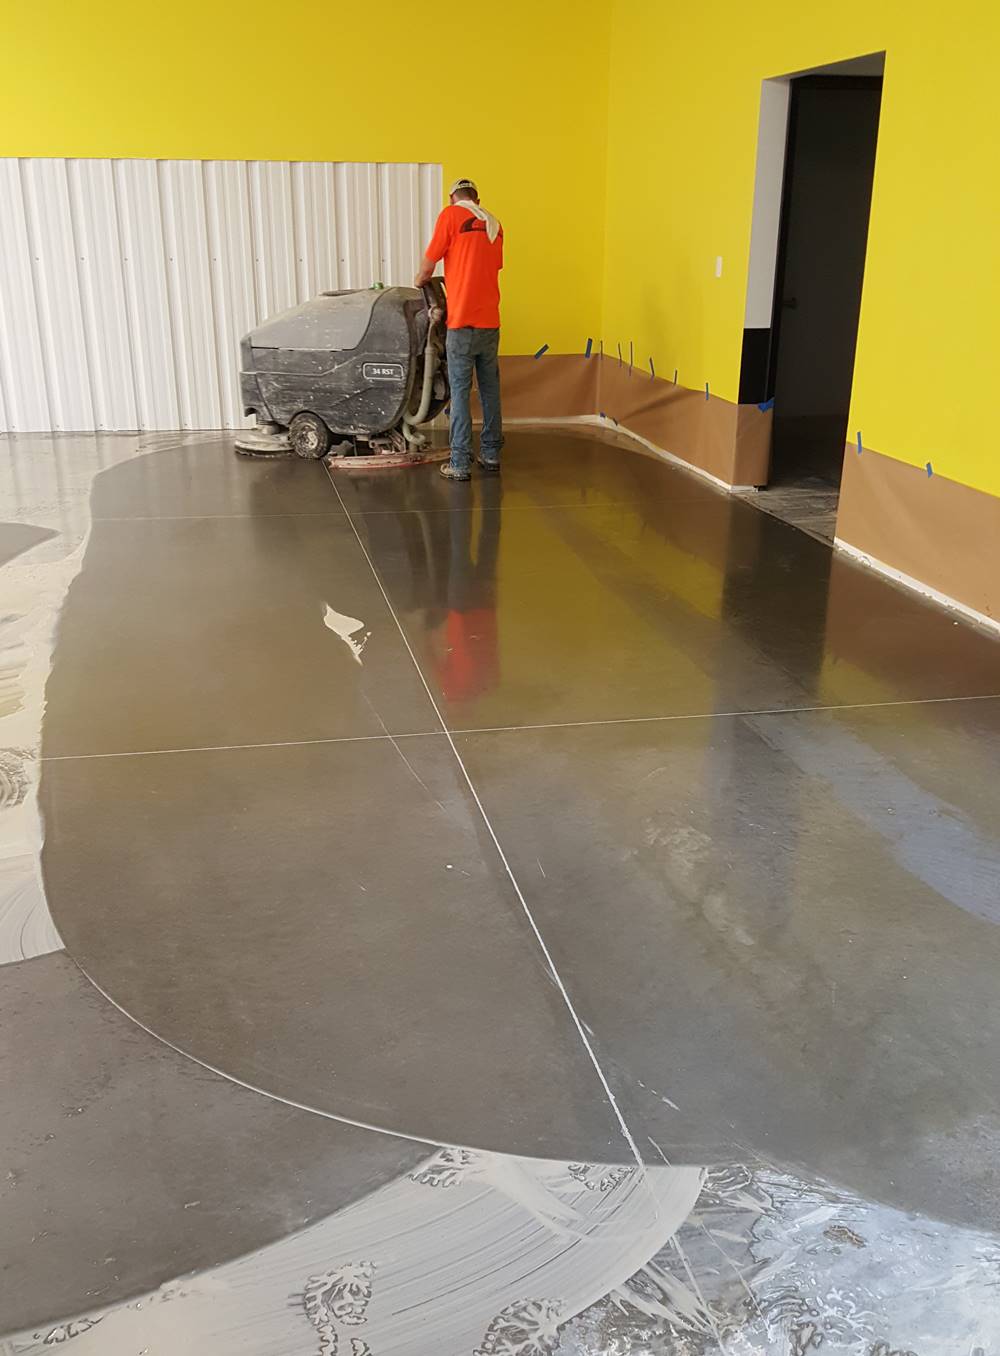
Auto-scrubbing is preferred.
Auto-scrubbing will remove +90% of the concrete dust debris, diamond grit and powder from the floor and off the surface. It makes it much easier to find the hidden issues and evaluate the scratch pattern, discover corn rows, and measure the gloss, DOI and/or haze.
Discovering the problems while processing the floor ensures a quality product that doesn’t need further processing. There’ll be no need to put on a lower grit and reprocess/rework the floor.
Remember: Rework = loss of profit.
If you avoid reworking, your profit, job satisfaction and reputation will benefit!