

Rock panels are a popular feature in many homes and businesses across the country. With so many companies specializing in this niche, it is natural that there are a variety of methods for installing the panels. Concrete Decor asked three companies — Rock and Water Creations Inc., Synthetic Rock Solutions and Rico Rock LLC — how they told their customers to install faux rock panels. As expected, we received three different methods as responses.
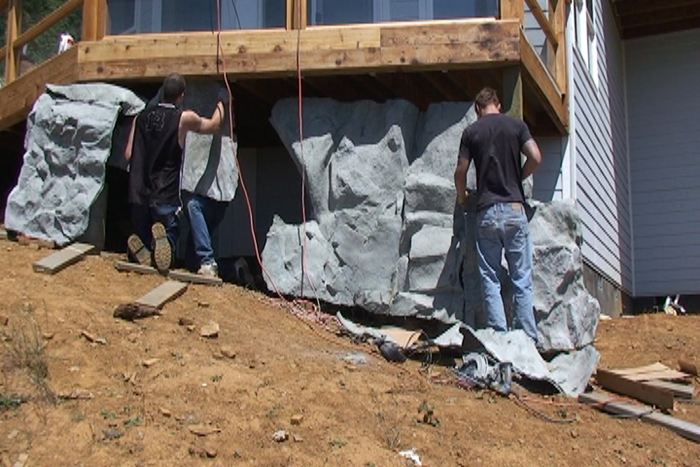
Rock and Water Creations Inc.

Step 1: The concrete structure is already built and ready for the application of GFRC. Plumbing and electrical work is also done ahead of time.
Step 2: Attach the rock panels to the substructure using stainless steel all-thread. Tighten the nuts on the front and back of the all-thread to secure the panel.
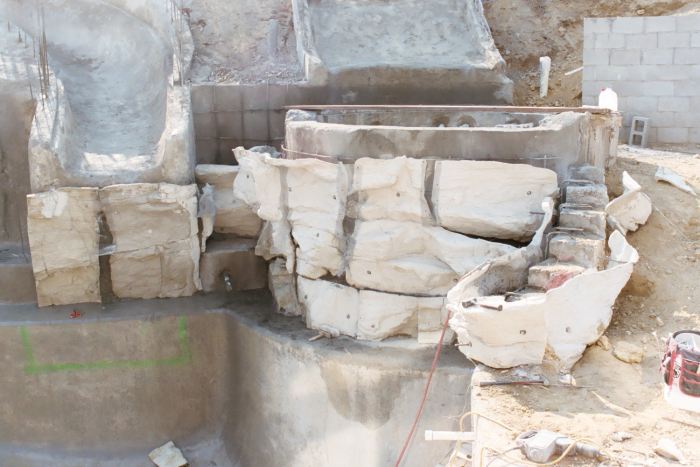
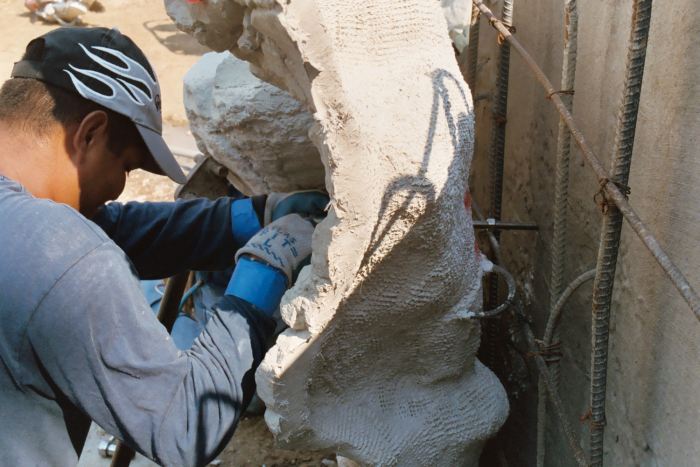
Step 3: Use screws to fasten diamond mesh onto the rock panels, making sure to cover the cracks between panels. Then pour a cement backfill behind the panels. The mesh will help keep the backfill from coming through the gaps when wet. Once the cement begins to set, remove the diamond mesh and carve the cement down approximately 1/2 inch.
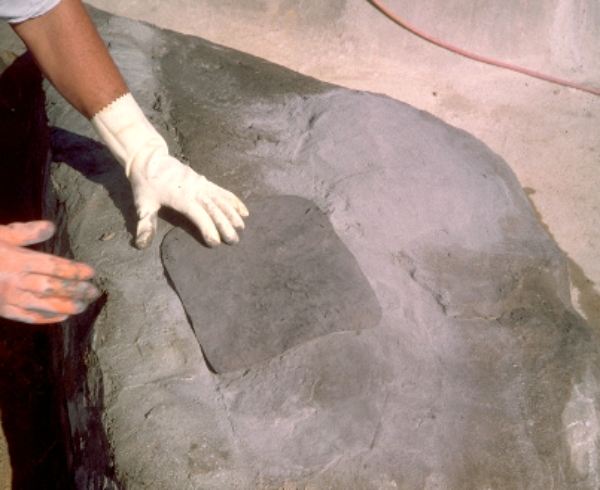
Step 4: After the backfill cement has been carved back, fill the cracks with an embossing cement. Use a latex stamp pad that is the same texture as the rock cliff and apply release agent to create the look of one continuous rock.
Step 5: After you have embossed the panels, the structural work is complete. The next step is to waterproof and color the rock panels.
Synthetic Rock Solutions
Step 1: Put the panels in place at the job location.
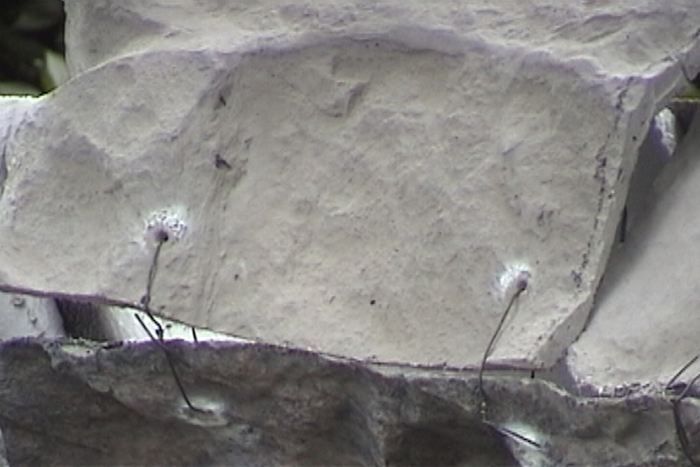
Step 2: Secure the panels together with wire.

Step 3: By hand, apply the fiber mixture onto the seams of the panels.
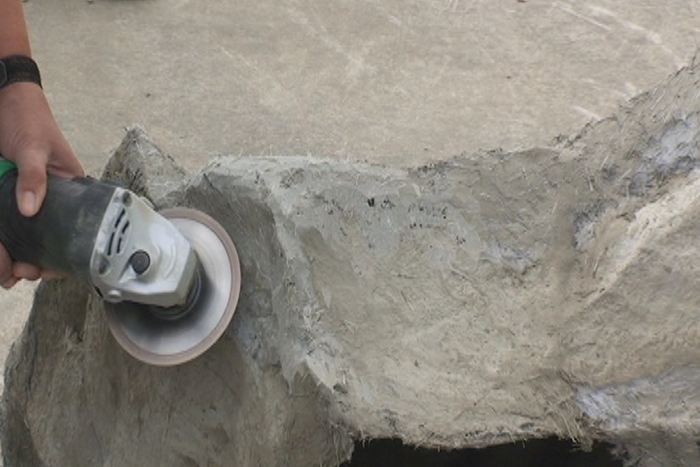
Step 4: Grind off any high or uneven areas.

Step 5: Apply texture mixture with a brush, then vacuum-pull the mixture with the brush. This will give it the same texture as the panel and make it look seamless.

Step 6: Stain the panels to achieve the perfect look for your project.
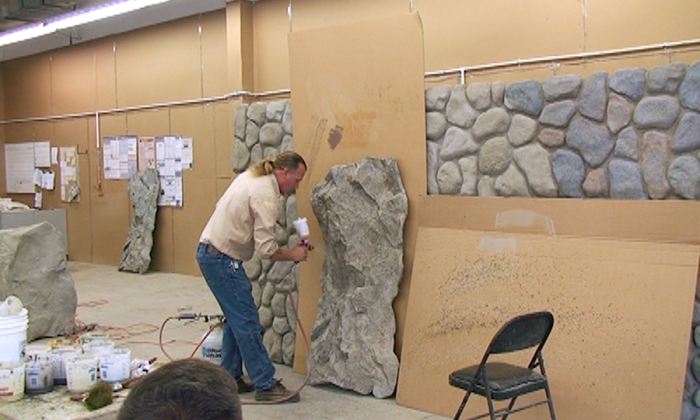
Step 7: Apply thermal plastic sealer to create a more uniform stain color and to keep water from permeating into the rock.
Rico Rock LLC
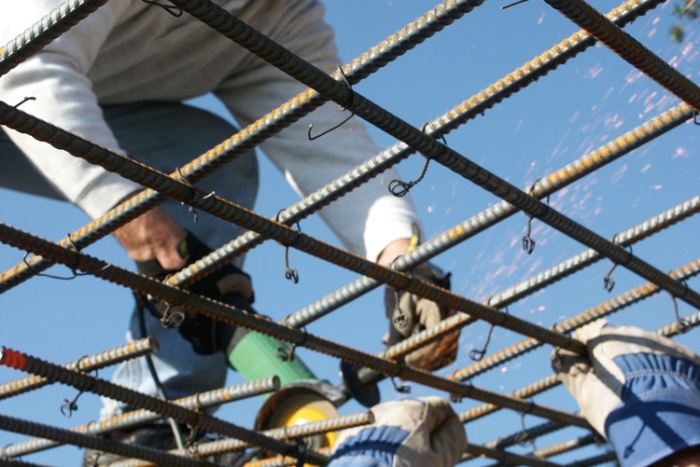
Step 1: Have a structural engineer specify the rebar design for a cave roof. Large cave roofs may require steel beams.
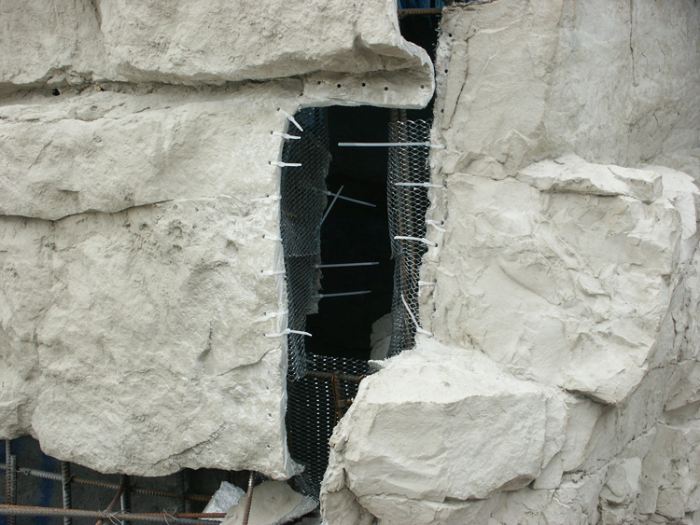
Step 2: Weld or tie the faux rock panels to a rebar frame. Then, install black tubing as a sleeve for future lighting or sound effects.

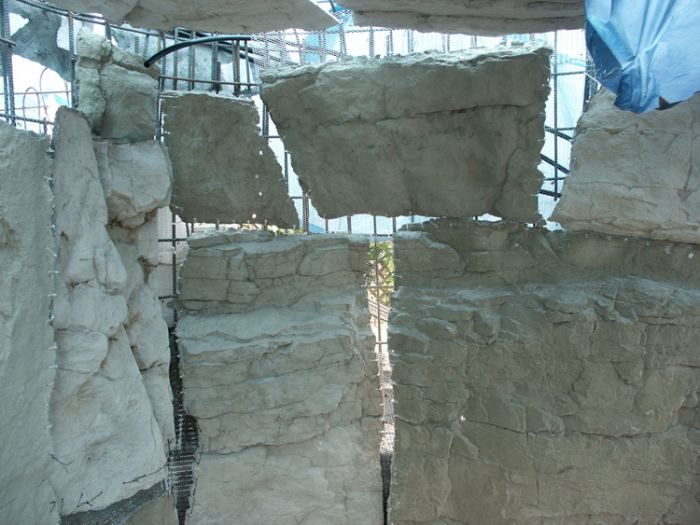
Step 3: To join the panels together, use either plastic ties or wire ties to attach metal lath to the panels.
Step 4: For cave ceilings where there is minimal clearance, flat faux rock panels are the best option. Because flat panels do not have as much depth and texture as traditional panels, you must use bracing to support the weight of the concrete poured above them.