

Ever since I began writing Design Theory, I’ve anxiously awaited medallions. The first one I ever did was exciting and a definite “aha” moment because it changed the direction of my career. At the time, I had just started out working for the company I now own. Back then, all we engraved were 2-foot tile and brick patterns. Bored with these, I asked my boss why we couldn’t do more. Why not do a 3-foot tile pattern and add a medallion in the middle? Why not make a larger border? Why can’t we change the color of the border and the medallion?
Eventually, boredom got the best of me and when I started this one project I approached the clients with an idea. I told them it would take me the same amount of time to install a larger tile pattern with a medallion in the middle as it would to do the 2-foot tile pattern they were sold. I also promised to stain the borders and the medallion darker. After the project was complete, I showed my boss pictures of what I had done. He liked it but really had no interest in doing it.
So I made a deal with him. I told him I thought I could raise revenue by adding these to a project for an additional fee. I charged an extra $500 for a medallion and another $500 for a darker border. The next week, I showed him pictures of this job and handed over a check for an extra $1,000.
We realized that a salesman must be able to see each sale’s options. When you first arrive at a sale, most clients have little to no idea what they actually want. It’s up to us to guide them and find what appeals to them.
When I bought my company back in 2007, I changed the way we sold each project. I stopped selling only what I knew and started selling a dream full of all the possibilities. I had a 60 percent increase in profits my first year in business. I was designing more projects than I had time to draw. It was an amazing feeling to be able to explode my art all over my town.
A rose by any other name
It’s crazy to think how everything changed for me because of that first medallion. I never would have imagined that within the next 10 years I’d win 16 national awards, compete in artistry at World of Concrete three years in a row, teach classes at the Concrete Decor Show and now have my own column. It all started with that first medallion, that first time I saw the potential to incorporate art into what I was doing. Now that I’m writing about my favorite style of design, I’ve decided to savor this topic and write a mini series of articles on how to draw different medallions.
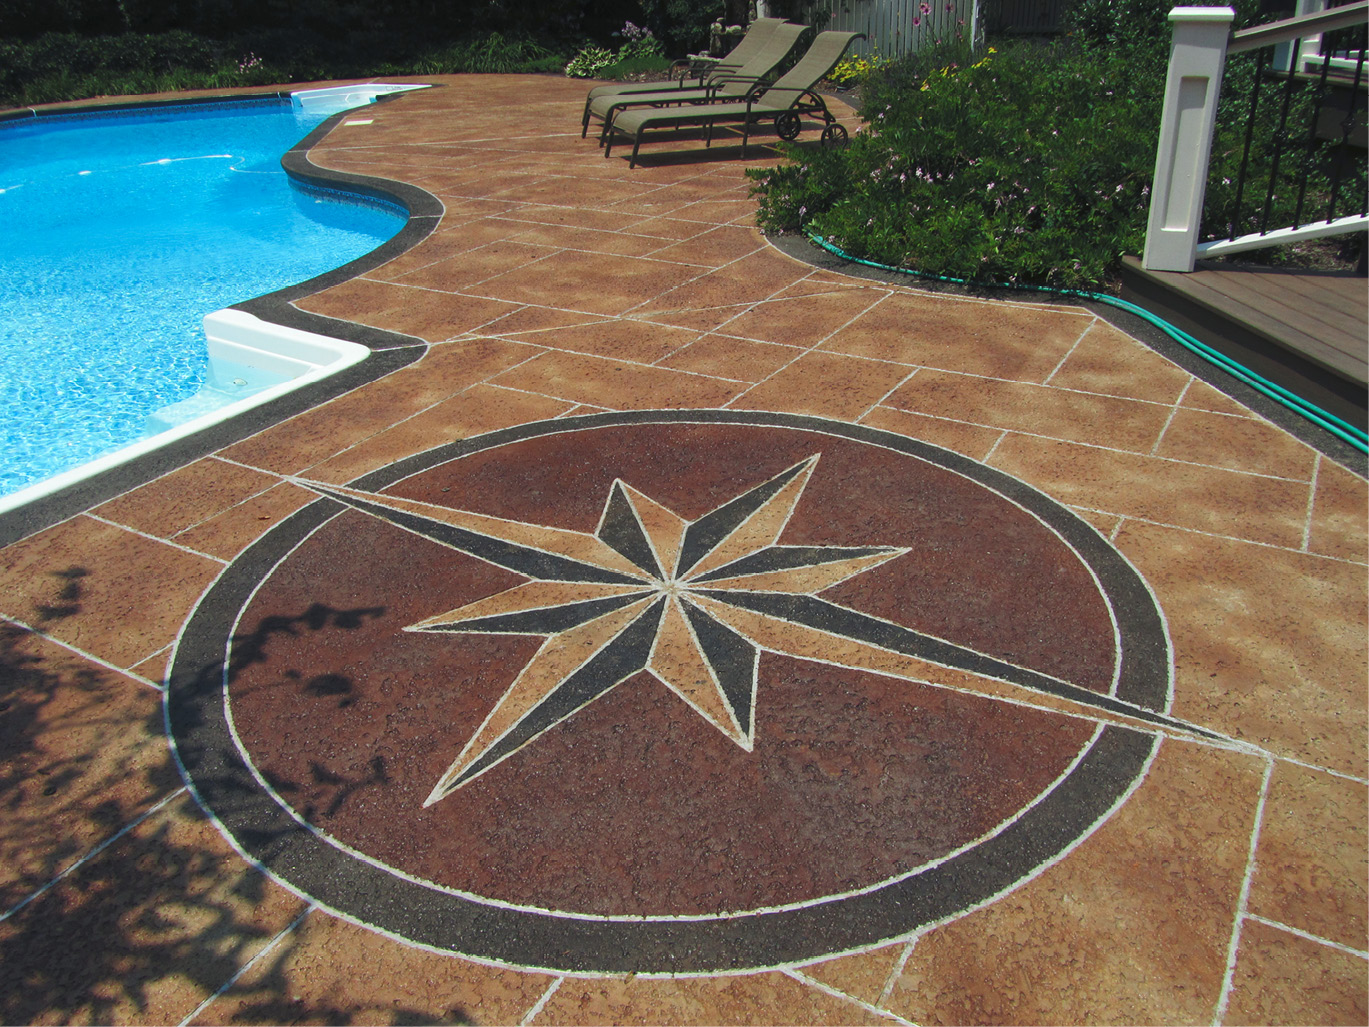
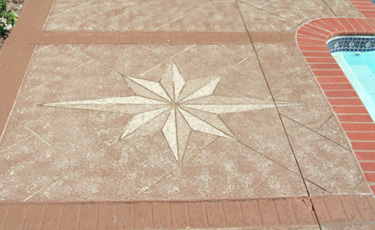
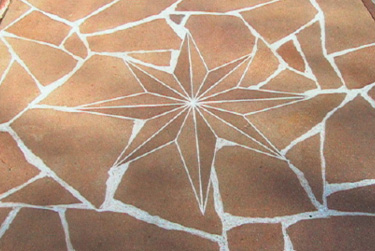
It all starts with a compass, the easiest of all medallions. Some of us call it a compass rose or a starburst. A friend of mine asked me to create a play-by-play breakdown of how to draw a compass rose and I didn’t understand why. I thought everyone knew how to draw one. So, if you don’t, relax. I want to help you out.
Make the right connections
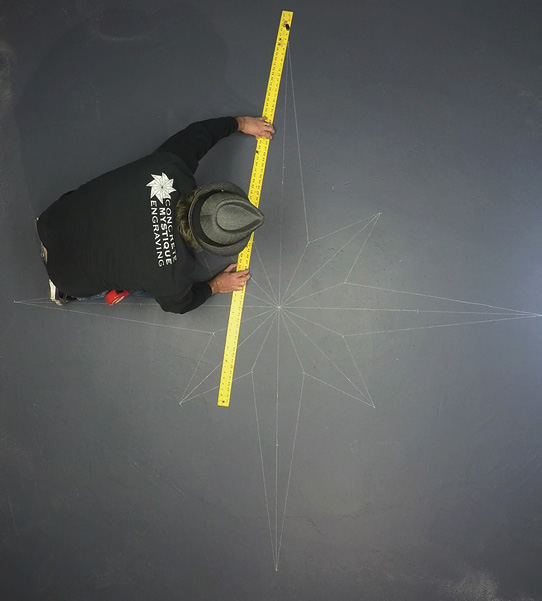
Like every other design, start with a border around the room and then find the center of the room. From that point, make two perpendicular lines. Be careful not to make this medallion too small or too large. If it is tiny, it will disappear when furniture goes in. Too large and it will overpower the space.
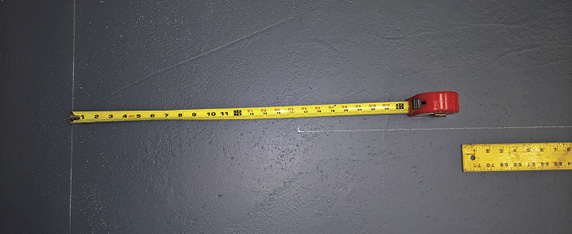
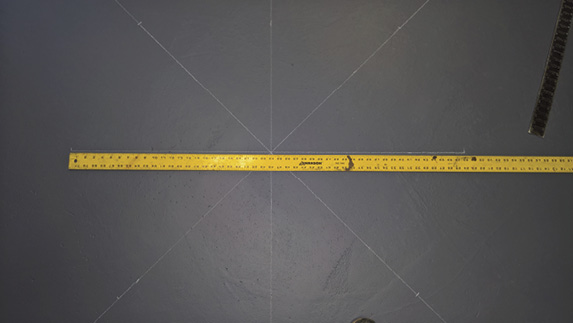
For this article, I’m working in my 12-by-12-foot room at my office and using my tape measure as a visual guide. You want space between the border and the medallion. You don’t want them to be so close that there’s a sense of tension in the room between them. I’ve separated them by 16 inches. My perpendicular lines are 8-feet long. These are the longest lines and typically a good size for one of my medallions.
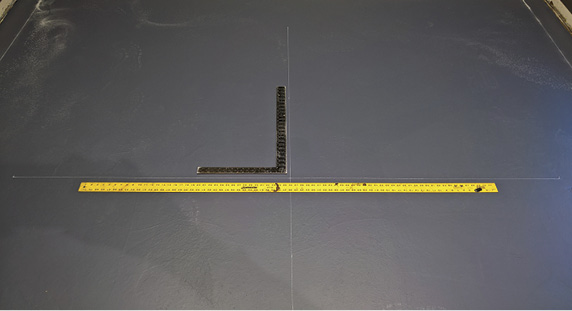
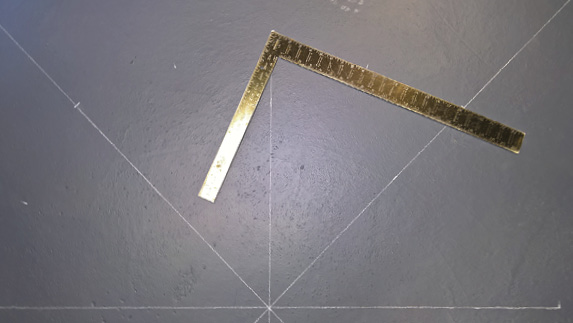
Next, find the center between these lines so you can make a 45-degree turn for the next two perpendicular lines. Measure 2-feet out in three directions from center on the existing lines. Take your straight edge and measure the distance diagonally between each of the three dashes and the center of the medallion. Draw two 4-foot lines through the center point, using the center as the other guide line for your straight edge. Now you have two 8-foot lines and two 4-foot lines in the shape of an asterisk.
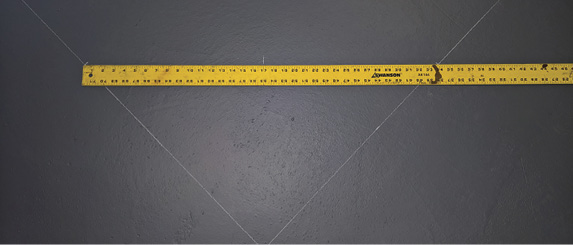
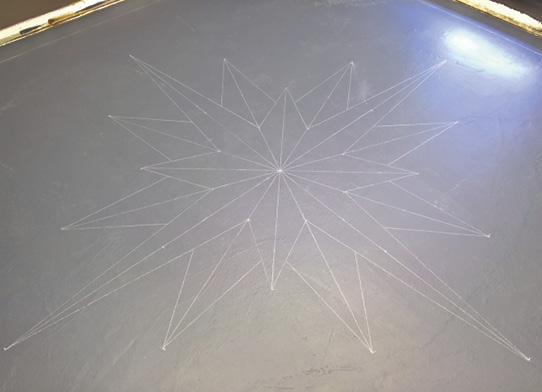
Now do the same thing to half of the medallion. You will find center four times between the current lines using your 2-foot dashes and the end of your 4-foot lines. Again, draw a line using those new dashes and the center of the medallion. This time do 2-foot lines. You should see a pattern forming now. At this point, there should be two 8-foot, two 4-foot and four 2-foot lines. Now connect all the outside points and you have a compass.
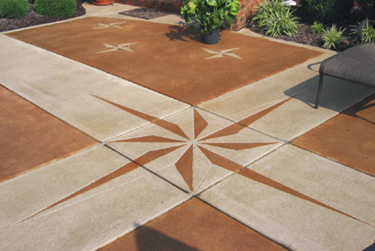
If you want to create another layer you can extend off the shortest lines and add any length you want. Most of the time I make them the smallest triangles but for this article I added two more feet.
The result is a nice clean look. With practice, this design should take you 20-30 minutes, not all day. Like I always say, keep it simple. You can never go wrong with a compass rose to upsell a project.
Video Tutorial