

Waterproofing vertical concrete may be the least sexy phase of construction, but it’s one of the most crucial.
While it isn’t involving any artistry, it’s easy to overlook the importance and just go through the motions.
Everyone wants to rush through things and get carving, but if you want to avoid any future problems in callbacks, leaks, and so on, you must take the time to get this step right. Always remember that it only takes one hole in your drinking glass to ruin your shirt.
In this post, we’ll explain where and why waterproofing is applied and give some examples of cementitious waterproofing products that should be available near you.

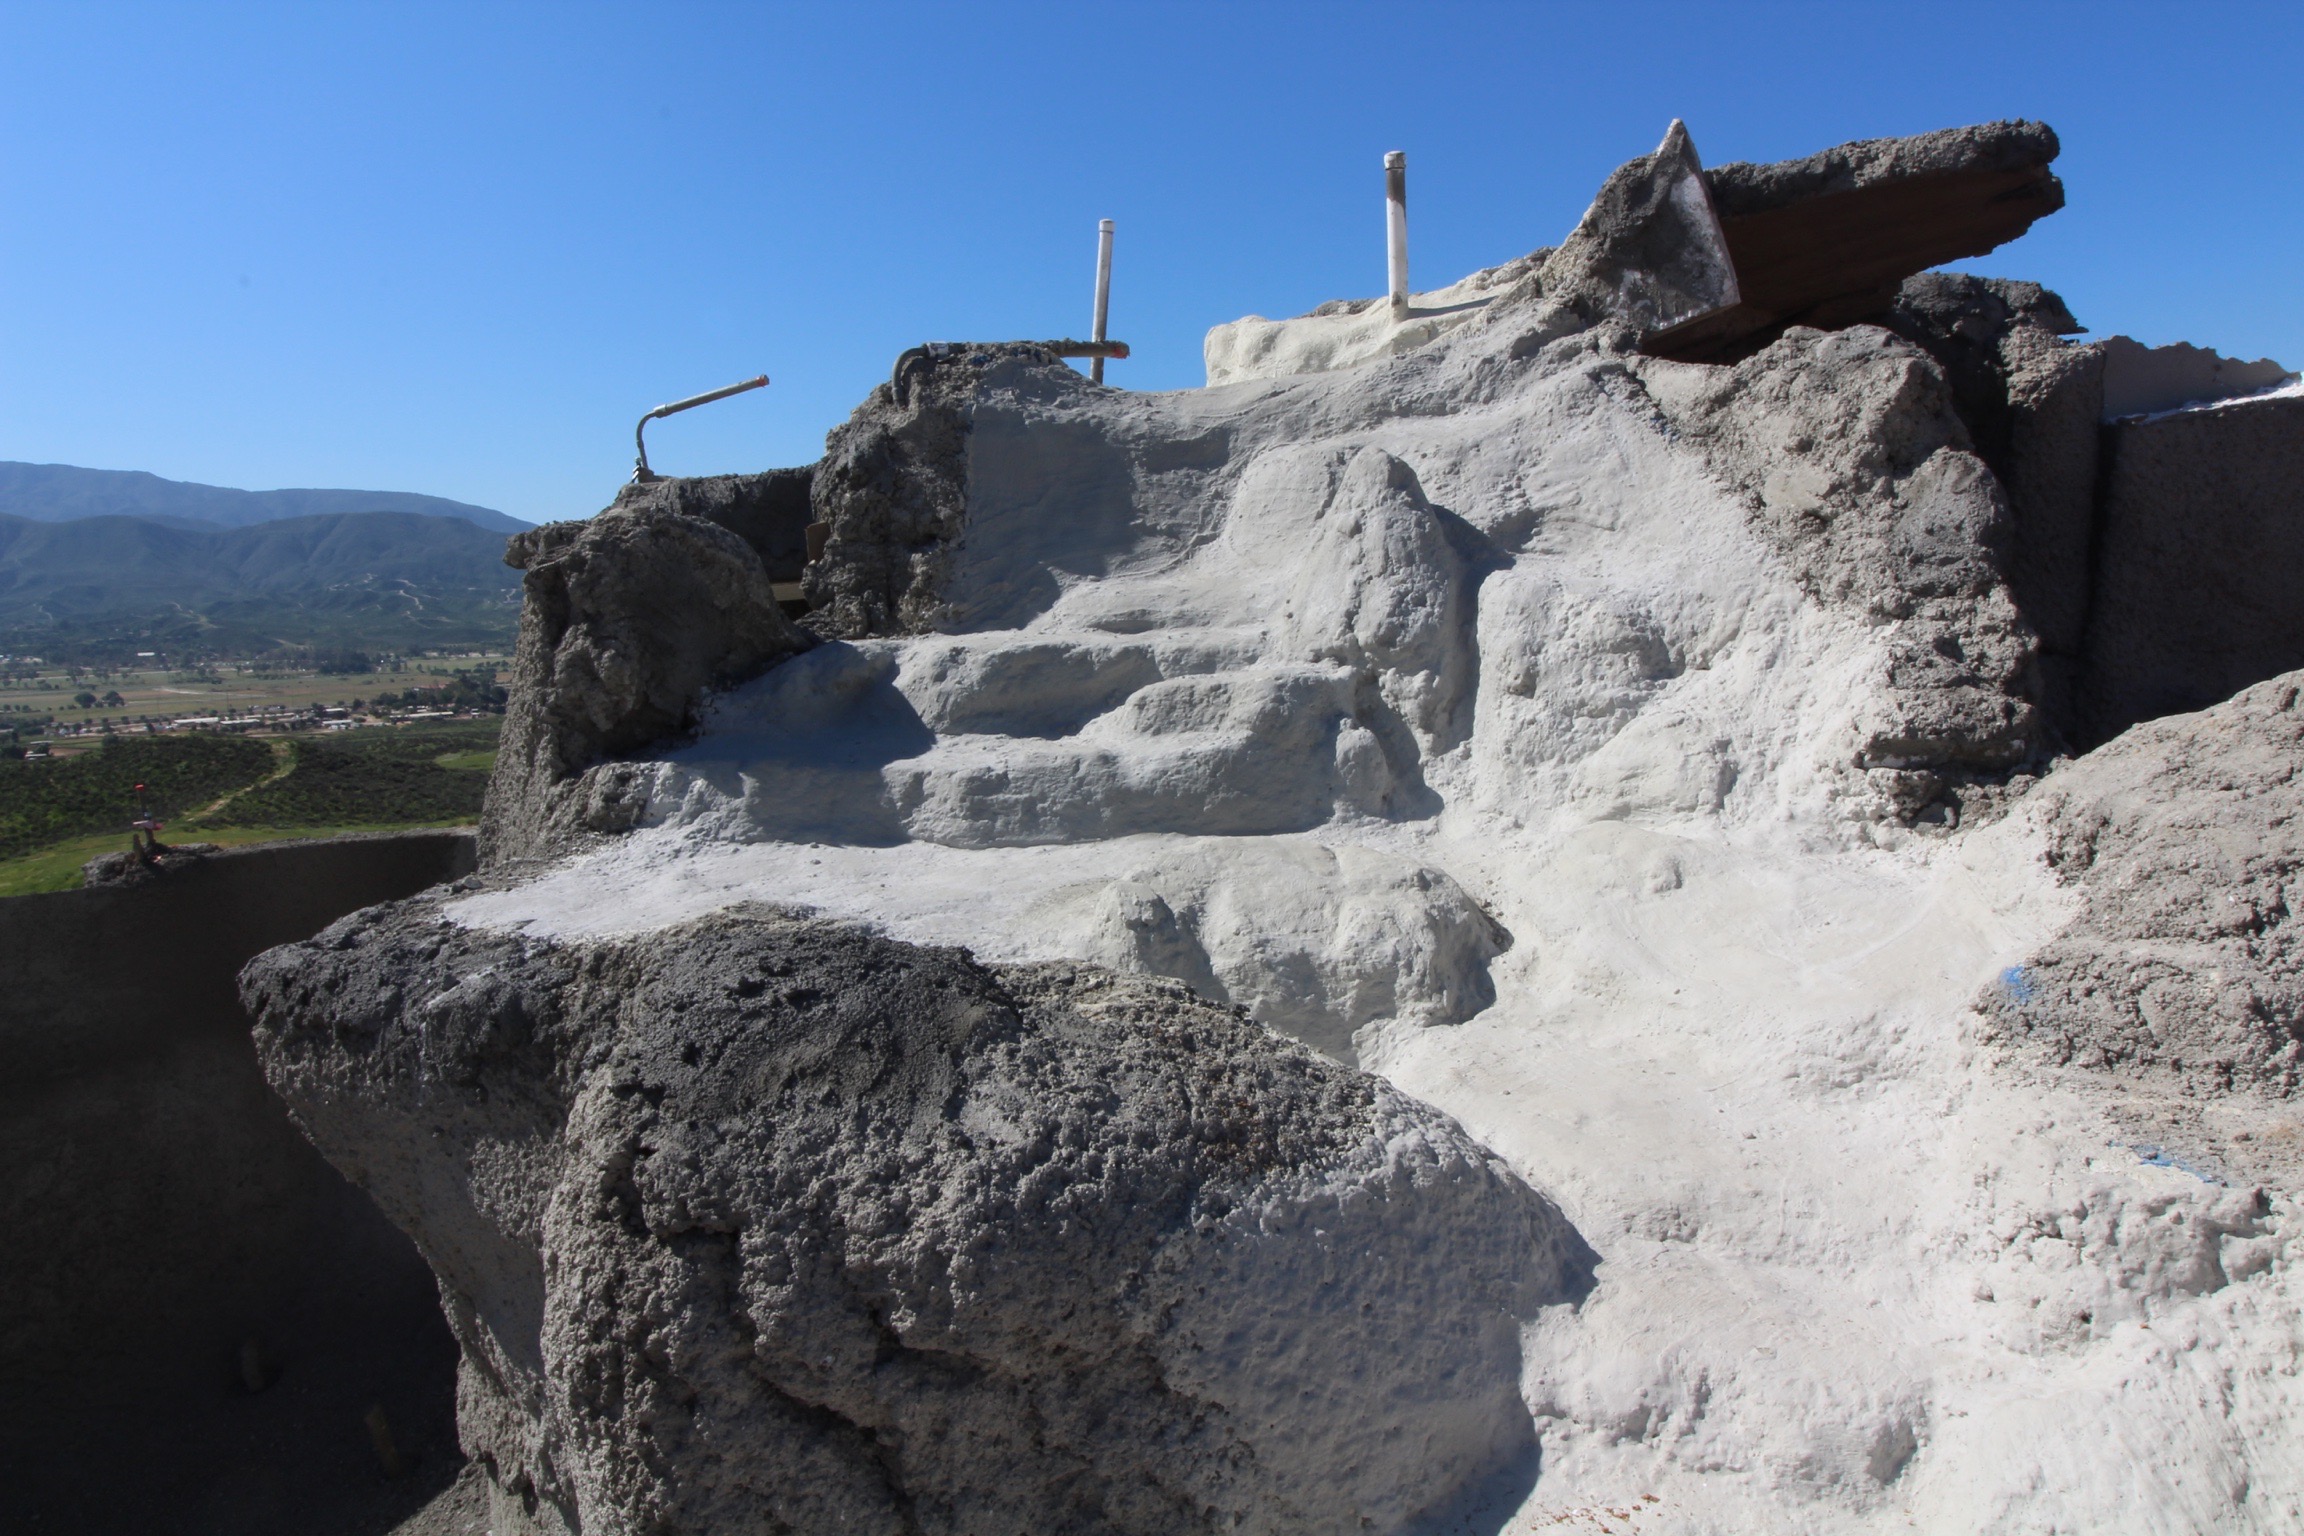
Starting at the top, thoroughly cover every part of the project where water will flow. Pay special attention to any areas where water will pool up and cause increased pressure. This is especially true where any rockwork extends below the water line in the pool. Just to be safe, extend the waterproofing several inches beyond the expected water line. Below the water line, extend the coverage by several inches beyond the rocks in the pool. If there are any patches or cold joints, overlap them by at least 4-6 inches to prevent any leaking.
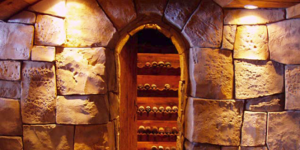
On this project, the flow of water begins in the kiddie pool on top of the grotto. Cover the basin and its spillways with three coats of waterproofing material to ensure the sealing of all cracks and holes. This continued across the top of the grotto and down the waterfall. Finally, accent boulders inside the pool received the same treatment.
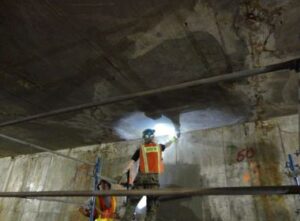
It’s easier to get good coverage with the waterproofing if the surface is as smooth as possible. During the shotcrete phase, I like to smooth down the area with water and a large brush wherever possible. Rub any areas that are still too rough and smooth out using patching material. This helps reduce bubbles from forming and popping, leaving behind small holes and necessitating another coat. I usually do three coats, but careful inspection is the only way to know when it is finished. Remember that it only takes one hole to leak.
There are so many options in the marketplace, but I always use waterproof cement. On this particular project, I used Poly Waterstop. Quickcrete also makes some material that’s good for quick patching.
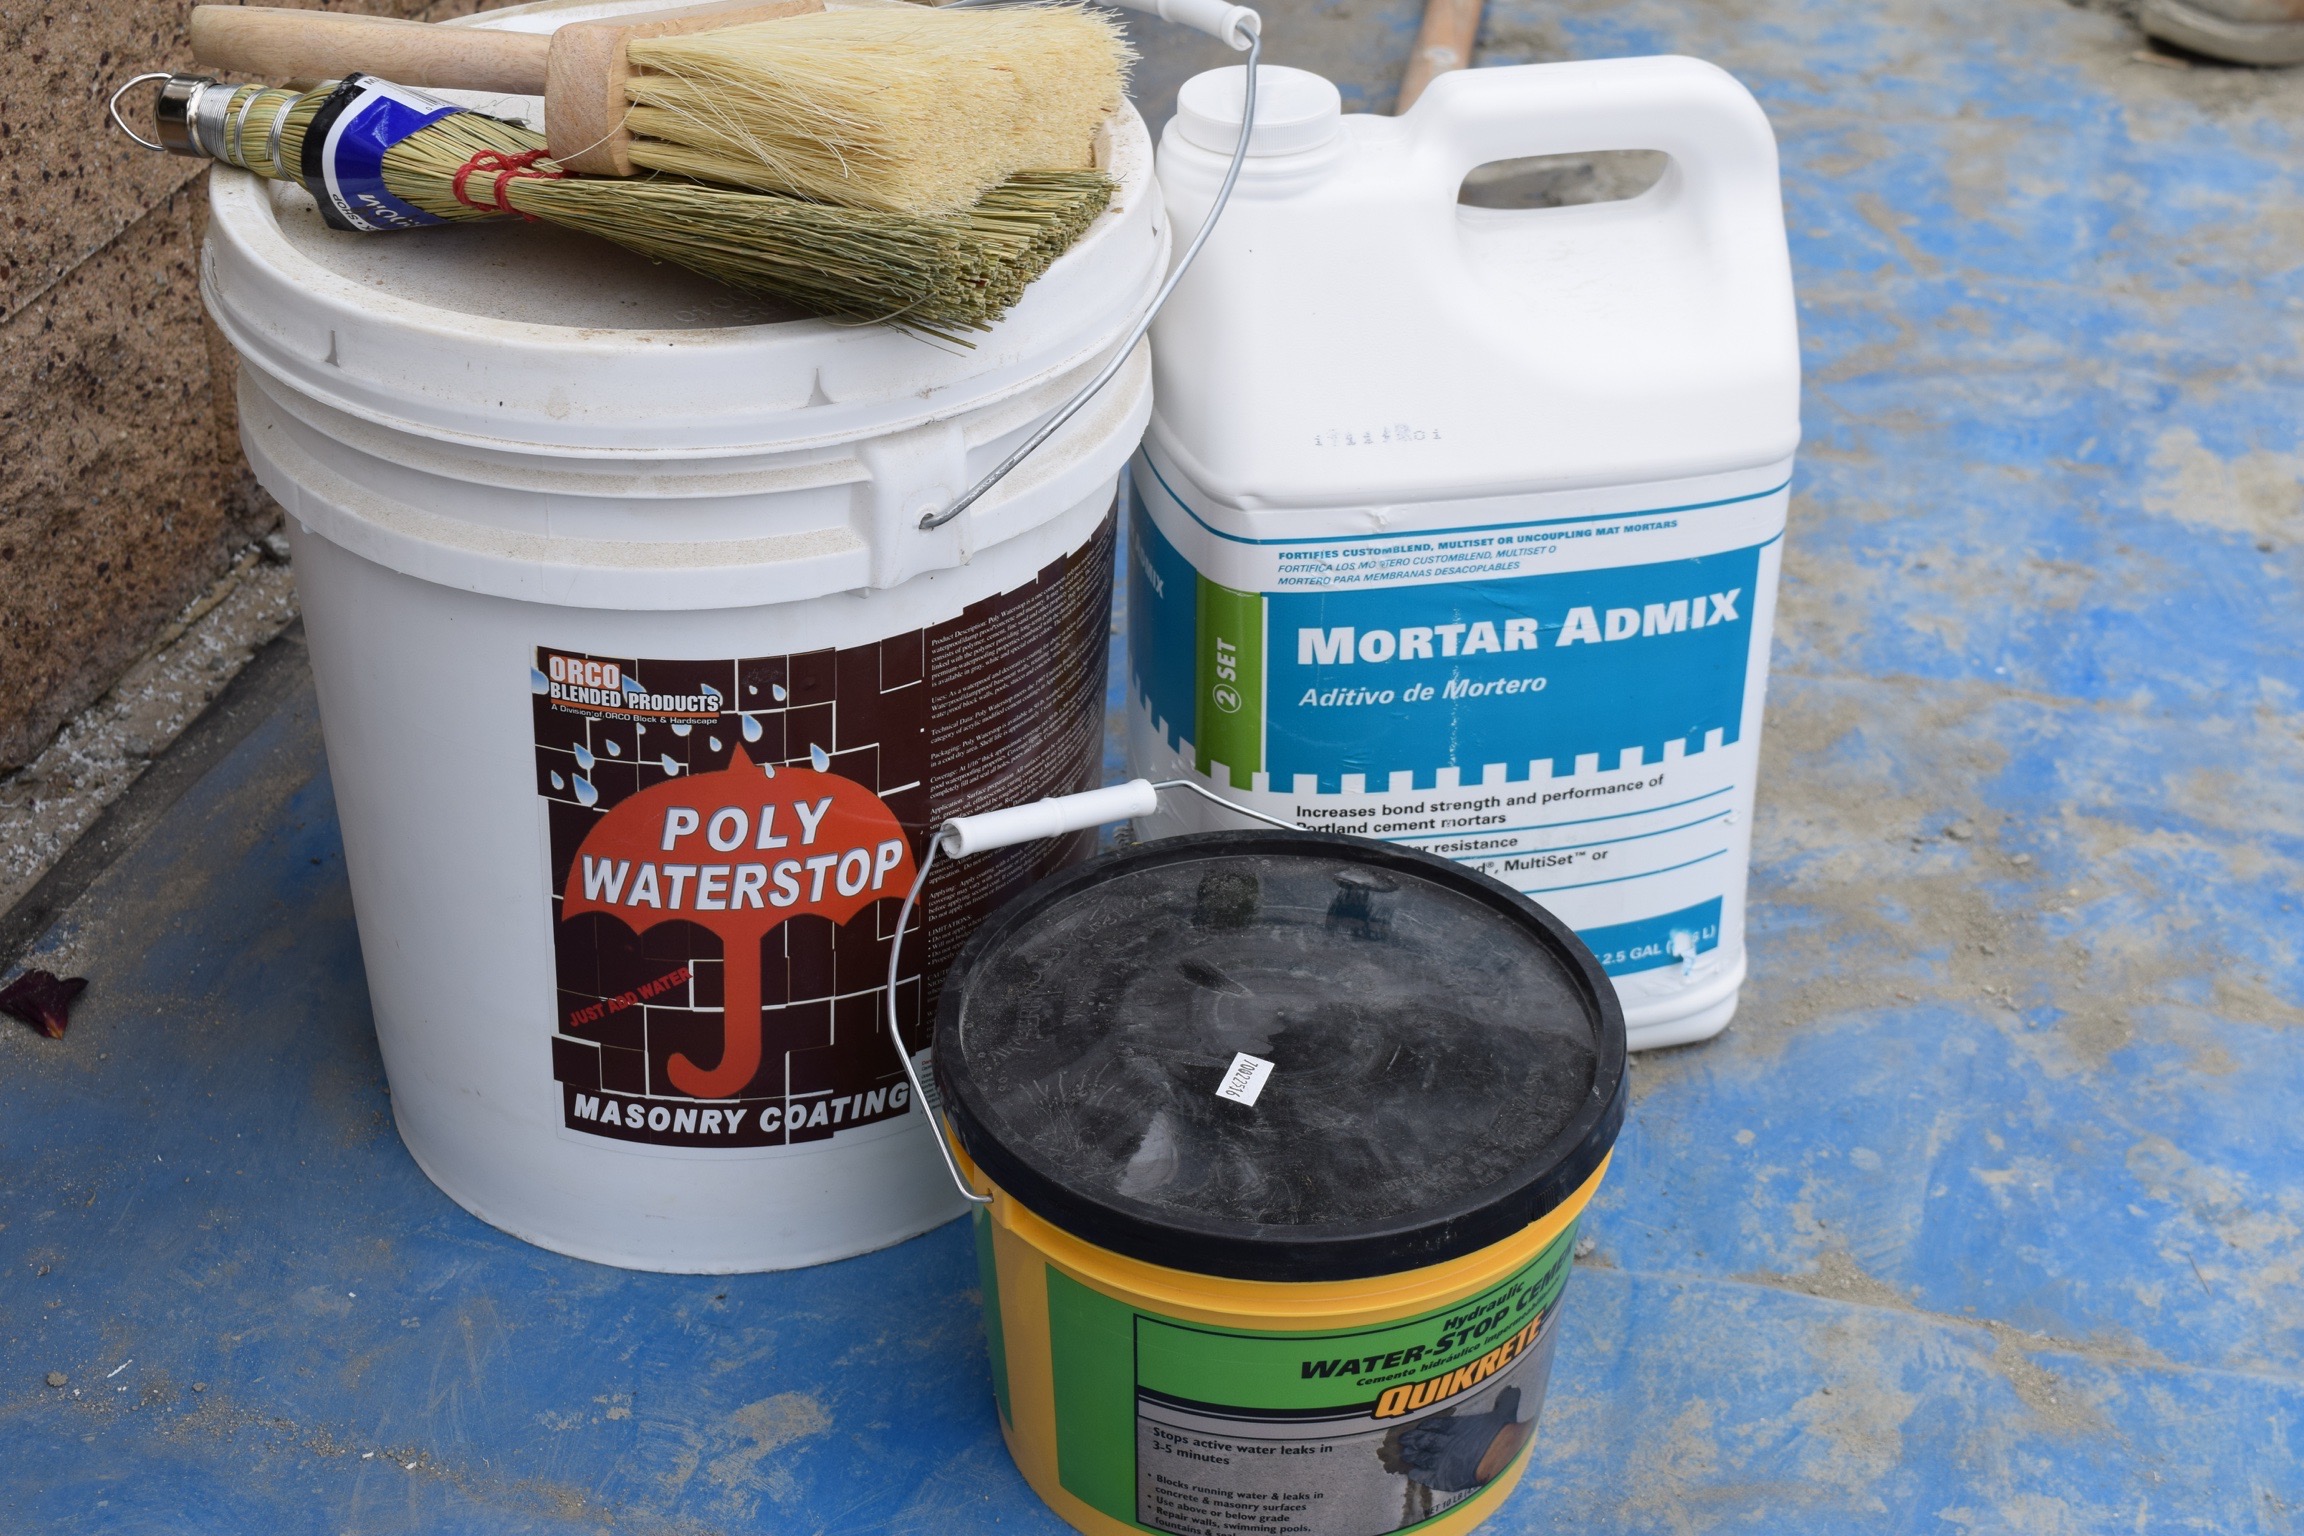
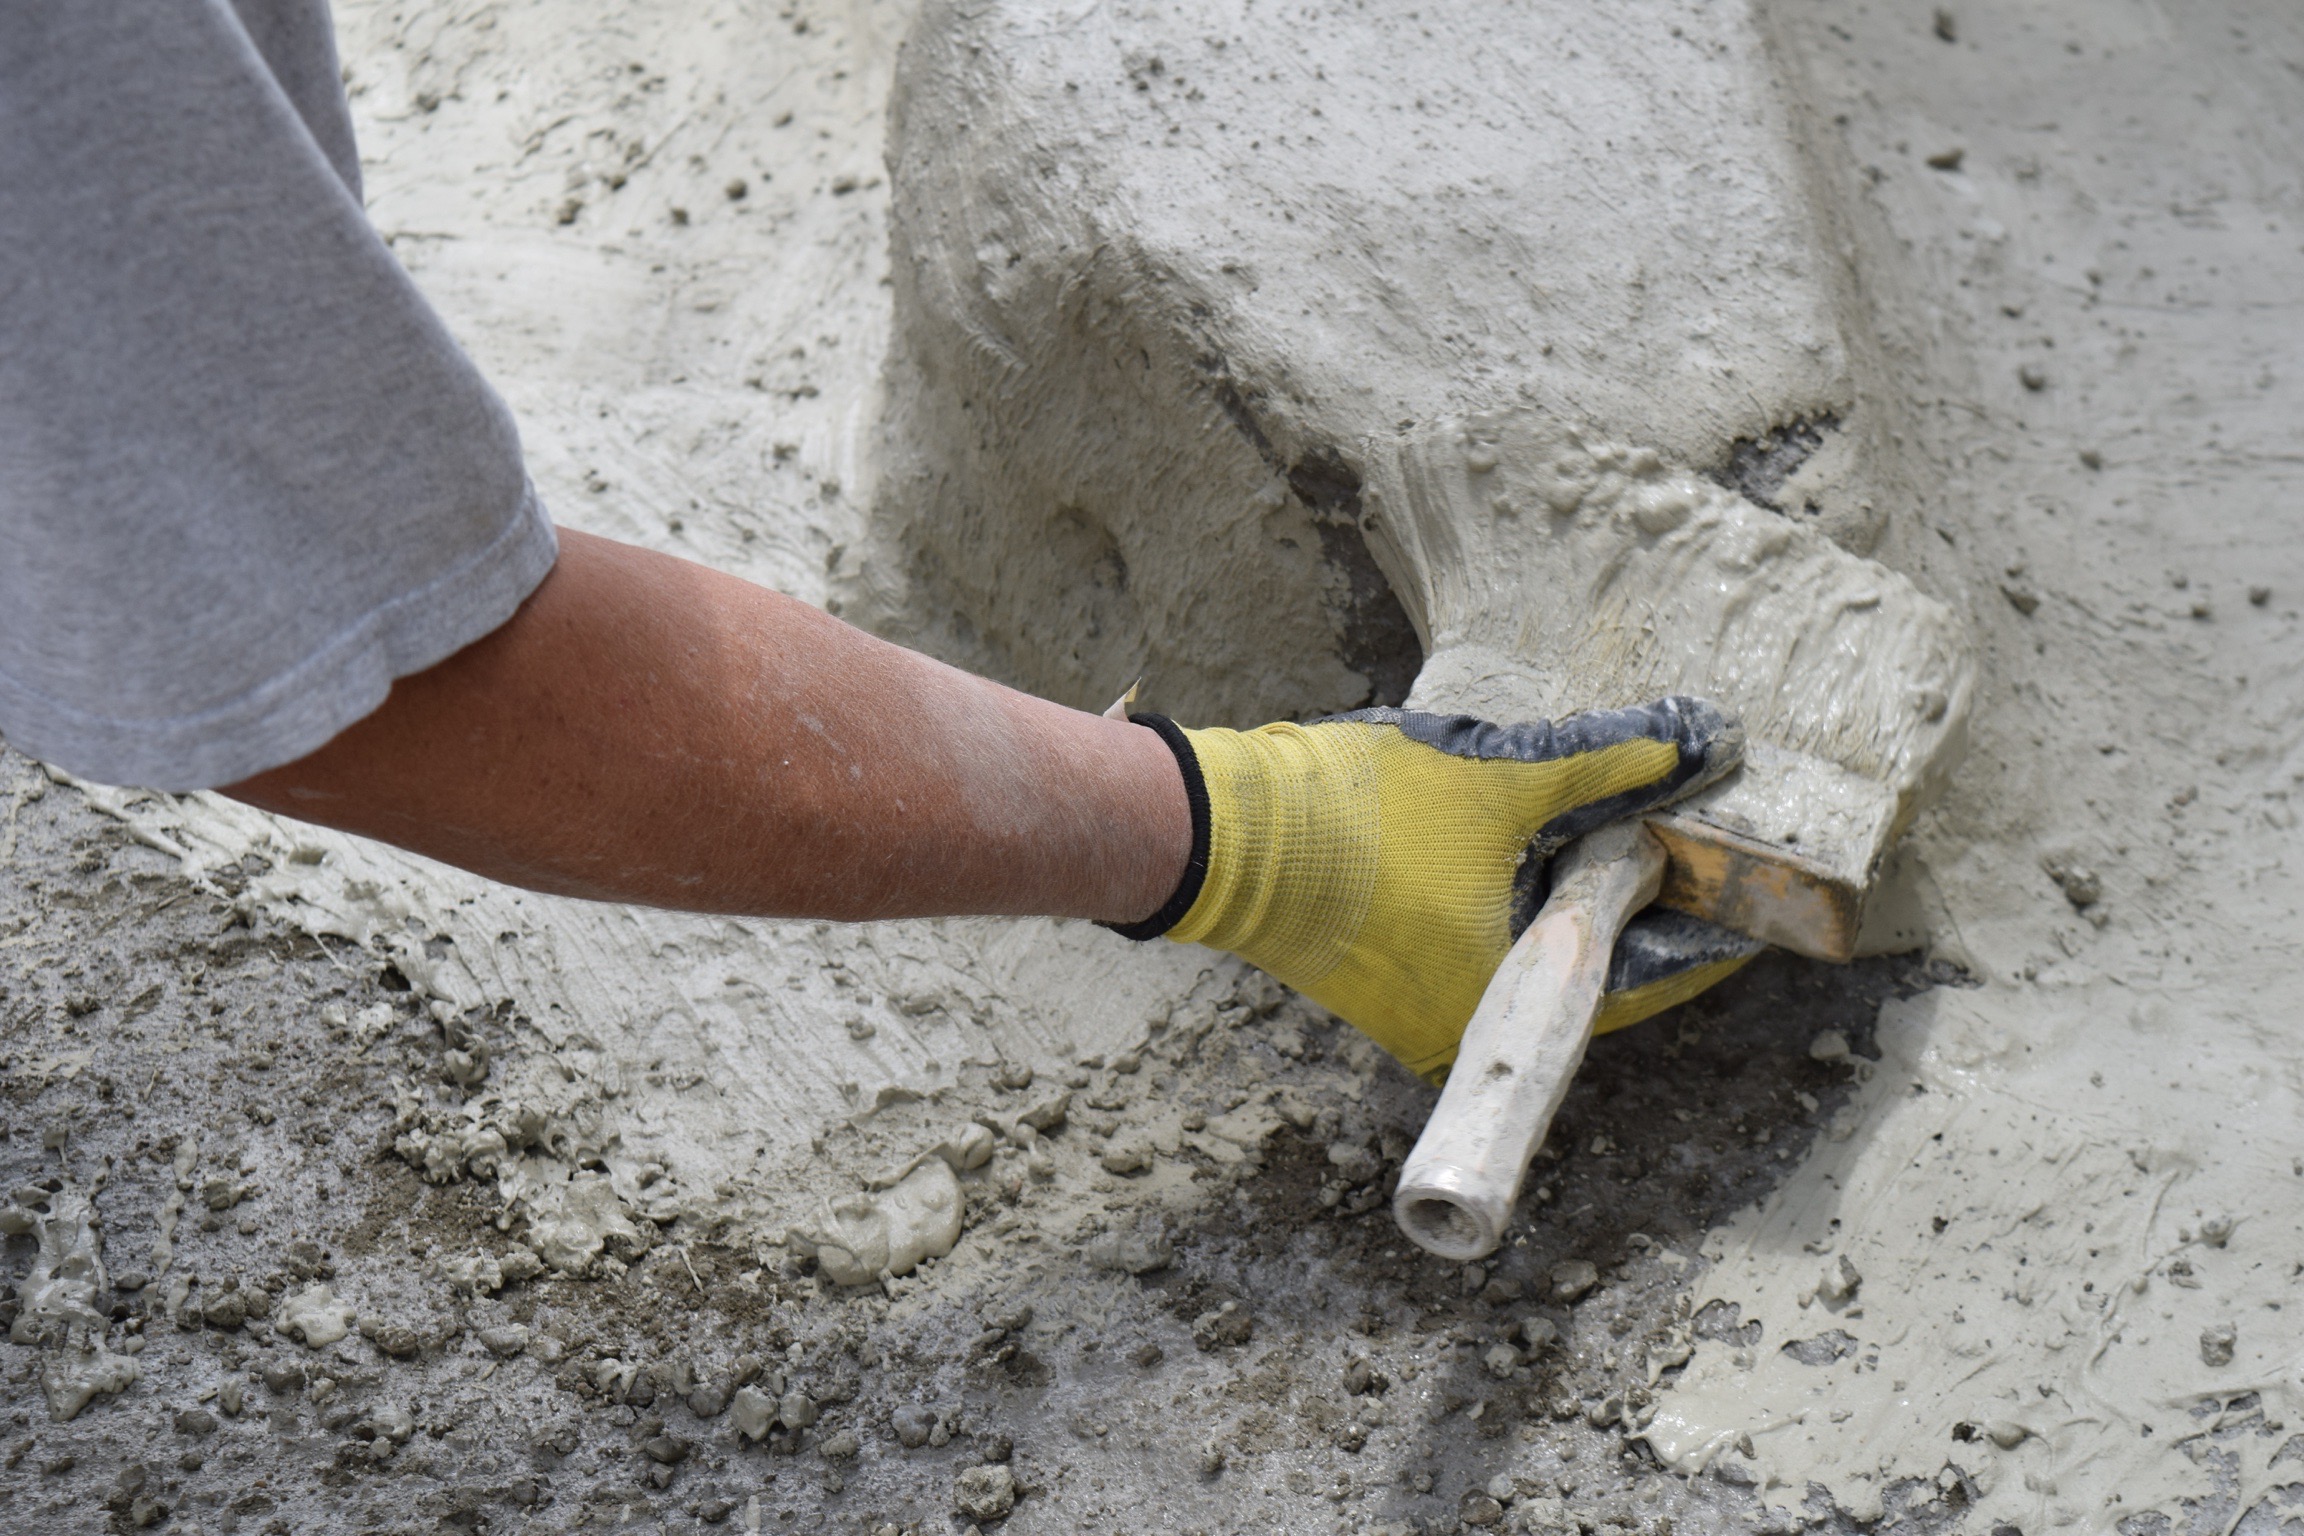
Regardless of which material you choose, the application process is the same. Mix the material very thin to get a consistency that’s more like paint than mud, and add a few glugs of acrylic admix to each 3-gallon batch to increase hardness.
Ensure to mix well to avoid dry lumps. Brush the material on with a small hand broom or a large brush. Once all holes and cracks are filled, go back and use pool putty to seal the rough plumbing to the cementitious waterproofing.
After one last inspection to make sure everything is waterproof, we are now ready to get to the fun part and start carving!
See you next time!
Disclaimer: The statements and opinions expressed in this blog post are those of the author or authors and do not necessarily reflect the position or opinion of Concrete Decor magazine.