

When starting the first cut on a concrete slab, everyone wants to know how it will look when finished. Professionals know each concrete slab is different. The sheer numbers of variables mean no two pours or slabs will look the same. Although we cannot control the mix or surface porosity, we should still be able to take the slab we’ve been dealt and make it meet the customer’s expectations.
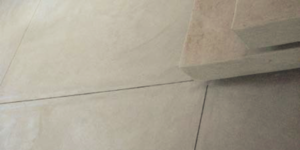
Recently, I have seen projects and photos that made me wish the polishers had paid attention during the first cut to get the floor uniform. With just a bit more time and attention, we would not see those characteristic rows, the light and dark marks left from areas where the cap was not cut through, the surface scratches from when something was dragged and the haze from the laitance still visible.
The first cut creates the foundation, palette or canvas for our finished floor to shine. It takes time to ensure that the first cut turns out to be uniform. Some contractors will go to any means to speed up the first cut, including starting with a higher grit, “getting by” with a single pass, allowing barely minimal overlap, cutting dry or walking too quickly. This is unfortunate, since given the state of the industry today, we have enough tooling and chemical technology to overcome almost any obstacle.
Make the best choice from the beginning
Select the most appropriate diamond grit and bond to ensure your first cut will be easier, more refined and uniform. Some polishers struggle to choose the right bond and grit level, even though most understand the need for “soft bond for hard concrete and hard bond for soft concrete.” To make the right call, start by running with medium-bond metal diamond tooling under your machine. Observe how the concrete opens, and adjust as needed.
The use of different hardness bonds is standard practice in the stone industry, due to the opposite tooling needs when polishing soft limestone and hard granite. However, when diamond tooling was first manufactured for concrete, the emphasis was on the grit and not the bond, as if concrete were all the same hardness just because it’s concrete.
Concrete is highly dependent upon the slab’s individual blend of variables, including mix design, finishing skill and techniques (including whether water was used as a trowel aid), proper curing methods (or lack thereof) and environmental conditions, such as wind, sun, precipitation, humidity and temperature. The importance of proper concrete curing is a lesson our colleagues continue to learn even today.
The industry’s gap in understanding the different characteristics of hard, medium and soft concrete arrived as a big “aha!” moment for the concrete polishing industry approximately 10 years ago. At that time, Mohs hardness kits became more accessible to concrete polishers, and in turn the diamond manufacturers responded with hard, medium and soft metal bonds. Now, manufacturers may offer as many as seven bonds in all metal grits. What stops us from taking advantage of these tools?
No cutting corners
We all know some polishers who barely have a full set of each grit, with no chance of finding multiple bond options of the same grit in their diamond cases. They turn up at the jobsite and hope for the best. If they are running two machines, they can barely supply both machines with the right diamond tooling. They also tend to be the ones who have lost or never learned the idea of using water to either damp or wet cut when needed. Don’t be that contractor who just uses whatever tooling is on the truck in order to complete the job quickly! “Down and dirty” work may be faster, but it could cost you repeat business.
Prove to your customer that you are the best polisher for their job by selecting the right bond and grit to match the slab, by adjusting your machine’s speed to run smoothly according to the levelness of the slab, and by identifying the optimum walking pace.
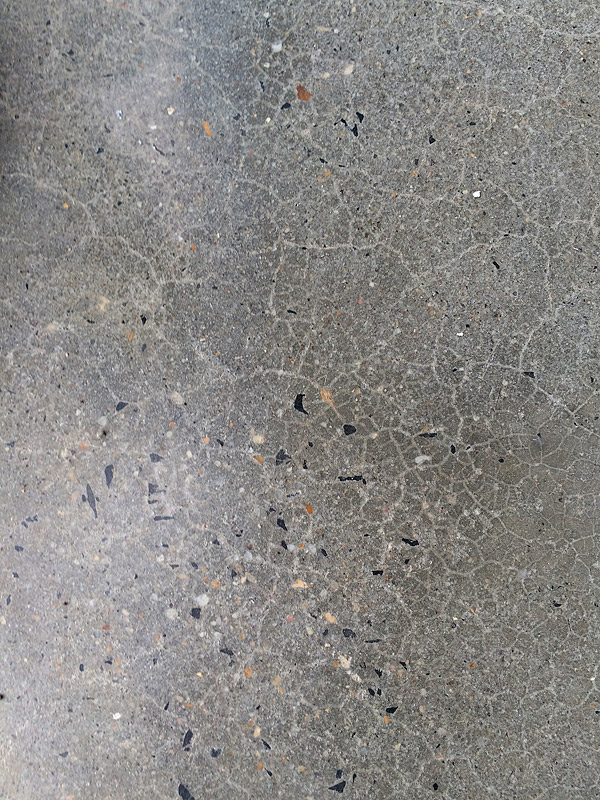
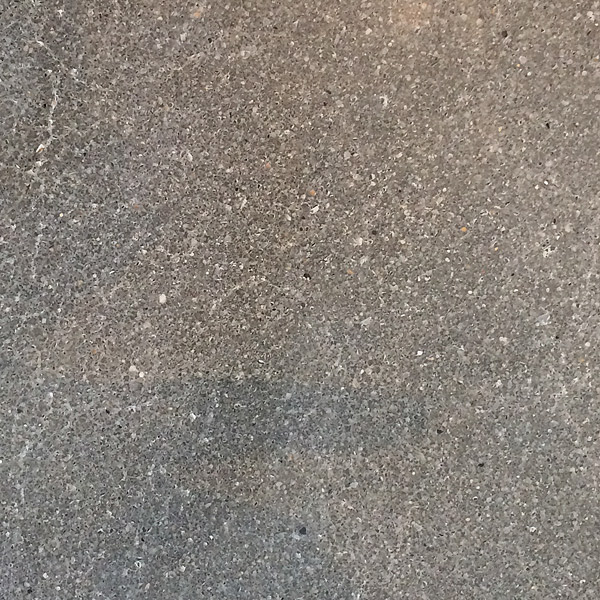
Recently, I instructed a polisher to do a reveal on a surface with a salt-and-pepper, speckled appearance that looked granular, like sand at the beach, with some medium-sized aggregate exposure and a consistent, medium-level shine — the standardized CPAA “Class C-Medium Aggregate Finish with a Finished Gloss Level 2-Medium Gloss Appearance.” The project design was a clear span of exposed slab without cabinetry, fixtures or tables. Hiding was not an option as this floor was designed to be seen. I recommended cutting aggressively. The owner’s expectations were medium aggregate randomly throughout and no cream visible on the surface.
When I arrived at the site, the crew was almost three-fourths of the way through the first cut, running dry with a typical 30/40 medium hardness metal bond. Where each machine operator started, the diamonds had removed the cap and started exposing sand. But from then on, they were simply removing the sheen from the hard trowel but not aggressively revealing sand. Why did this happen, and why did no one else notice?
It turns out that the bond was wrong — it was simply too hard. The metal bond is supposed to wear away quickly enough to continually reveal fresh, sharp, diamond edges. Instead, the metal was overheating from friction between the tool and the hard concrete. The diamonds were glazing and losing their cutting power. These diamond tools were cutting just fine at first, because the diamonds were still sharp and the metal bonding was still cool enough to wear properly.
The lead operator and I inspected the floor and tooling, and decided to try cutting damp to keep the diamonds cooler and allow the slurry to help keep the diamonds open. Think of this like using automotive rubbing compound before waxing a car — the rubbing compound breaks the surface tension, so the next step can really shine. The concrete slurry is similar in that it assists the cutting and will allow for quicker refinement even with the wrong bond.
The damp cut helped, but with the wrong bond, it was simply not enough. We cross-hatched and damp cut again. The “right answer” would have been instead to simply switch to a 30/40 soft metal bond. But by now you should have guessed they did not have the other bond options, and since they felt schedule pressure, they kept cutting. Not much was completed by the end of a frustrating day.
The next day, the crew lead agreed to bring the correct diamond tooling from their consignment cage. Several days later, the GC called me to report the owner was unhappy about the level of reveal. I was surprised since I knew the crew had the correct metal bond diamond tooling. You should have guessed it again — the contractor did not want to invest in two additional sets of 30/40 soft-bond tooling, so the crew was forced to work with what they already had.
The job was stopped, and a meeting was held to discuss the owner’s concerns. In a nutshell, the polishing contractor explained to the GC that the crew would have to start over to get the level of reveal specified by the owner. The GC did not want to hold up the job, so the polishing contractor and the GC agreed to let it go this time. The owner’s representative and director of construction was unaware of their agreement and was greatly displeased upon visiting the site three weeks before opening.
Think things through
Why do so many polishers end up in these situations, despite many options for diamond tooling and chemical technology? Like so many contractors, this polisher got caught up in several perceived issues:
- Cost of the tooling inventory
- Cost of the extra labor to do that first cut correctly
- Tight timelines and fast-paced, pressured schedules
The job described here was the first store of a national account and the whole deal could have been lost. Thankfully, the director of construction was a reasonable and seasoned professional who values relationships and quality work. That might not always be the case. To keep the business you have, invest in the extra time, materials and labor by making sure the first cut is the right cut.
If you cannot take the time to do it right, surely you cannot afford the expense to do it over. The quality of work in this particular job ultimately was excellent, it just did not meet the owner’s appearance expectations. In the end, a promise was made to the director of construction to send him a photo for approval after the first cut on all future jobs to avoid this situation from happening again.
Today’s tight production timelines and schedule-pressure often doesn’t allow for doing work over again, so it is more important than ever to get it right the first time. Invest in the range of diamond tooling bonds and chemical technology needed for your projects, and make sure your first cut comes out right by keeping your eyes open and watching the concrete while you cut. The concrete does not lie.