
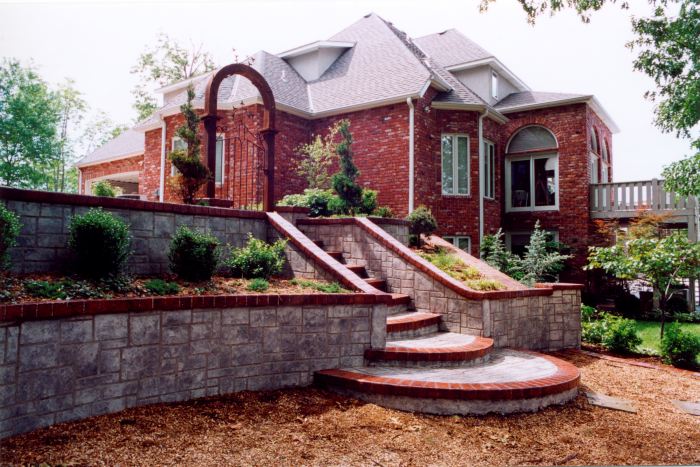
Although aesthetics are certainly a key component in any decorative concrete project, that doesn’t mean function should take a back seat. When a Joplin, Mo., homeowner was experiencing drainage and erosion problems, Jim Snodgrass installed a series of walls and stairways that not only controlled water flow, but was visually pleasing to the rest of the high-end subdivision.
“The poor elevation made this the worst water control project I’ve had to adjust,” says Snodgrass. Snodgrass has since shut down his installation business, Ozark Decorative Paving, in 2005. He did this to focus on Decorative Concrete Impressions LLC, a manufacturing and distribution company he founded in 2001.
The home is located at the bottom of a ridge, and actually sits beneath street level. After a rainfall, rainwater from the entire subdivision would run down the driveway and through the yard.
In addition to fixing the drainage issues, Snodgrass also had to work around the existing driveway.
“Access (to the site) was a problem because of the steep grade,” he says. “Just getting the trucks in and out was a challenge.”
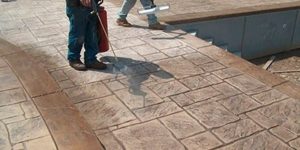
Correcting water flow problems
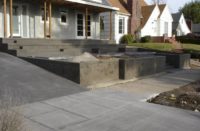
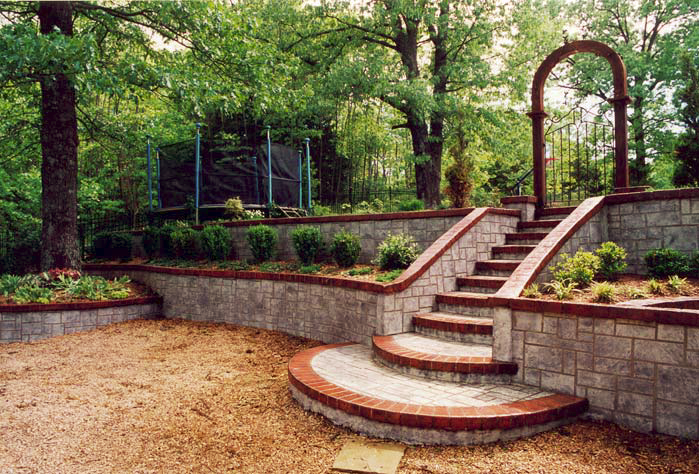
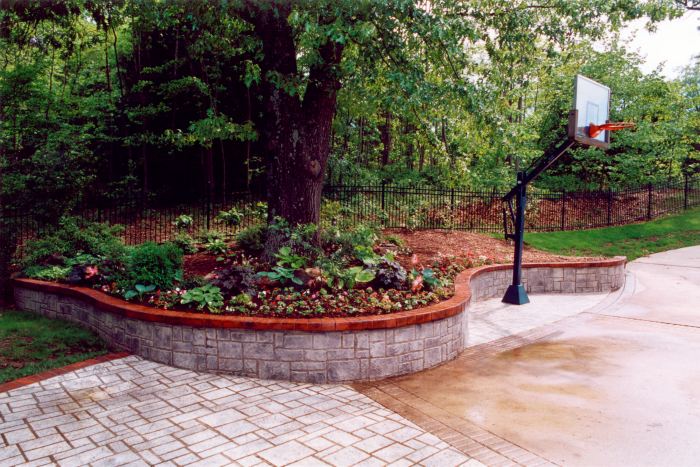
To correct the water flow problems, Snodgrass had to add nine feet of elevation. Additionally, they placed a staircase between two 9-inch thick walls that were 3 feet in height. They also allowed for landscaping on an upper tier. They installed additional walls to retain soil around trees and other landscaping. On the ground, Snodgrass installed nearly 1,000 square feet of flatwork, including a drainage system for additional water control, plus an overflow path to channel anything the drains couldn’t handle.
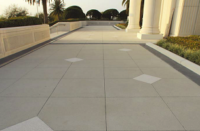
Created using materials found in the Decorative Concrete Impressions catalog, the patterns and colors were inspired by the gray ashlar stone in the home’s two-story front entryway, as well as by the prominent red brick. The work was accomplished using the Ashlar Tile stencil with Dove Gray color hardener. The borders feature Brick Red color hardener and a Brick Header stencil. “Stencils allow you to create differently colored borders in one pour, so we tied into the home’s design and color without extra forming,” Snodgrass says.
They achieved the vertical surfaces using the same stencils and an overlayment material. Once they poured the basic walls and removed the forms, they coated the facing in one layer of overlay. While the base coat was still tacky, they applied a stencil. Then they troweled a topcoat onto the surface and textured it using a flat texture mat.
Despite the challenges, the hard work paid off. The homeowner never reported any additional drainage problems.
(866) 332-7383
www.decrete.com
Products mentioned in this article
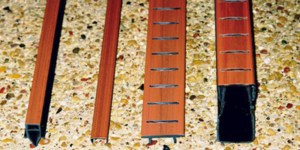
Offered by Concrete Decor Store Brick Header - Concrete Stencil
by Decorative Concrete Impressions Ashlar Tile - Concrete Stencil Roll
by Decorative Concrete Impressions SureCrete TruCast - Concrete Color Hardener - 60 lbs - Dove Gray
by Sure Crete Bon Color Hardener - 5 Gallon Bucket - Brick Red
by Bon Tool