
Welcome back! We are continuing our journey to follow this project from beginning to end in beautiful wine country in Southern California.
In Part 1, we showed how to construct a stunning 3-D miniature model of a project. Now it’s time to envision the artistic side and that starts with steel.
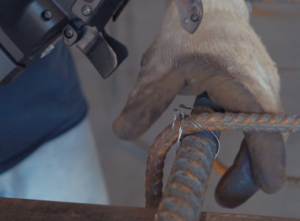
The steel will be tied in directly to the pool curtain, but footings must be dug everywhere the steel meets the ground on the outside. Codes may vary but usually an 18-inch deep by 12-inch wide trench will be required to support the walls of the piece. At the foot of each vertical piece of steel, bend the last 3 inches to form a foot and support on a 3-inch dobie block.
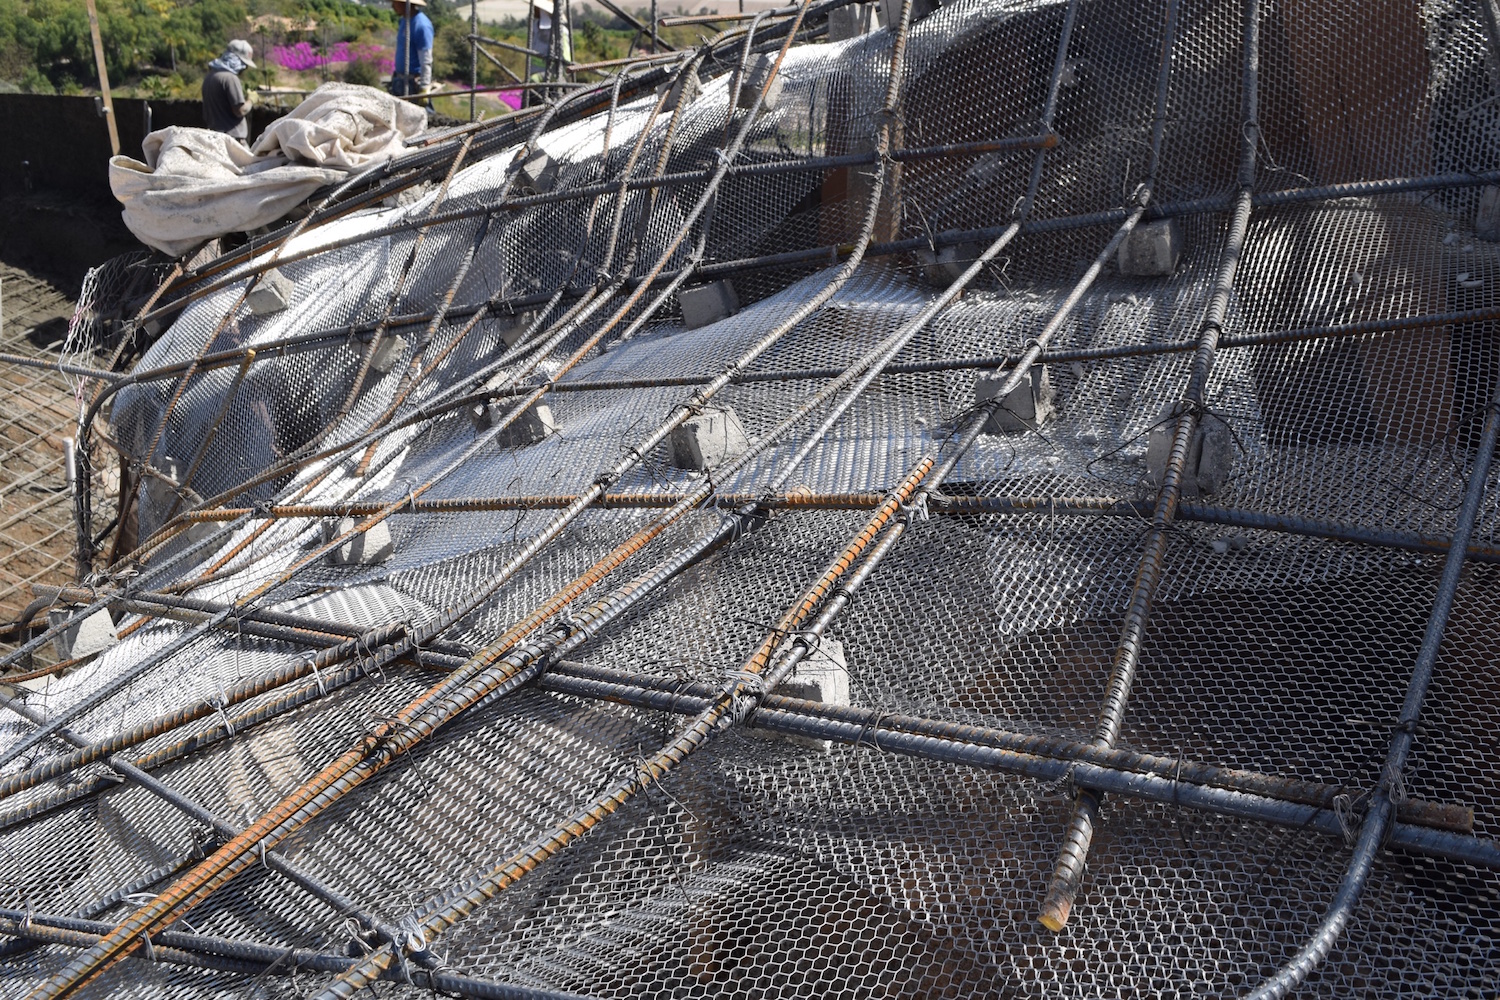
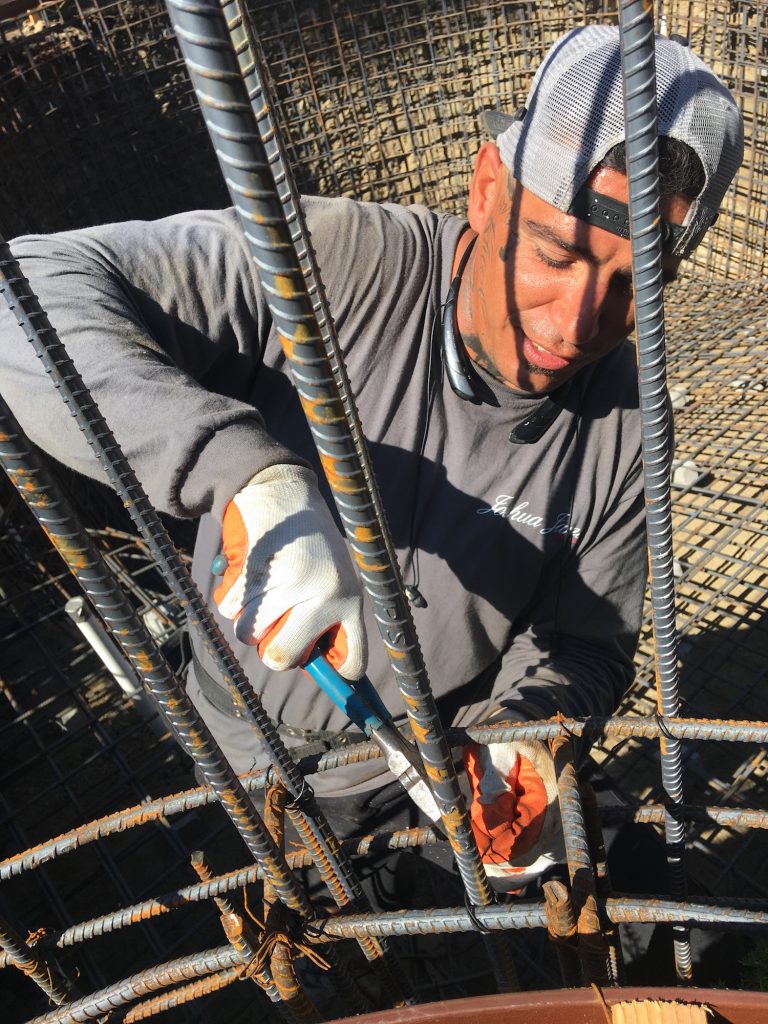
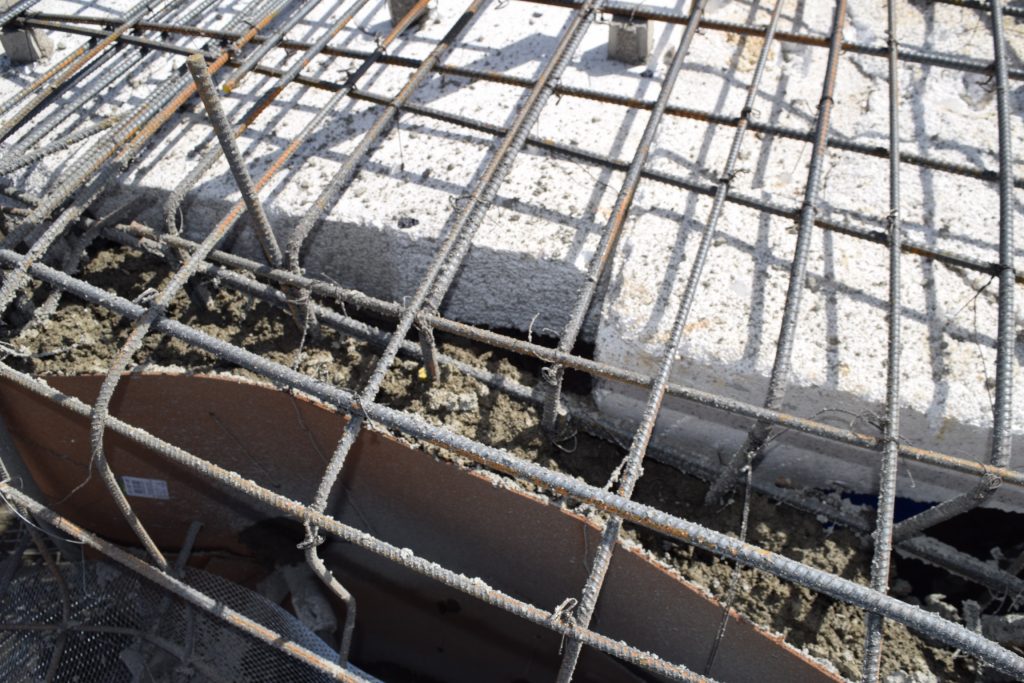
The rough framing for cosmetic elements of our piece is formed with #4 (1/2 inch) rebar. This will be tied in a grid spaced 12 inches on center, maximum. For some of the more intricate cosmetic features, #3 (3/8 inch) rebar may be used as it is easier to bend into shape.
For structural elements, there will be an engineering plan which must be followed. It’s important to pay attention to detail here since there will be an inspection to pass.
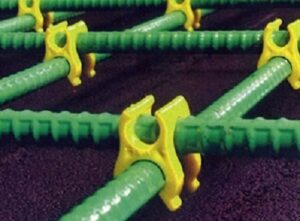
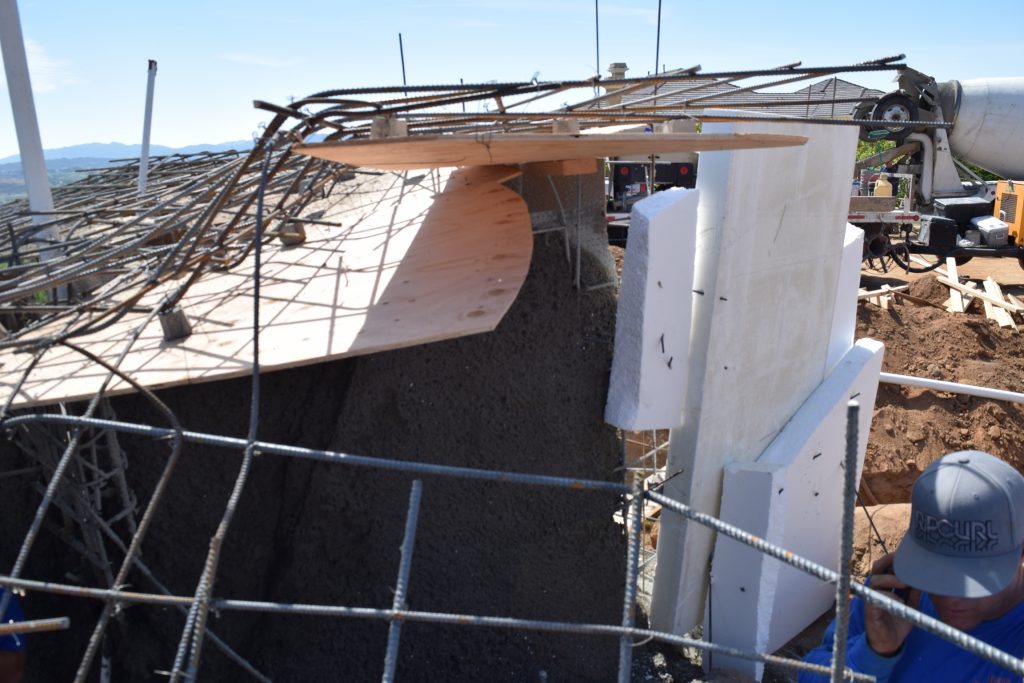
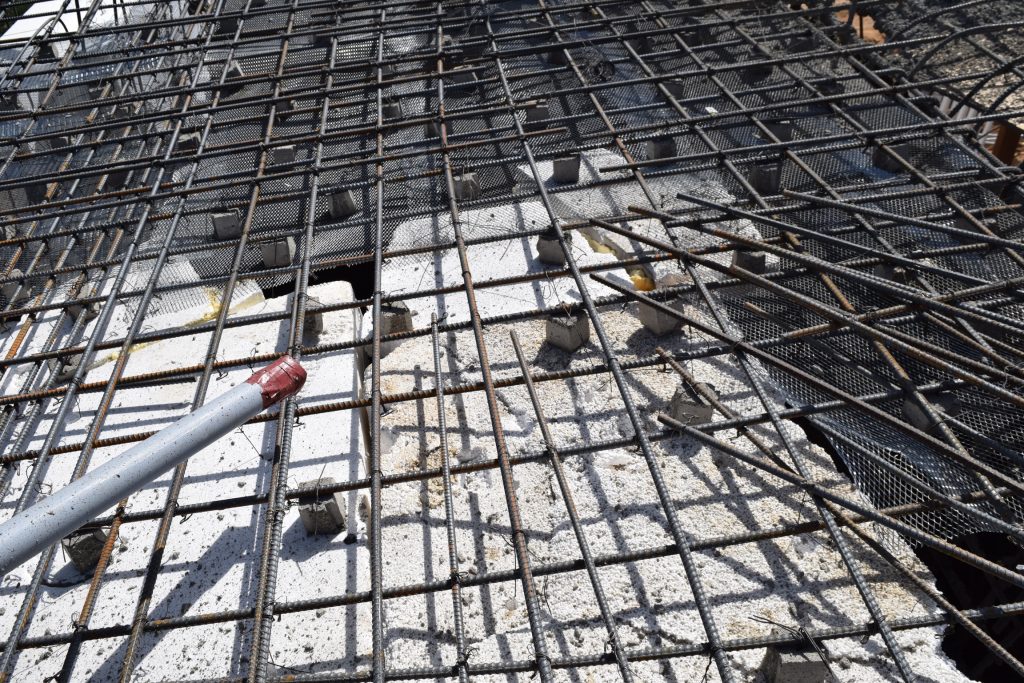
Once the structure is built, lath and backer boards can be installed. Keep in mind that the steel must be encased in a minimum of 3 inches of concrete. Three-inch dobie blocks must be installed between the steel and all backer boards to maintain this spacing throughout the piece.

Any cheap material such as hardboard or sheet rock can be used here as long as it is flexible enough to bend into place and strong enough to hold back the mud when shooting with a pump.
Make sure it’s tied in securely and won’t move when being sprayed. Lath is attached to ceilings exactly the same way. Always peel off the backer boards the day they are shot as they won’t come off after the concrete cures.
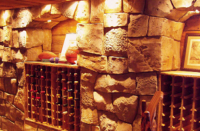
On this project, we framed a large grotto with a dry cave entrance. On top of the grotto, we framed in a small kiddie pool and a few boulders. It’s designed so that water flows both over the lip of the grotto and also cascades down a waterfall on one side which forms a naturalistic climbing path to the top of the grotto from ground level.
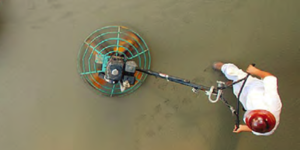
This was a very large pool that took 14 hours with two pumps to shoot the pool and grotto and 170 cubic yards of concrete. Since our work was shot last, much of our work had to be done in the dark.
Thanks for joining us again! In our next series, we’ll get into the shotcrete application. See you next time!
Disclaimer: The statements and opinions expressed in this blog post are those of the author or authors and do not necessarily reflect the position or opinion of Concrete Decor magazine.