
Our friends at Buddy Rhodes shared this project on their Facebook page and we were so enamored with it and the other projects that this lady has done that we wanted to share it further.
Margot Mantle blogs about her DIY concrete adventures on a site called The Chirping Frog. She lives in Illinois but attended the World of Concrete 2015 event in Los Angeles over the first week of February. She writes on her blog page about this project that she returned “soooo inspired to use concrete in as many ways as possible” in her and her husband’s new home.
She told her husband she wanted an oval-shaped vanity base in their small hallway bathroom. “He thought I was crazy, as usual, but proceeded to frame it up for me and ‘make it work.'” Margot says. She used Buddy Rhodes Concrete Mix, and writes, “If you haven’t seen his stuff you should take a look — amazing stuff!”
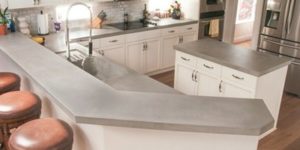
She writes that she has used this same Buddy Rhodes technique for multiple tabletops as well as the countertop and tub surround in her master bathroom.
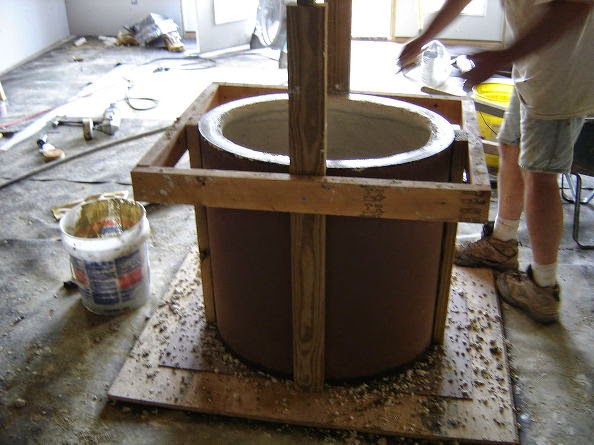
We agree. Buddy Rhodes has created a versatile mix that anyone can create beautiful objects with. Margot writes, “With Buddy Rhodes system you are working upside down placing handfuls of material at a time gently ‘twisting’ as you place them, leaving ‘pockets’ as you fill in your form. You will later come in and fill in those ‘pockets’ with a slurry.” Here is her step-by-step project and photos.
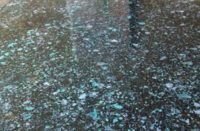
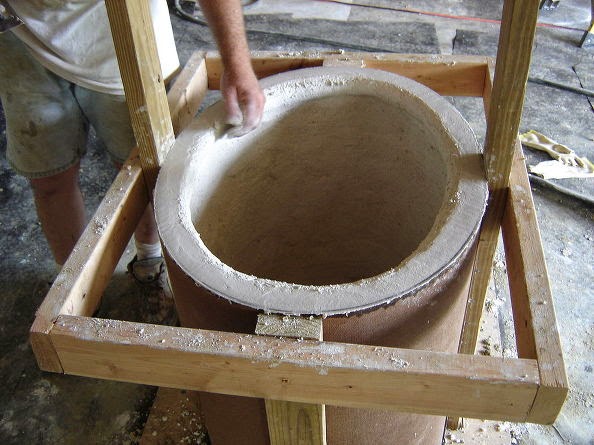
Here is a picture of the vanity after it was filled in. Margot’s husband is leveling out the base and giving it an edge (what you are seeing at the top is actually the base when it’s done). You can see how thick the base will be. It’s filled in and curing before the framing is removed. She chose green for the main color and a grey for the slurry.
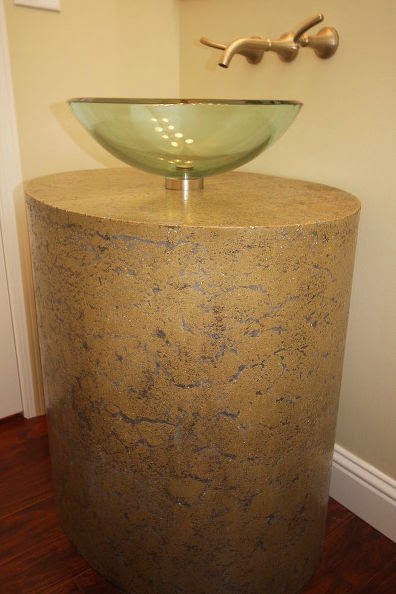
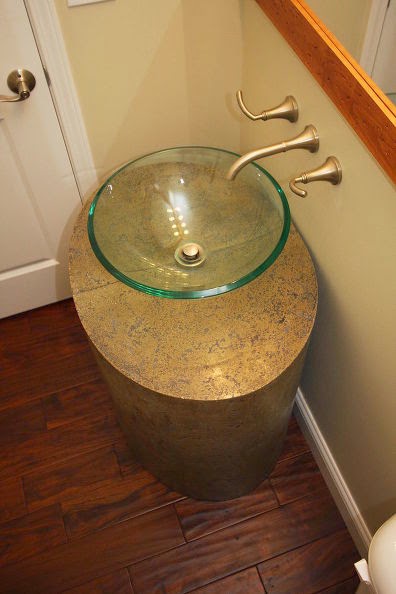
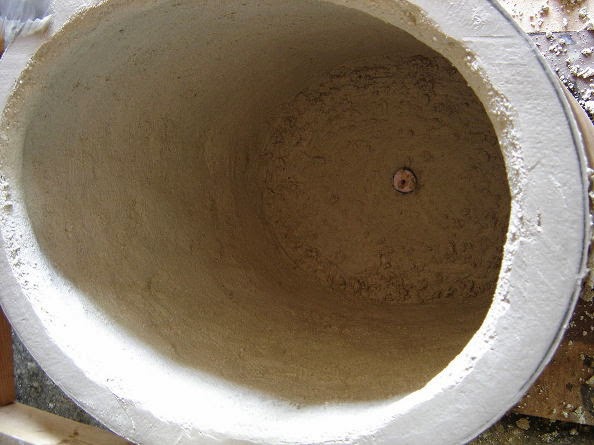
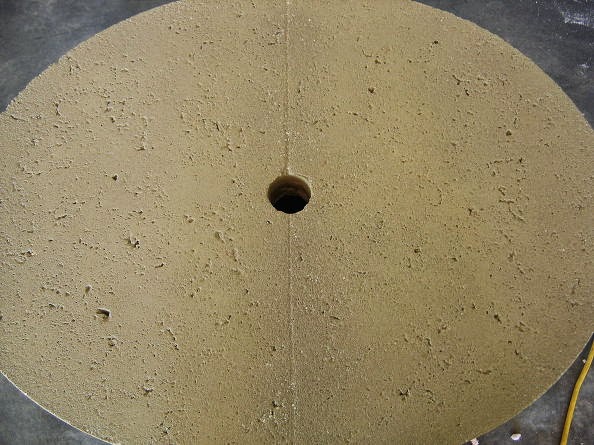
Margot says she wanted a glass bowl sink with a faucet coming out of the wall. Here you can see the hole for plumbing in the top of the base.
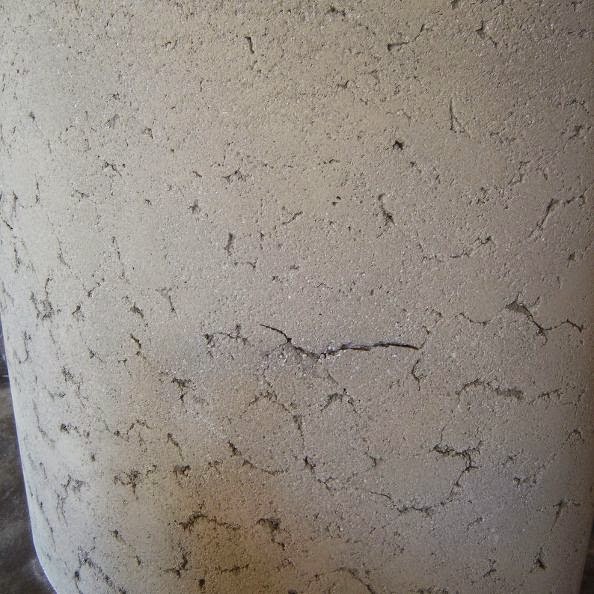
This is what it looks like coming out of the forms, you can see the “pockets” Margot mentioned earlier. She chose a contrasting color for the slurry to fill them in.
Framing the base with a seam down the middle was what Margot describes as the biggest mistake in the project. “Live and learn!” she says. The project turned out so well that this seam doesn’t “seem” to detract from it at all!
Here’s the finished base. Margot says it’s a trade-off because unlike other vanity bases, this one has no storage. It is, however, a completely unique base that you will not see anywhere else. For many traditional bathrooms not having storage here would not work, but because Margot’s bathroom was a little hallway bathroom and not the main or master bath, this was just fine with her. She says she’s planning to finish a bathroom in her basement eventually and will do another vanity project similar to this one, but with storage.
We love it!
|
|
|