The terms “polishing” and burnishing” are sometimes used interchangeably in the decorative concrete industry to describe two very different processes. “There are all sorts of ways to get a floor to look so you can say it’s polished, but it’s best for people to be forthcoming about what they are actually giving their clients,” says contractor Mark Alicea, vice president of TCM Waterproofing of Suwanee, Ga.
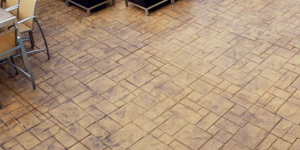
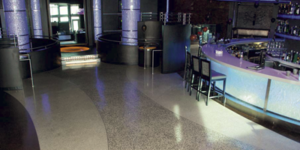
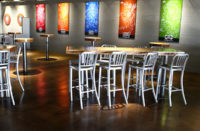
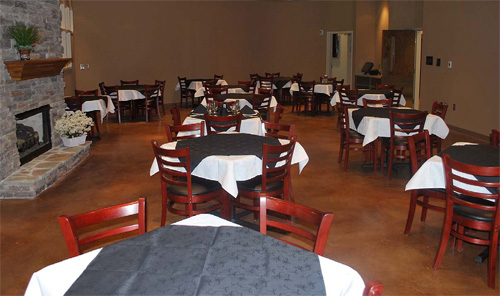
A textbook example of a burnished floor that looks exactly like a polished floor is the culinary arts complex floor at the Lanier Charter Career Academy in Gainesville, Ga. Completed by TCM Waterproofing in July 2010, this 10,000-square-foot burnished floor was completed at a much lower cost for the client and in a shorter turnaround time than a polished floor, but with the same benefits as its polished equivalent.
“Polished concrete is a mechanical process, while burnished concrete is actually a chemical process,” says Alicea. Polishing concrete involves opening the smooth top layer of the concrete surface to get down to the aggregate using a mechanical process. Burnishing involves a chemical process that does not require going past the cream, or the top layer, to get the polished-looking finish. This eliminates the many stages of a typical concrete polishing project, such as grinding with various grits (and cleaning in between) to get deep into the surface, thus reducing the project turnaround time and the cleanup involved.
Alicea initially quoted a polished floor for this project, but due to a tight timeline and budget, he proposed a burnished floor to the client.
He was familiar with the burnishing process, as he was a certified applicator of AmeriPolish products when he was approached by the culinary school. He had first tested the burnishing technique in a garage. “You don’t want to close the floor too much because if you do, you won’t get color penetration,” he explains. He suggests leaving the floor rough, applying the colorant twice, then running over the floor with a burnisher and a hogshair burnishing pad. The process produces a matte sheen.
Alicea met with Chuck Brunner of Smith Paints to entertain using their new products, which are similar to what Alicea had used in the past, on the burnishing job. They decided on Smith’s Color Floor water-based stain in Bark Brown and Dark Brown, Smith’s Base Boost and Smith’s Surface Guard.
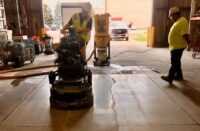
The floor was first cut wet with a 100-grit metal bond diamond, then cut with a 50-grit and 100-grit resin, using a floor grinder. After drying the surface, Alicea then applied resin, dry-sanded the floor with 100 grit, then vacuumed.
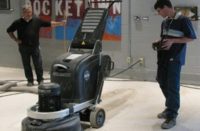
He mixed the Bark Brown densifier color system and applied it with a pump sprayer, worked it in, and repeated the step several times to get the desired richness of color. He burnished it as it dried with a 27-inch hogshair burnishing pad and swept the surface clean.
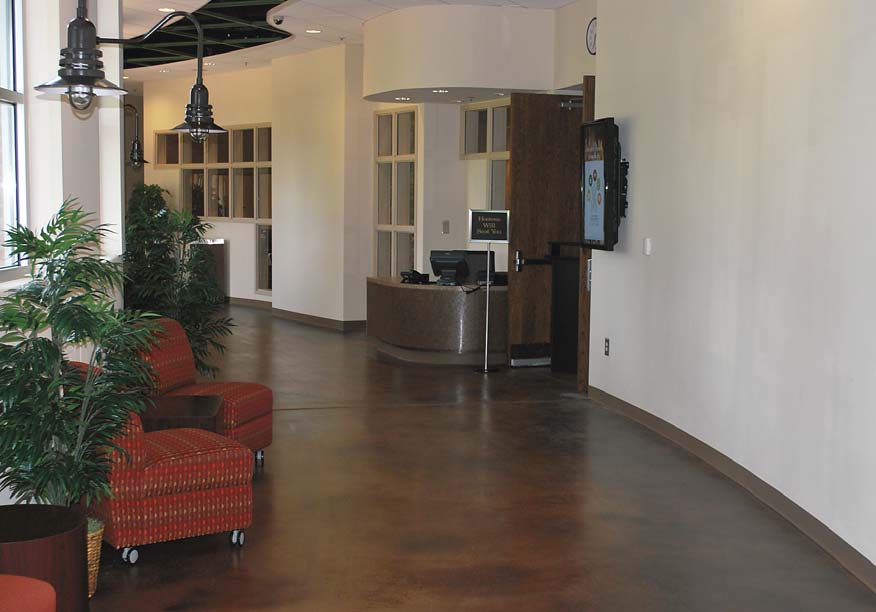
“The client took a look and decided they wanted to see more darkness on the edging, so we grabbed our electric sprayer, got with Chuck from Smith Paints, and they gave us a darker color to spray on,” Alicea says. They applied that to the edges, then burnished and swept again. They applied the topcoat with a microfiber mop and went over it with a high-speed propane burnisher when it was dry. This produced the effect of a darker brown border around a lighter color in the middle.
There was some cracking in the surface due to settling and in areas where construction joints weren’t properly installed. Alicea went back and filled cracks with redwood-colored caulk to match the brown. He says that while you could still see these areas if you looked close, the caulk really helped them blend in.
Now that the floor’s done, the only maintenance needed is using a dust mop and occasionally going over the floor with an electric burnisher at 2,200 rpm or higher to get heat friction between pad and floor. No wax or chemicals should be used to wash the floor. Alicea will likely visit the school for initial maintenance burnishings to teach how it is done.
Project at a Glance
Client: Hall County Schools, Gainesville, Ga., who were constructing a culinary arts school as part of the new Lanier Charter Career Academy
Contractor: TCM Waterproofing LLC, Suwanee, Ga., Mark Alicea, owner | www.tcmwaterproofingllc.com
Materials supplier: WTS Decorative Concrete Supply Inc., Buford, Ga.
Scope of project: A tight schedule and budget called for an alternative to the labor- and timeintensive concrete polishing process for this culinary arts school floor. Mark Alicea installed a burnished floor that that looks and is maintained exactly like a polished floor.
Project size: Approximately 10,000 square feet
Completed: July 2010
Products used: Smith’s Base Boost, Smith’s Surface Guard, Smith’s Color Floor water-based stain in Bark Brown and Dark Brown