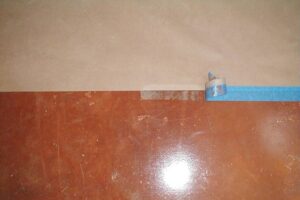
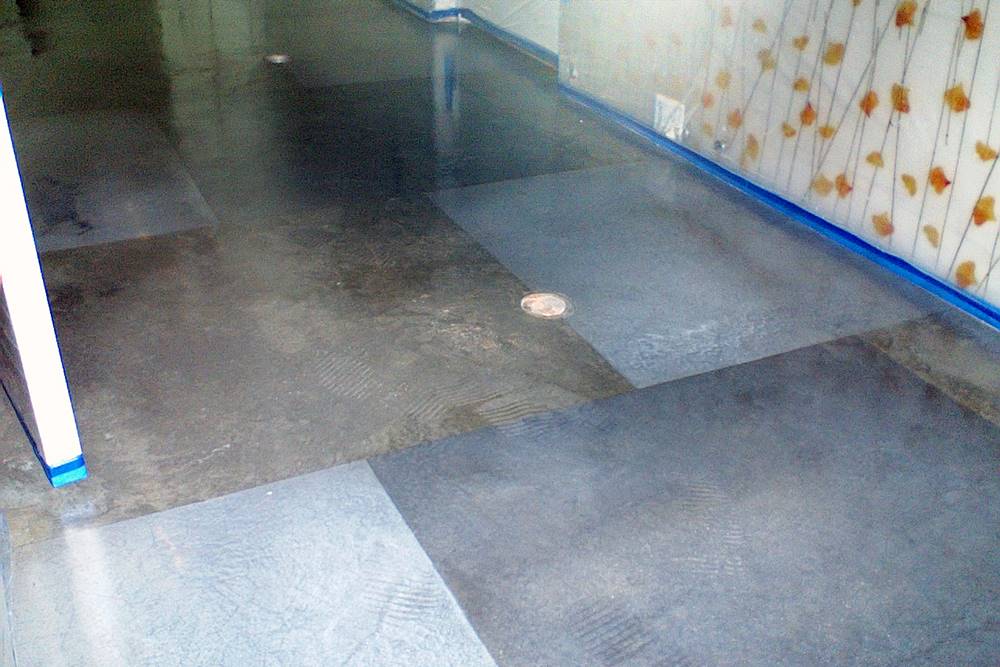
After painstakingly laying out a grout pattern for your acrylic overlay, meticulously masking and re-masking surrounding areas, and then spraying or troweling in just the right color and texture scheme, you stand back and admire your handiwork, and the job looks great.
With the customer standing beside you, you lean down and begin pulling pattern tape. As you do so, you notice residue clinging and overlay bleeding into your beautiful grout lines. Just as you’re about to let loose with an array of profanity, you bolt awake and realize it was all a bad dream.
We’ve all had the same recurring nightmare. And in order to avoid living through this nightmare, here are three helpful hints when choosing and laying pattern and masking tape:
Use quality pattern tape with decorative concrete overlays
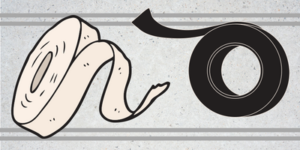
Skimping on your pattern tape can ruin an otherwise perfect job. This is especially true with hand-troweled overlays where bleed is a common problem. NEVER use duct, masking or cellophane tape as pattern tape. We recommend using a quality filament pattern tape designed specifically for overlays. The filament fibers in these tapes provide strength while the specially designed adhesives stick to your overlay for the duration of the job and come up without leaving residues behind.
Use appropriate tape.
While duct tape has its place (duct work, permanent automotive repairs to your 1972 AMC Gremlin, etc.), know that there are times when duct tape is not appropriate. If you plan on being on a job for a few days in mid-summer Phoenix, masking with duct tape will be effective right up until you try to remove the tape. Try using blue painter’s tape instead.
Speaking of masking, always mask off your surrounding areas. Nothing ruins a great job (and your reputation for good workmanship) quicker than unsightly overspray.
Apply and remove tape at the right time.
Whenever we’ve seen problems with pattern tape, it has usually been due to improper timing. Avoid applying pattern tape when your skim coat is still damp or cool to the touch. Removing pattern tape too soon may cause bleed or damage the integrity of the overlay. Removing the tape too late may cause a jagged and broken pattern or grout lines (not to mention sore fingers).
On a hand-troweled application, pull your pattern tape as soon as the overlay is dry enough to walk on without damaging it. Never leave pattern tape overnight on a hand-troweled application.
Get your customer to come watch when pattern tape is being pulled. You’ll find that they love it so much, they’ll usually end up doing it for you!
Pattern tape with decorative concrete overlays can make or break your overlay job. By following these helpful hints (and using a little common sense) your grout and pattern lines will be crisp and clear — a lasting signature of your work.
Questions from Readers
Question
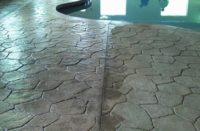
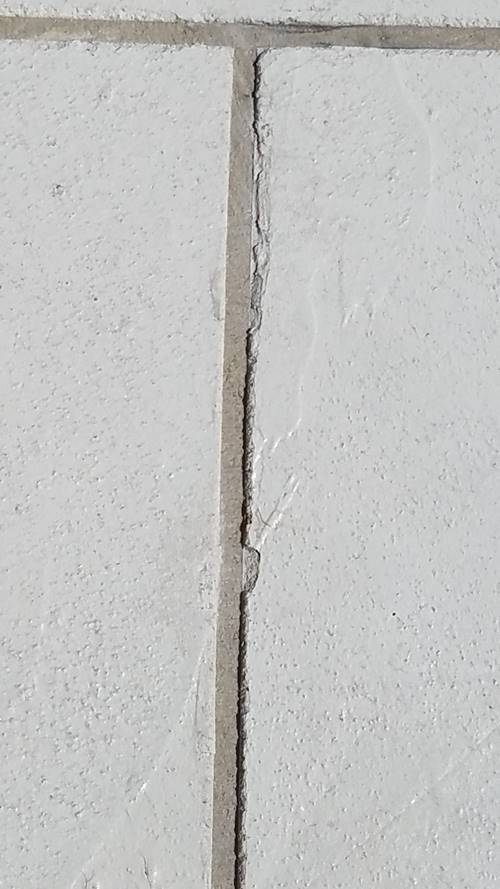
Our pool deck had a microtopping hand troweled in 100+ heat. They taped lines using filament tape, hand troweled the microtopping and left the tape on overnight before pulling it up. The lines are a mess in many areas and look very unprofessional (not sharp, very jagged). Is there anything that can fix this?
Answer from Concrete Decor
You may or may not like this suggestion but it’s worth considering.
Using a concrete saw with a blade width that’s slightly wider than the existing grout line may not fix the problem, but it may significantly reduce the number of jagged edges. Those jagged edges occur when the amount of microtopping applied to the top of the tape is excessive. Sometimes the jagged edge can actually look pretty nice. However, it’s always important for you and your contractor to agree on a finish using a mock-up that the contractor has prepared for you.
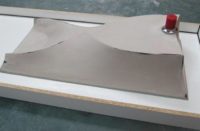
This is the type of saw that decorative concrete contractors use to cut straight lines in existing concrete. The diamond blade is 4 inches in diameter and is often referred to as a tuck point diamond blade.
Another alternative is asking your contractor to redo his work.