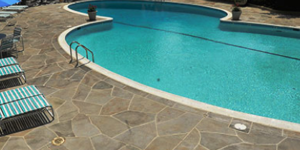


You’ve just finished a three-month polishing project. You went the extra mile to deliver a floor with great clarity. You left no residual scratch patterns. And your edge work blends flawlessly with the main body of the floor, and if dyed, it’s perfect. You’re excited to meet for the final sign-offs. You are not aware of having overlooked anything. But when you arrive on-site, your confidence suddenly disappears when you see the owner, the architect and the general contractor crouched down analyzing several areas of the floor.
Unfortunately, this situation happens too often. What has happened is that through lack of caring, training or perceived time, you haven’t made the effort to patch worth a damn.
Benefits of patching polished concrete
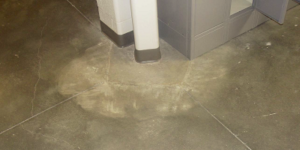
A patch should be unobtrusive, not reaching out for your attention. What is your customer’s first impression of the project you just spent three months on when the first thing that draws their eyes is a patch, a cold sore on your floor? No longer is their first comment, “This floor looks fantastic,” but instead you hear, “What’s this problem over here? Did you miss a spot? This isn’t acceptable.”
The eyesore patch isn’t necessarily your fault, but the natural assumption of a GC, architect or owner is that the floor’s final look is the responsibility of the polishing contractor. It could be a problem created by a masonry contractor washing down the grout on a wall with muriatic acid. It could be a patch created by the plumber, electrician or handrail setter. Furthermore, it could be poor finishing at the time of placement. Regardless, while it is not your responsibility to remedy the spot, it is wise to assess the situation and offer a solution.
There are many reasons you might choose to fix the spots for no charge, but it is important to remember that when you do, you just accepted ownership of the problem in the customer’s mind. You are within your rights to ask for compensation to remedy the situation if it is outside your scope of work. From the beginning, you need to stay on top of the project, keeping the GC apprised of any concerns that may arise and documenting your project site conditions from start to finish.
During your preliminary walk-through, whenever possible, establish the condition of the floor in addition to pinning down your customer’s expectations. Now is the ideal time to determine the requirements for patching on your project and mobilize accordingly. (I’ve created a program called PhotoFlow Project Management. This is a means for the polishing contractor to use an iPhone or iPad to document and track work performed and site conditions.)
Use the patch to your advantage
Patching polished concrete does not need to be your Achilles’ heel. Rather, it can be a means to turn your customer into an advocate. By planning ahead, educating your customer and creating a patching kit, you take the mystery out of patching, creating acceptable patches more than 90 percent of the time.
Let’s look at how you can accomplish this.
Identify the areas that the customer expect you to patch as part of your project scope.
If opaque coatings or a floor covering are installed over the concrete floor, note an exception in your bid package that all hidden patching needs will be addressed following the receipt of a change order. Do not go in blind. Assess customer expectations ahead of time to determine whether they are only looking at a structural patch from a safety viewpoint or whether they expect the patches to visually blend. In writing, make them aware that the greater the difficulty (such as matching aggregate or dye color), the greater the cost.
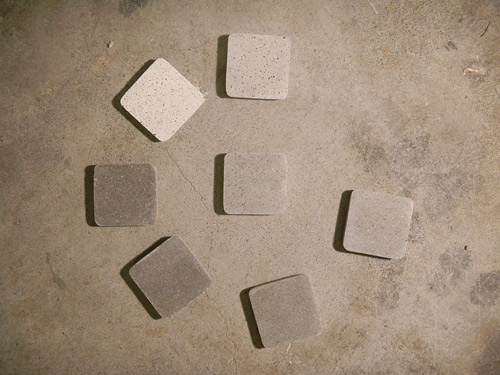
Have multiple color shades of patching material with you on a project, allowing color blending on-site.
I recommend overlayments or mortars that have been specifically formulated to receive colors and to receive a polished appearance similar to standard portland cement-based concrete. Prepare a rubber mold that will allow you to make hard sample sets. Make these with a range of color blends based on the standard shade of concrete colors that exist in your geographic area, to test dye compatibility and match.
Clean, clean, clean
Prior to establishing the correct color of your patch-matching material, clean off any coatings or laitance that are present on the concrete surface.
Once you have prepared the surface, place your hard samples around the area you will be patching.
The hard samples will provide you with the color range that you need to camouflage your patch.
Sometimes you will get an acceptable match from your existing hard samples. However, sometimes your hard sample will simply provide you with a point that you will need to adjust to match from. Each patch will vary based on cement colors, dyes or stains. They will also vary based on cream or fines and aggregates, or simply the age of the concrete.
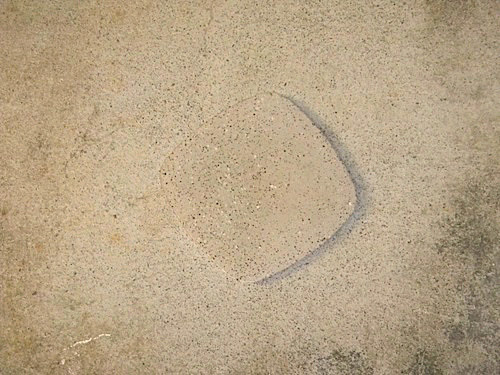
Once you have established the proper mix, patch the area.
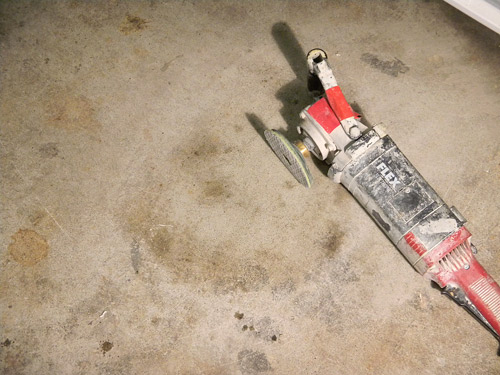
Note that you should always have an edge or sidewall for your patch to be held in place. I do not recommend that any patches be shallower than 0.125 inch. Many manufacturers talk about the ability of their product to have a featheredge finish. However, I have seen too many failures when the featheredge is in an area of high traffic. If you are using a product that contains fines, and the concrete you are patching has exposed fines, as opposed to cream, then you must finish the patching material at a high enough level to allow grinding to expose the new fines. If this is not a concern and your product doesn’t exhibit excessive shrink, then you may patch level with the existing floor.
Once your patching material has cured properly, grind the surface to expose the final surface appearance.
If you have done everything correctly, your patch should match.
Cementitious patches provide a better visual match
Patching needn’t be that part of your job that makes you cuss. In fact, expert patching can be the skill set that allows you to stand apart from your competitor. Be conscientious about this phase of your work and it will help you promote all other aspects of your business. Why allow patching to be that fly in your ointment?
One final tip
Unless you properly educate your customer, patching is an area where you could very easily overpromise and under-deliver. Be careful guaranteeing that someone will not be able to visually identify the patch if looking for it. You are establishing the ability to see a uniform floor when one looks out 10-15 feet in the standard line of sight. However, you’re not promising a monolithic floor, such as one would rightfully expect with an opaque coating.