
Proper surface prep is essential to success application of a microtopping over a concrete surface. Profiling is essential, and moisture vapor, alkalinity, cracks and seams must all be dealt with.
If a microtopping looks good on the surface, don’t be too impressed until it’s proven to perform. When it comes to these thin overlays, beauty is only skim deep, but ugly goes all the way to the slab.
In other words: A beautiful microtopping over concrete is only as good as its preparation. A poor substrate will show its character flaws sooner or later, costing money and making somebody look bad. That’s why the voices of experience advise spending more time on prepping the surface than on the microtop application itself. “We do more prep and cleaning than we do decorative work,” says Wes Vollmer, a consultant and owner of Alternative Finishes, based in San Antonio, Texas.
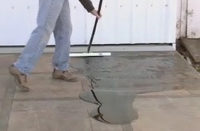
A microtopping is thin by definition, less than 1/8-inch, and is often applied by squeegee, trowel or broom. Some, like CemLogic MT-200 from Floric Polytech, can be sprayed.
But first the concrete substrate must be free of any bond breakers, including grease and solvents spilled on the surface, as well as alkali and moisture generated from within the concrete. So whether your substrate is an old garage floor or a fresh pour, you have a lot to consider before applying a microtopping.
“No single factor accounts more for the success or failure of an installation than substrate preparation,” says Bruce Newbrough, director of technical services for Ardex Engineered Cements. “Regardless of the underlayment or patching compound used to level, smooth or repair a substrate’s surface, the ultimate strength of the bond will only be as strong as the substrate itself.”
Profiling your concrete
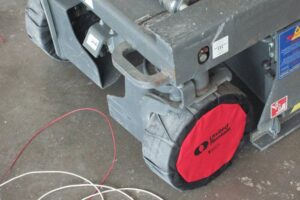
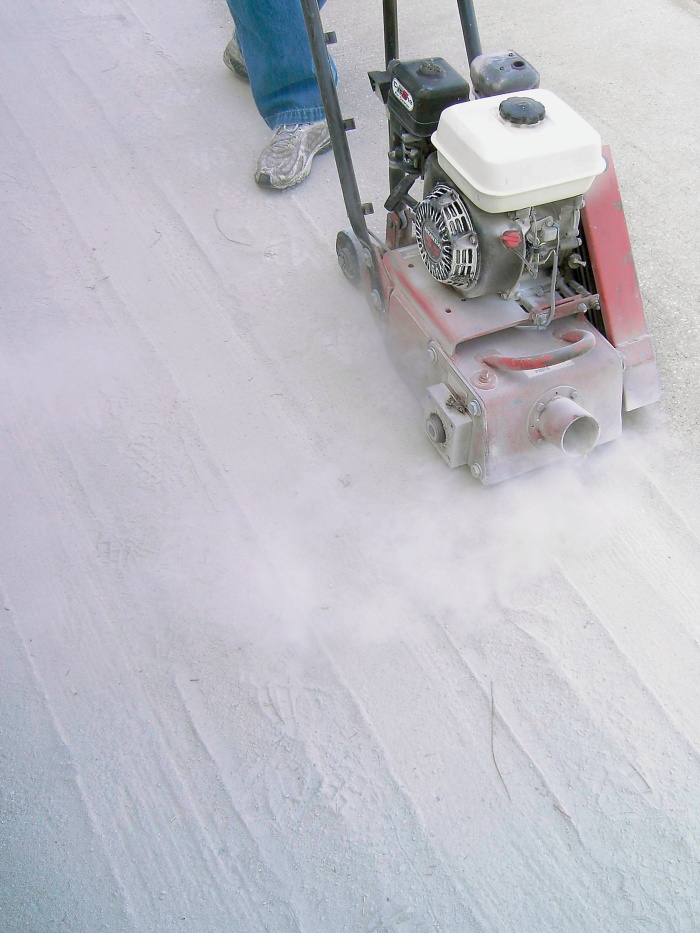
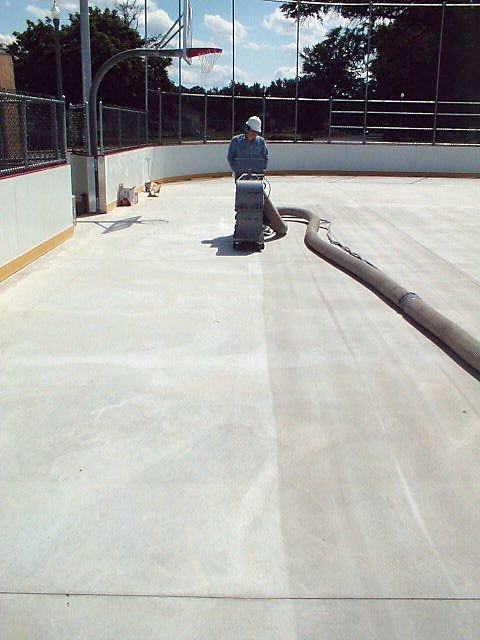
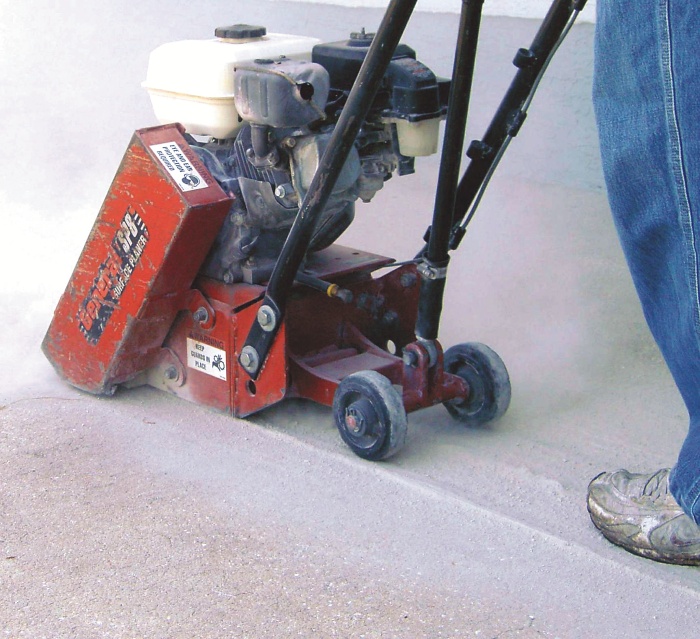
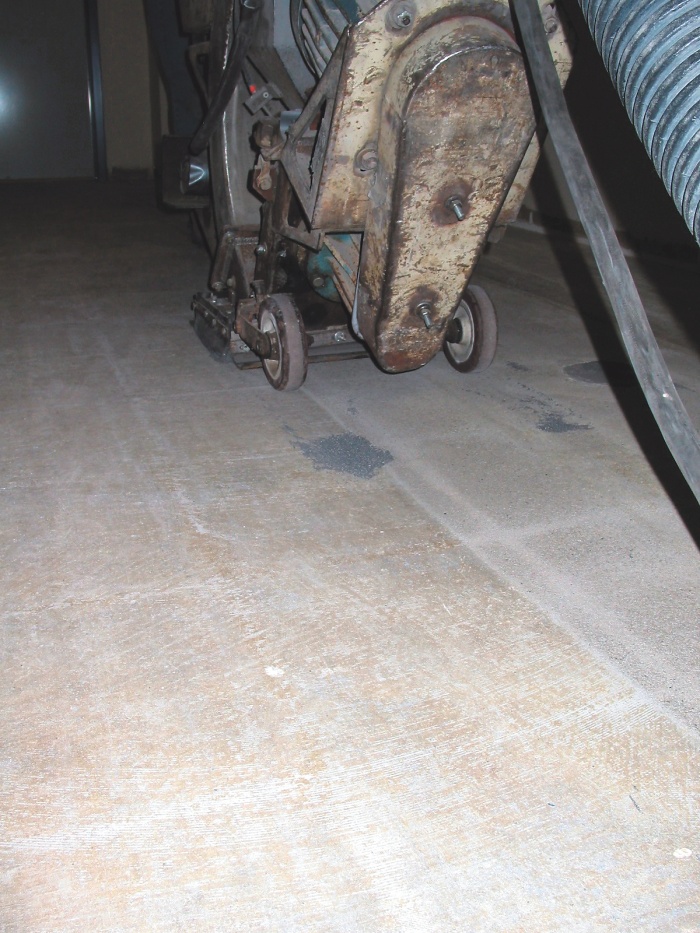
When overlaying concrete, the manufacturer specs on most premixed microtoppings will indicate which International Concrete Repair Institute profile guidelines to follow. ICRI profiles 3 and 4 are common. There are several ways to achieve the profile, as well as varied opinions about whether all should be employed. The most widely accepted method is shot blasting. “Only mechanical methods are recommended to properly clean a concrete substrate down to a sound, solid surface,” Newbrough says. “Sanding and grinding may be sufficient for smaller projects, while shotblasting or scarification is generally most efficient on larger jobs.”
Most other manufacturers, distributors and contractors agree. Mechanical profiling sets your surface up for what Chris Sullivan of QC Construction calls “lock-and-key adhesion.”
Contractors who take the more expensive step of shot blasting sometimes cut costs by renting a machine and doing it themselves. Vollmer, who subs out such work regularly, says it’s not worth the risk. “Unless you’re an expert at shotblasting, let the professionals do it,” he says.
For jobs of less than 1,000 square feet, a rotary grinder is often used in place of shotblasting. This is generally acceptable for small areas, particularly when radiuses are involved.
One method of profiling that is seldom accepted is acid etching. It has its fans, but most experts say to avoid it except in very small areas. One reason, Vollmer says, is “the acid has to be so strong you can do more damage to yourself than the concrete.” Another reason is that the surface can be left too smooth, or the pH level of the surface can be left too acidic, which can ruin the bond and create other problems with the application, such as dusting.
The most comprehensive substrate preparation, says Steve Meyer of Floric Polytech, is to get the profile right with a light brush blasting, followed by an acid wash, which is then neutralized with an ammonia wash.
Dealing with moisture and alkalinity
Once the substrate is profiled, moisture vapor emission must be considered. Most decorative concrete contractors and microtopping suppliers we spoke with said that vapor emission is not a common problem, because cementitious toppings are somewhat breathable. But when vapor emission causes failure, it’s a disaster.
When deciding whether to test, the experts say, consider whether the slab is on grade or below grade. The deeper below grade, generally, the greater the vapor emission.
The typical curing time necessary for new concrete is 28 days. However, it is not unusual for concrete slabs to have relatively high moisture contents at three months, six months or even a year after they’re poured.
There are several ways to measure water vapor emission, but a calcium chloride test is the method most commonly specified by microtopping manufacturers. This test will provide readings in pounds of moisture being emitted from 1,000 square feet of concrete over 24 hours. One source for pre-measured, ready-to-use test kits can be found on www.vaportest.com.
Newbrough has written an extensive report called “De-mystifying Moisture Control Systems” (www.ardex.com/main-news.htm) and has some advice on how to avoid product failure and warranty rejection.
First, he says, bear in mind that the calcium chloride test only tells you about the moisture that has reached the surface. “The fact is that there is moisture lurking below the surface that the calcium chloride test can’t see.” He compares the situation to an iceberg, with the calcium chloride exposing only the tip. As that berg melts, the vapor will continue heading to the surface. Even if the rate is only 3 pounds, blocking it with a non-breathable product could force the pressure to build.
He says that once a moisture control layer is applied, the moisture below the surface redistributes, accumulating a greater amount near the surface than was measured before. That means you need to pay attention to what the moisture control system manufacturer says about the amount of moisture the system can handle after installation. “That’s what really counts,” Newbrough says, because the pressure is likely to rise. If it rises beyond the manufacturer’s specifications, the product will not likely be backed up by the warranty.
The same logic applies to pH, even if the pH test of the substrate surface doesn’t raise a red flag. Newbrough advised finding a moisture control product that is guaranteed to perform in a high pH environment, because after application the pH is likely to rise beyond the accepted limit of many polymer-based products. “When the failure occurs, the manufacturer declares the warranty void and the installer or owner loses again,” Newbrough says.
Another area where contractors get in trouble with vapor control is thickness. The ability to hold back moisture is in direct proportion to thickness, Newbrough says, and on an uneven shot-blasted surface you may have thin spots, which could lead a manufacturer to void the warranty. He advises using a second coat for insurance. Two coats may be like using a belt and suspenders to hold up your pants, but once you know there is a moisture problem, he advises taking “unnecessary risk out of the installation so as to not be embarrassed again.”
This is probably the reason that Ardex created a two-coat formula when it entered the moisture control market with its Ardex Moisture Control System. Another popular system is Miracote’s MVERS (moisture vapor emission reduction system), which is designed to reduce relatively high rates of emission.
Alkalinity is another potential bond breaker to test for prior to application. However, like moisture vapor, it is more of an issue with other flooring systems and less with cementitious overlays, which carry a high pH factor of their own, says Sullivan of QC Construction. But if you are using a product that requires a neutral or specified pH level, it can be done with a simple pH pencil, color chart and distilled water.
Some manufacturers suggest rinsing the surface with water to reduce the surface pH. As was mentioned above, some experts suggest rinsing with an acidic solution, followed by an ammonia bath. There are also penetrating compounds that will react with the soluble hydroxides in the concrete to encapsulate them so that they can no longer boost pH at the surface.
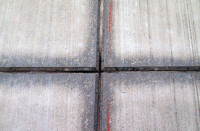
Cracks and seams
Another issue to deal with is cracks and seams. Cracks must be repaired or they will bleed through. Vollmer says that when his crew chases cracks they fill them with epoxy for flexibility. Sullivan noted that cementitious products can be used as well, but the important thing to remember is that cracks must be bridged with a rigid substance and the surface profiled.
Another important part of prep is knowing your microtopping. There are a lot of manufacturers out there, large and small, and some contractors even make their own microtoppings by mixing portland cement and polymers. But manufacturers and distributors advise contractors to buy products from a known supplier who will back them up.
Vollmer says he uses only one brand for all his work and he advises others to do the same, not out of loyalty, but for predictability. Mixes from different manufacturers can react differently on the job site, and can go wrong for different reasons, he says.
But if the prep is done right, there is less room for error. And when it comes down to it, Sullivan says, it’s all about giving your substrate the right profile. “That will take care of 99 percent of your problems.”