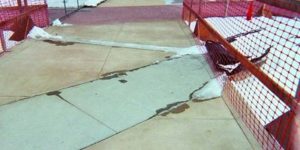

There are few bigger buzz kills to an installation than having a mix ready to spread “go off” in the bucket, much less right after pouring it out. Instances such as this are more than possible, if not likely, to happen when applying epoxy coatings in the heat.
This phenomenon happens because the vehicle of an epoxy’s cure mechanism is exothermal. This means it not only generates heat as a function of the reaction of ‘A’ and ‘B’ components, but also as a requisite, and higher temperatures accelerate the process.
This principle is evidenced in cryogenic epoxies. Unfortunately, the systems created by manufacturers — although designed to perform under given physical parameters — are conducted under ideal laboratory conditions of ambient temperature: 70 degrees F. Applying such products outside this ideal temperature is the real rub, in both cold and hot conditions.
At elevated temperatures, getting the material out placed is in itself daunting, but the film also has to release air bubbles, flow and level prior to cure. Precarious as this process can be, there are certain protocols to use that aid in these prevailing conditions. One should consider all the following variables listed below to minimize problems when applying epoxy coatings in hot weather.
Check out water-based products
First and foremost, contact a technical representative of the company that manufacturers the products for recommendations. The company may have systems designed for higher temperature application or are inherently slower acting.
One type of epoxy system readily available and known to be friendlier to higher temperature application conditions consists of water-based products. As the application of coatings begins, the evaporating water absorbs energy to transition from liquid to vapor. Known as latent heat, this gives a cooling or refrigeration effect to the yet uncured material.
Schedule properly
Avoid trouble by scheduling the installation for the coolest part of the day. In most cases, this would be pre-dawn.
If this isn’t possible due to limited time windows and requirements on return to service, a less favorable time will have to be used. However, never, and I do mean never, start an installation in the heat of the day. Unless the installation area has a controlled climate, do not start in the heat of the day.
Cool storage
Store the pre-mixed materials in a cool place prior to moving them to the job site. When this isn’t possible, icing the material several hours before its intended use is critical. This will bring the container’s entire mass to a lower temperature.
Even then, product that has been in a truck bed in direct sunlight can be at a much higher temperature than the temperature listed outside. (Temperatures are usually taken in the shade.) An exothermal system that has more time before reaching critical temperature of curing is preferable. It takes longer to get there than a material that’s already at a high temperature.
Handle with care
Another vital consideration is how the material is being handled and spread over the surface. If there aren’t enough people to do the mixing, cutting in and rolling, the clock will be ticking rapidly on the unapplied mix.
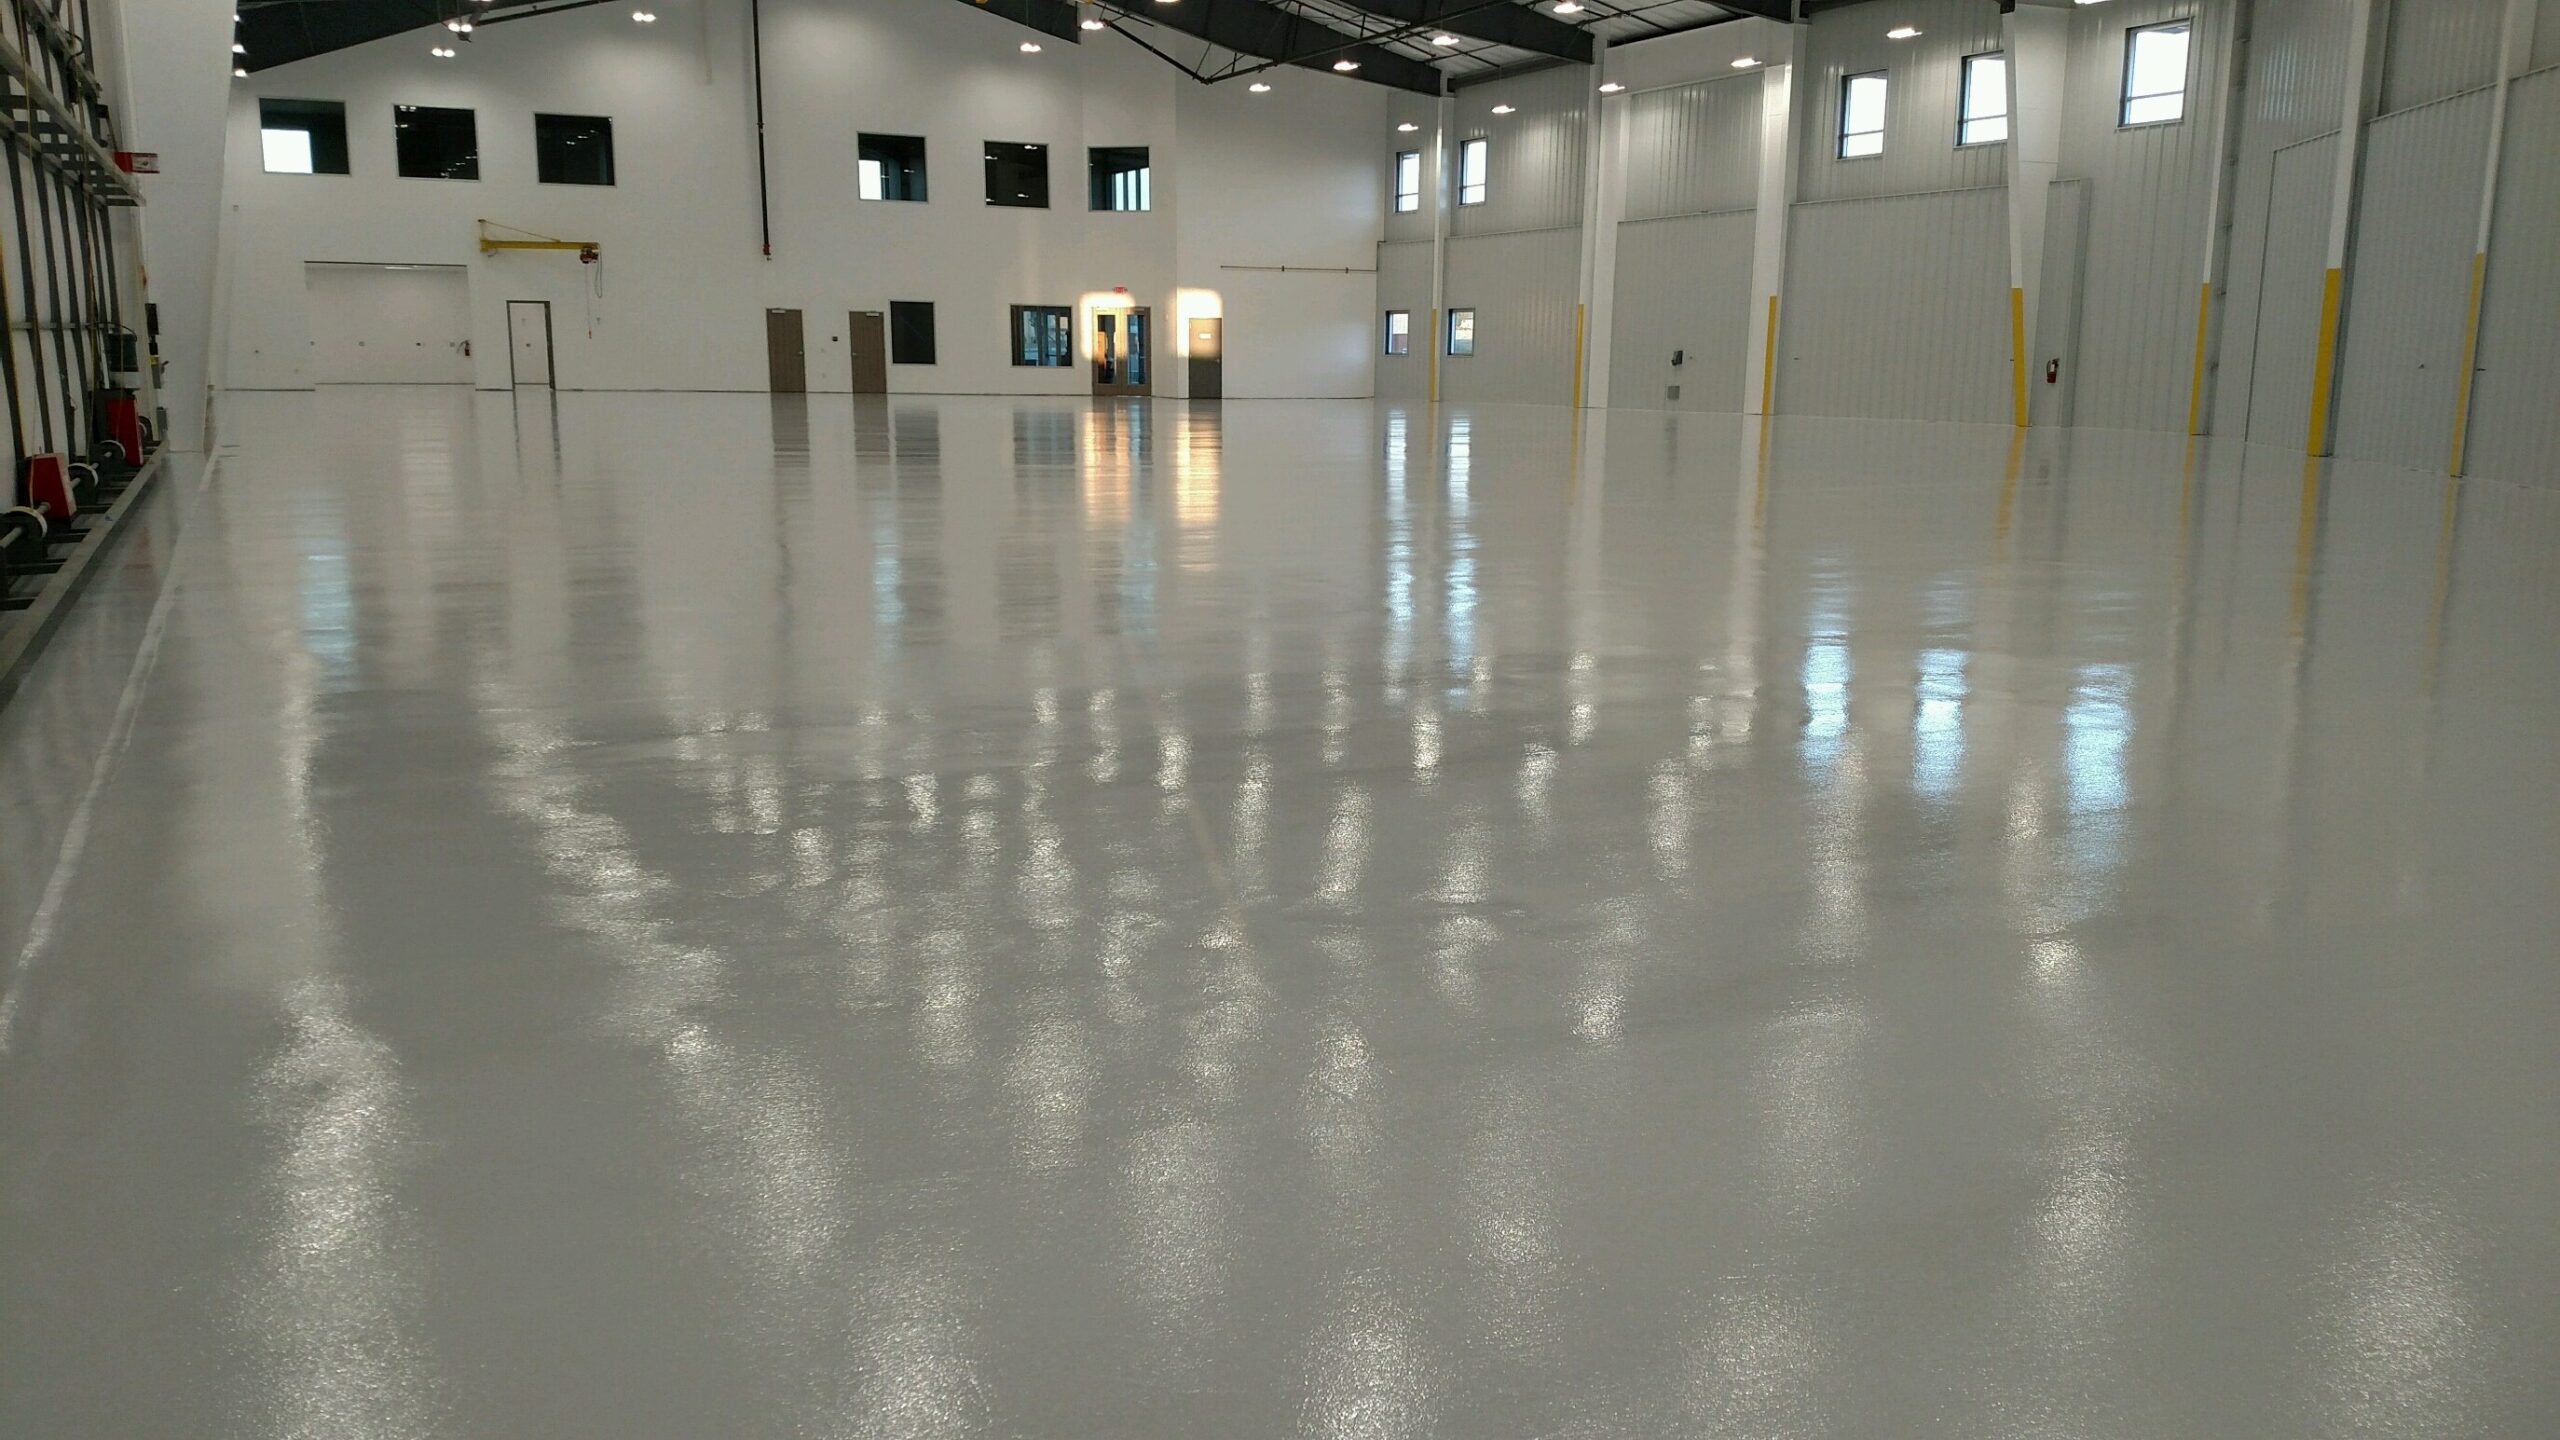
Photo courtesy of Industrial Polymers LLC
A proper squeegee can move copious amounts of material in very short periods of time over large slabs while other workers back roll and cut in. Use a Magic Trowel on smaller jobs in the same manner. The mixer has to be in sync with those using squeegees to minimize time in the container where the temperature escalates rapidly before application.
Altered state
The next possibility requires the absolute strictest consideration and communication with the manufacturer as it involves altering the material. After mixing the proper ratio of parts ‘A’ and ‘B,’ many installers add solvent. This technique used to improve wicking into the substrate and/or interface with the previous coat.
The same principle applies for solvents in cooling the coating as it leaves the film. This is similar to the process of the previously mentioned water-based products. This procedure can improve the application characteristics and the film’s layout. One must use a proper solvent that’s homogeneous with the product.
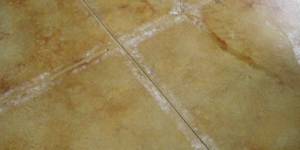
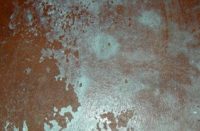
Another possible problem (not sanctioned by manufacturers) involves adding a slower-evaporating solvent to a product that has a faster-curing film. As the solvent tries to escape, bubbling occurs.
Attaining a homogeneous mix when adding solvent, pigment flood and/or float (areas with uneven pigmentation) is more likely to occur when over-thinned to stretch the product beyond designed coverage areas. This doesn’t paint a pretty picture and can be expensive and/or difficult to fix.