
 Recipe by Proline Stamps — Oceanside, Calif.
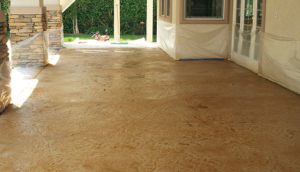
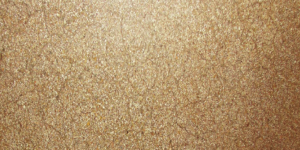
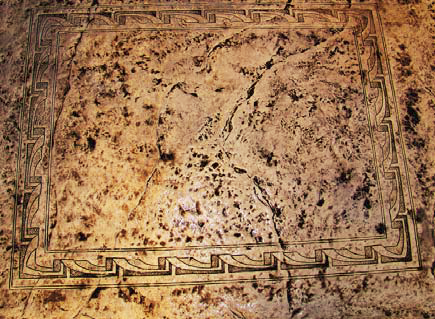
This simple recipe uses Proline’s Sand Canyon Dura-Color Hardener and their Seamless Designs Carpet Stamp. Two colors of EZ Tique were used to give the finish its mottled look.
Ingredients:
Proline Dura-Color Hardener: Sand Canyon
Proline Dura-Liquid Release
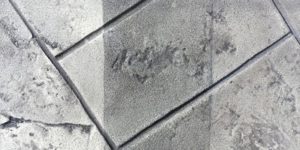
Proline Seamless Designs Carpet Stamp
Proline EZ Tique: Mocha and Midnight Gray
Proline Dura-Seal high-gloss sealer
Directions:
Float the Dura-Color Hardener into the surface of the prepared slab.
Apply the Dura-Liquid Release to the Carpet Stamp and the slab before laying the stamp and tamping it in.
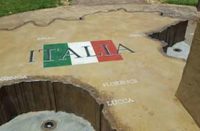
After the slab has cured, wet it down, and mix EZ Tique with water. You should have one batch of Mocha and one of Midnight Gray. Starting with the Mocha, apply the EZ Tique with a soft bristle brush over the entire slab. While the first coat is still wet, go back with the Midnight Gray and a small brush. Apply as an accent color in select areas.
Finally, apply Dura-Seal to finish.